Thanksgiving Garland Ideas That Actually Look Good (Without Breaking the Bank)
Thanksgiving Garland Ideas That Actually Look Good (Without Breaking the Bank)
A Thanksgiving garland is one of those deceptively simple decorations that can completely transform a room — and I say that as someone who once thought a sad little paper chain from the dollar bin was “enough.”
It wasn’t.
Whether you’re draping something over your mantel, running it down the center of your dinner table, or wrapping it around a stair rail, a well-made garland pulls your whole fall setup together.
The good news?
You don’t need a design degree or a massive budget to make it work.
I’ve pulled together everything you need — styles, DIY tutorials, styling tips, and honest budget breakdowns — so you can skip the trial and error I went through.
What Kind of Thanksgiving Garland Are You Actually Going For?
Before you buy a single leaf or spool of twine, it helps to get clear on your style.
There are four main directions most people go:
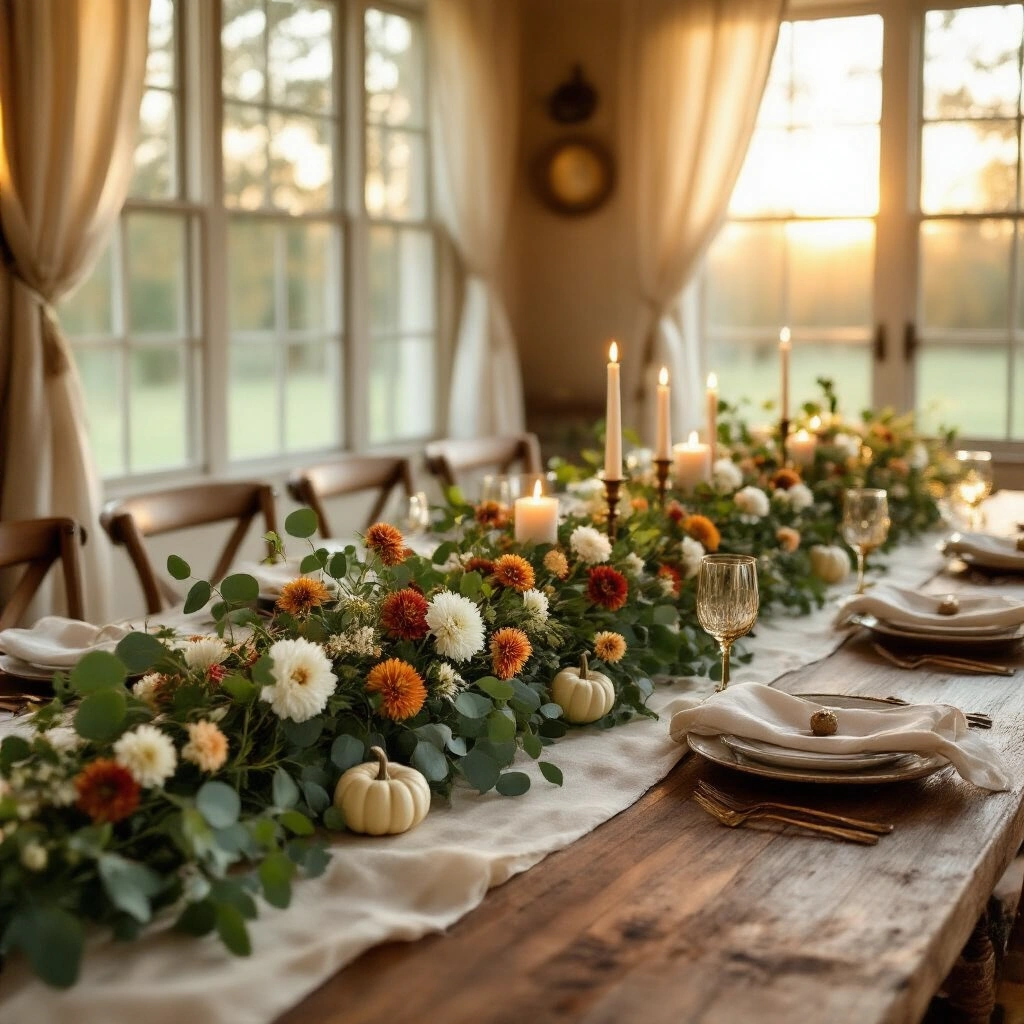
Classic harvest
Think corn husks, mini pumpkins, real or faux berries, and greenery. This is the timeless, “grandma’s house but make it chic” look that never gets old.
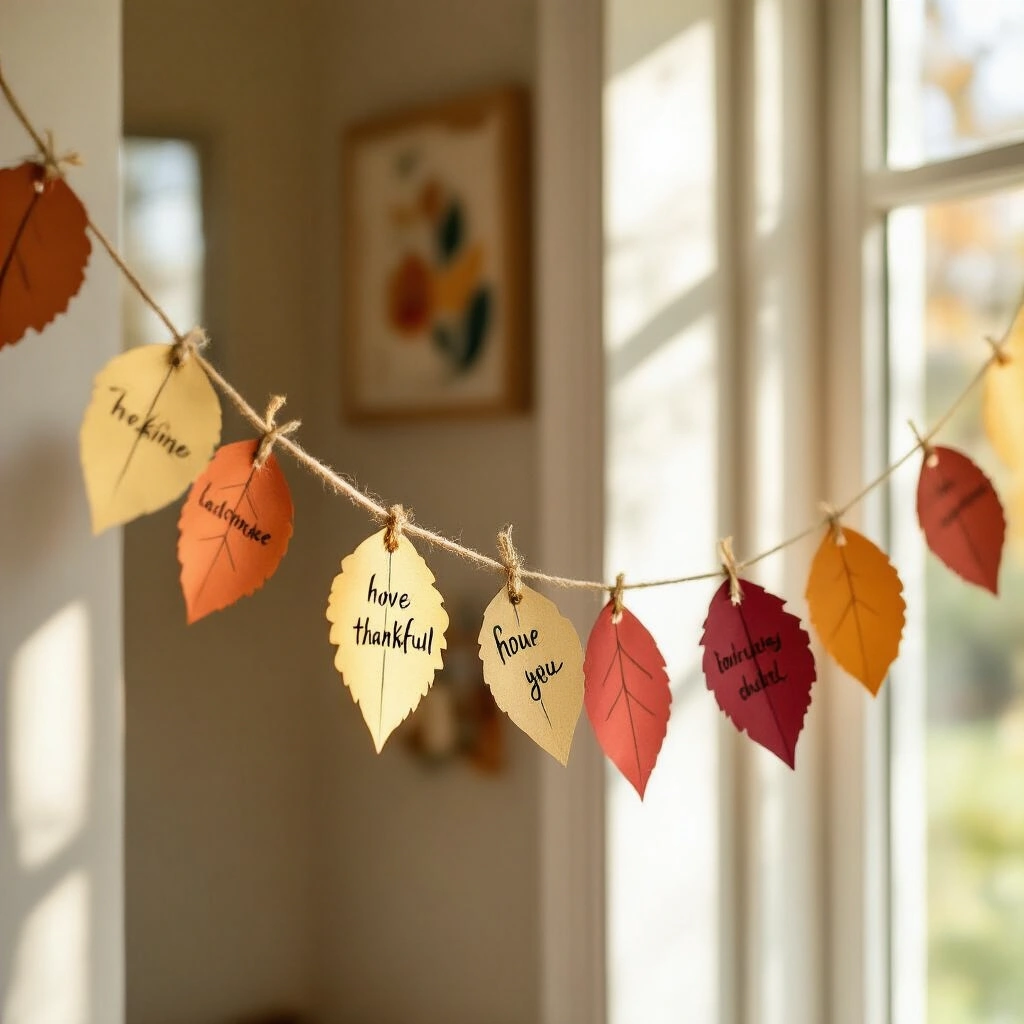
Sentimental and thankful
Paper leaves with handwritten gratitude notes, or a simple “THANKFUL” banner strung across a doorway. This is a great option if you have kids at home who want to be part of the decorating.
Modern glam
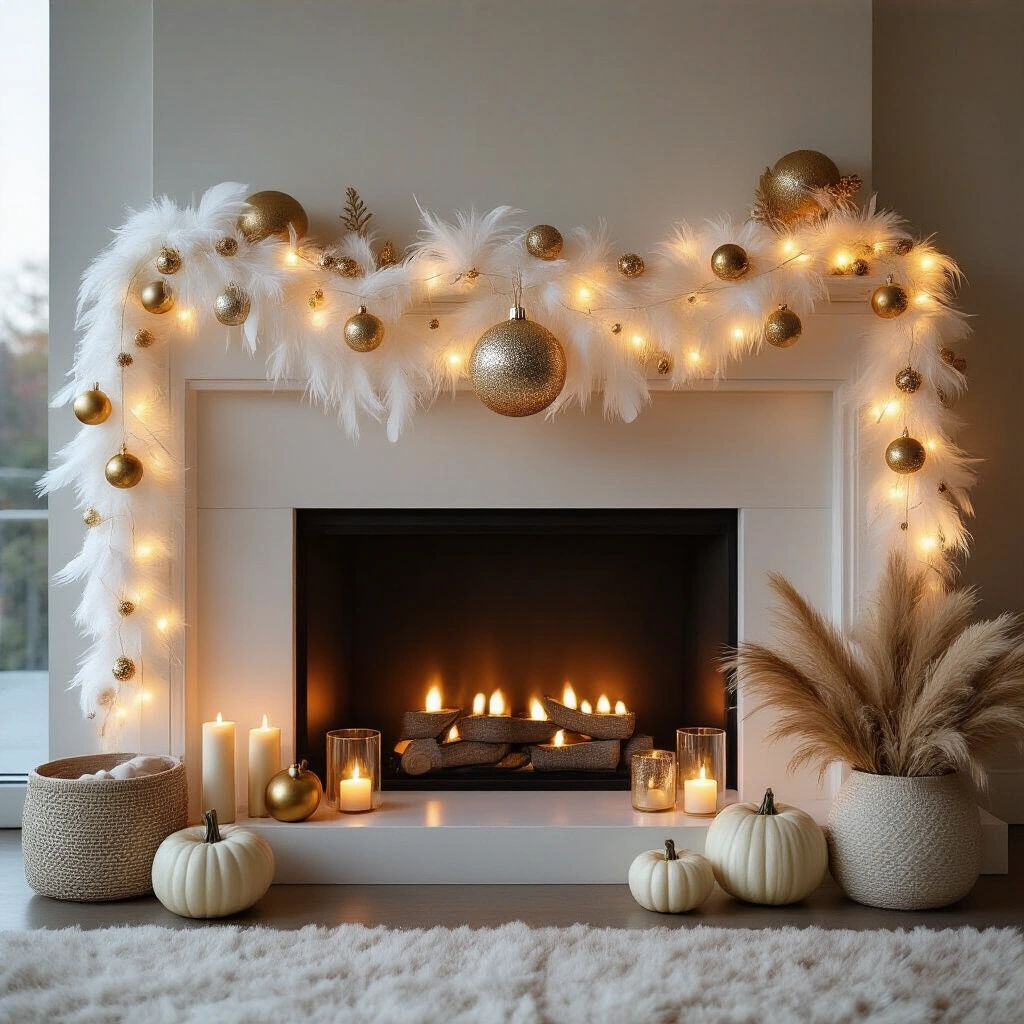
Metallic ornaments, white feathers with painted tips, gold accents, and warm twinkle lights. This works especially well for Friendsgiving or more formal dinner setups.
Crafty DIY
Air-dry clay cut-outs with decoupage napkin patterns, hand-painted shapes, or pom-pom strands. If you enjoy the process as much as the finished product, this is your lane.
The Color Palettes That Actually Work
You can overthink this, or you can stick to what works.
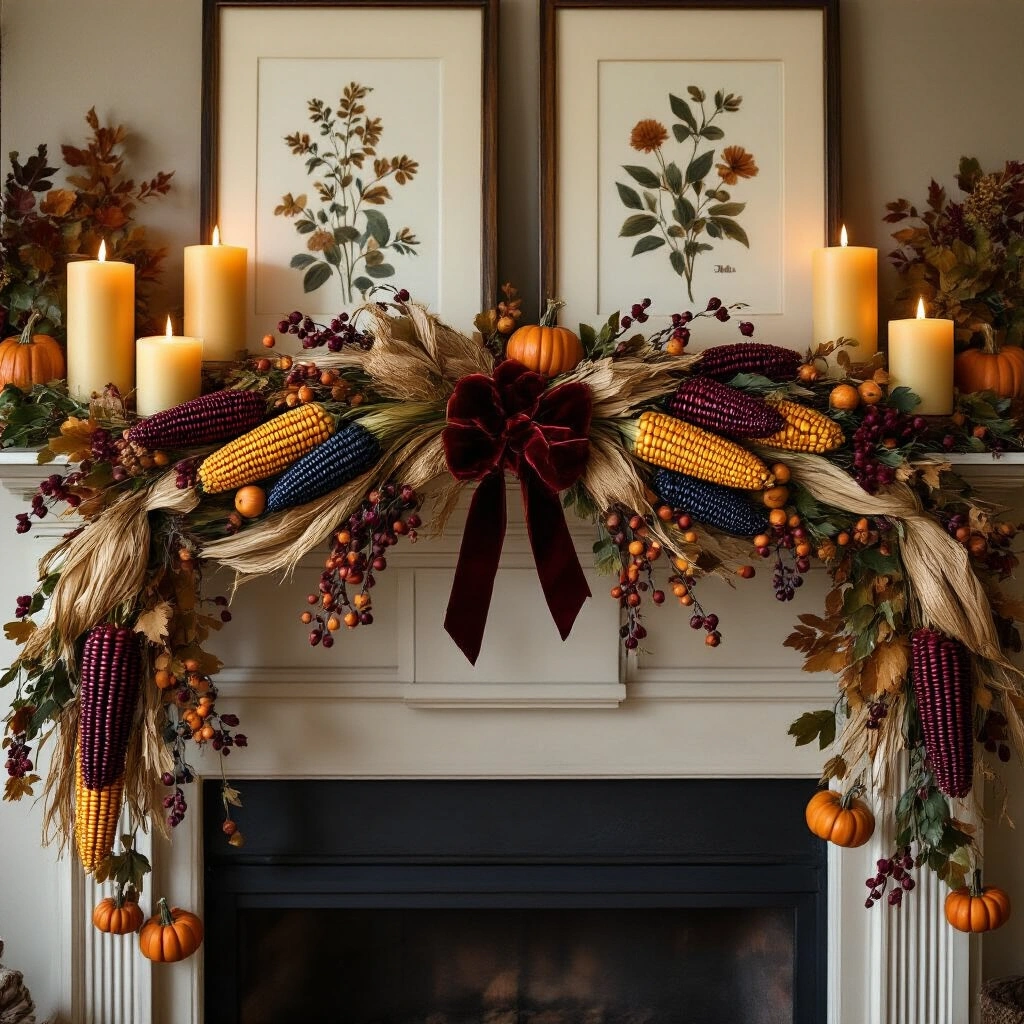
Traditional fall palette:
- Gold
- Yellow
- Orange
- Rust
- Deep red
- Brown
- Forest green
Modern and elevated:
- Copper
- Champagne
- Cream
- Warm white
- Soft metallic gold
The modern palette looks especially stunning layered with candlelight or fairy lights. If you’re going for that warm, glowy dinner party look, lean into neutrals and let the lighting do the heavy lifting.
How Long Does This Actually Take?
One thing I wish someone had told me earlier: styling time and photography time are two completely different things.
Here’s a realistic breakdown:
Save this article
Enter your email and we'll send it straight to your inbox.
Styling time:
- Paper thankful leaf garland: 30–60 minutes including cutting and stringing
- Natural harvest garland with corn, leaves, and pumpkins: 45–90 minutes depending on length and complexity
- Fresh floral and eucalyptus table garland: 60–90 minutes minimum — these take patience
Photography time (if you’re shooting for social or a blog):
- Simple mantel or doorway garland: 20–40 minutes for wide shots and close-ups
- Full tablescape with garland, place settings, and props: 45–60 minutes
Total time from start to finished content:
Plan for 1.5 to 3 hours depending on how ambitious you’re being.
What You Actually Need: Materials Breakdown
The Base (How You String It Together)
This part matters more than most people realize. A flimsy base means your garland droops, unravels, or falls apart mid-dinner.
Good stringing options:
- Jute twine — rustic, strong, looks great with natural elements
- Thin ribbon — elegant, works well for glam or modern styles
- Fishing line or monofilament — nearly invisible, ideal for ornament or feather garlands
- Florist paddle wire — essential if you’re working with fresh greenery or bundled stems
The Garland Elements (Pick Your Style)
Leaves:
Real autumn leaves, faux fall leaves, or paper/cardstock cut-outs. Real ones are free, but they dry out. Faux ones last year after year.
Harvest items:
Indian corn, corn husks, mini pumpkins, berries, seed heads, dried herbs. These give you that full, textured harvest look.
Ornaments and feathers:
Metallic or textured ornaments, white feathers with painted gold or copper tips. These are surprisingly easy to pull off and look incredibly high-end.
Clay cut-outs:
Air-dry clay shapes pressed with decoupage napkins or painted by hand. This takes more time but the results are genuinely stunning.
Thankful notes:
Chipboard letters or paper leaves where guests or family members write what they’re grateful for. Simple, meaningful, and always a conversation starter.
Basic Tools You’ll Need
- Scissors
- Hole punch (for paper and clay shapes)
- Needle for threading
- Hot glue gun for securing elements
- Small drill for harder materials like nuts or shells (only if you’re going that route)
DIY Difficulty Levels: Be Honest With Yourself
I’ve made the mistake of attempting a “moderate” project on the morning of a dinner party. Don’t do that.
Easy (great for beginners and kids):
- Paper thankful garlands
Want to keep this one?
We'll email you the link so you can find it again later.