How to Create Stunning Pinecone Garlands That Actually Look Professional
The Real Talk About DIY Garland Success
Let me be honest about what actually works and what’s just pretty Instagram nonsense.
I’ve made my fair share of sad, droopy garlands that looked more like something the cat dragged in than festive decor. The game-changer was learning to prep my pinecones properly and understanding which assembly methods actually hold up.
Here’s what I wish someone had told me from the start:
- Your pinecones need to be baked at 200°F for 90 minutes – no shortcuts here
- Not all twine is created equal for garland making
- The spacing between elements makes or breaks the whole look
- You can absolutely achieve that expensive boutique vibe on a budget
Essential Supplies That Won’t Break the Bank
I’m all about getting maximum impact without emptying your wallet. Here’s my tried-and-true supply list that delivers professional results:
The Non-Negotiables:
- Pinecones – foraged or store-bought (high-quality craft pinecones work beautifully)
- Jute twine or cord – skip the cheap stuff that breaks mid-project (durable jute rope is worth the investment)
- Sharp scissors for clean cuts
- Baking sheets for cone prep
The Game-Changers:
- Hot glue gun for secure attachment points
- Paintbrushes for whitewashing or metallic accents
- Wire cutters if you’re adding greenery
The Finishing Touches:
- Acrylic paint in cream, white, or metallic shades
- Ribbon for accent bows
- Fresh or faux greenery
- Battery operated fairy lights for magical evening ambiance
The Pinecone Prep That Changes Everything
This step separates the pros from the amateurs, and it’s surprisingly simple.
Why baking matters:
Raw pinecones often harbor insects, sap, and debris that’ll make your beautiful garland gross within days. Plus, the heat helps them open fully for that picture-perfect pine cone shape.
My foolproof baking method:
- Preheat oven to 200°F
- Line baking sheets with parchment paper
- Arrange pinecones in single layer with space between each
- Bake for 90 minutes
- Let cool completely before handling
The smell alone will make your house feel like a cozy cabin retreat.
Three Assembly Techniques That Actually Work
I’ve tried every method Pinterest has to offer, and these three consistently deliver professional results.
Method 1: The Tied Garland (Most Natural Looking)
This creates that organic, slightly imperfect look that screams “effortlessly beautiful.”
Step-by-step process:
- Cut main jute cord to desired length plus 6 inches
- Tie small hanging loops at each end
- Cut 6-inch pieces of twine for each pinecone
- Wrap and tie each short piece around pinecone base
- Attach to main cord at planned intervals
- Trim excess and adjust positioning
Method 2: The Glued Version (Most Secure)
Perfect for high-traffic areas or when you need the garland to stay put.
Save this article
Enter your email and we'll send it straight to your inbox.
Quick assembly:
- Lay main cord flat on work surface
- Apply hot glue to pinecone base
- Press firmly onto cord
- Hold for 30 seconds
- Continue spacing evenly along cord
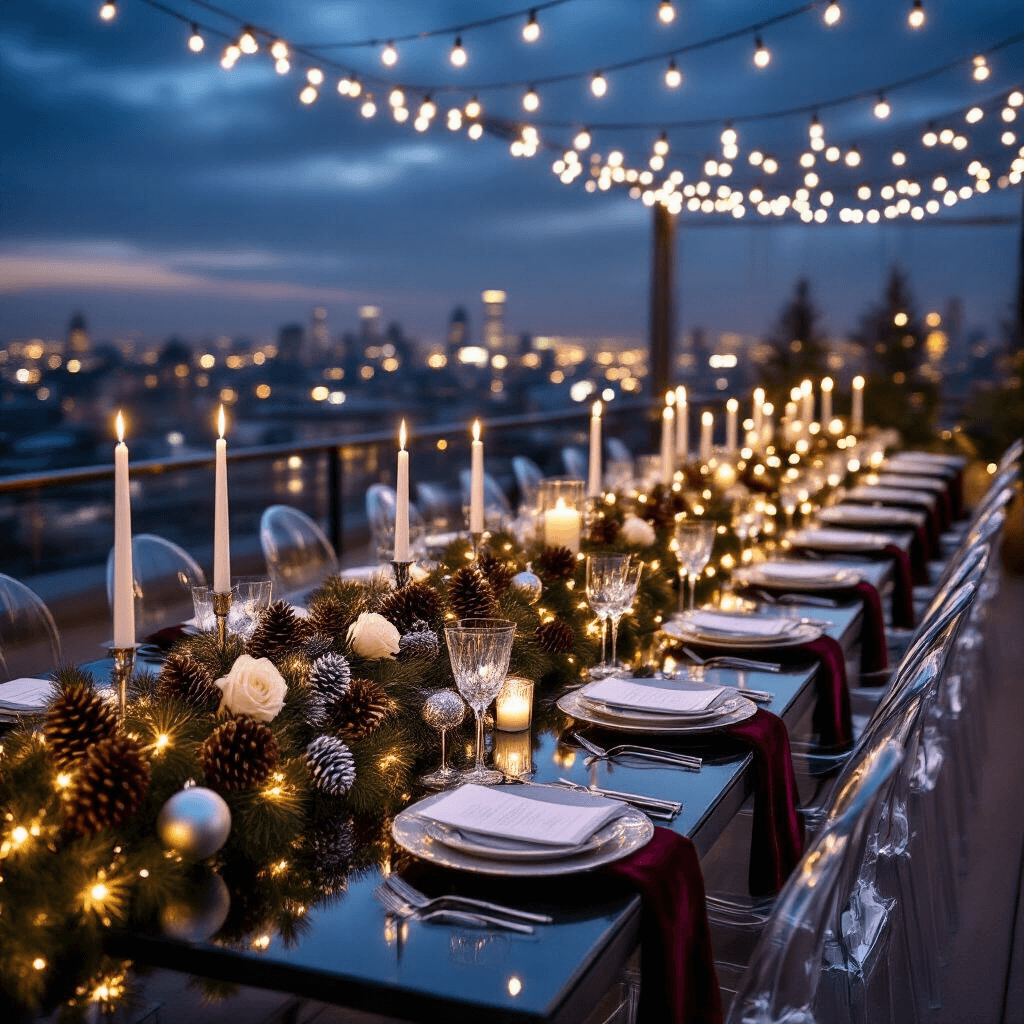
Method 3: The Mixed Media Approach (Most Instagram-Worthy)
This is where you can really show off your styling skills.
Creative combinations:
- Alternate pinecones with dried orange slices
- Weave in fresh greenery every few cones
- Add small ornaments or bells for sparkle
- Include cinnamon sticks for wonderful scent
Styling Secrets That Make the Magic Happen
The difference between “craft project” and “designer decor” comes down to these finishing details.
Color Strategy That Works:
Natural palette: Keep 60% natural brown cones, add 40% painted accents
Painted options: Whitewashed for farmhouse chic, metallics for glam factor
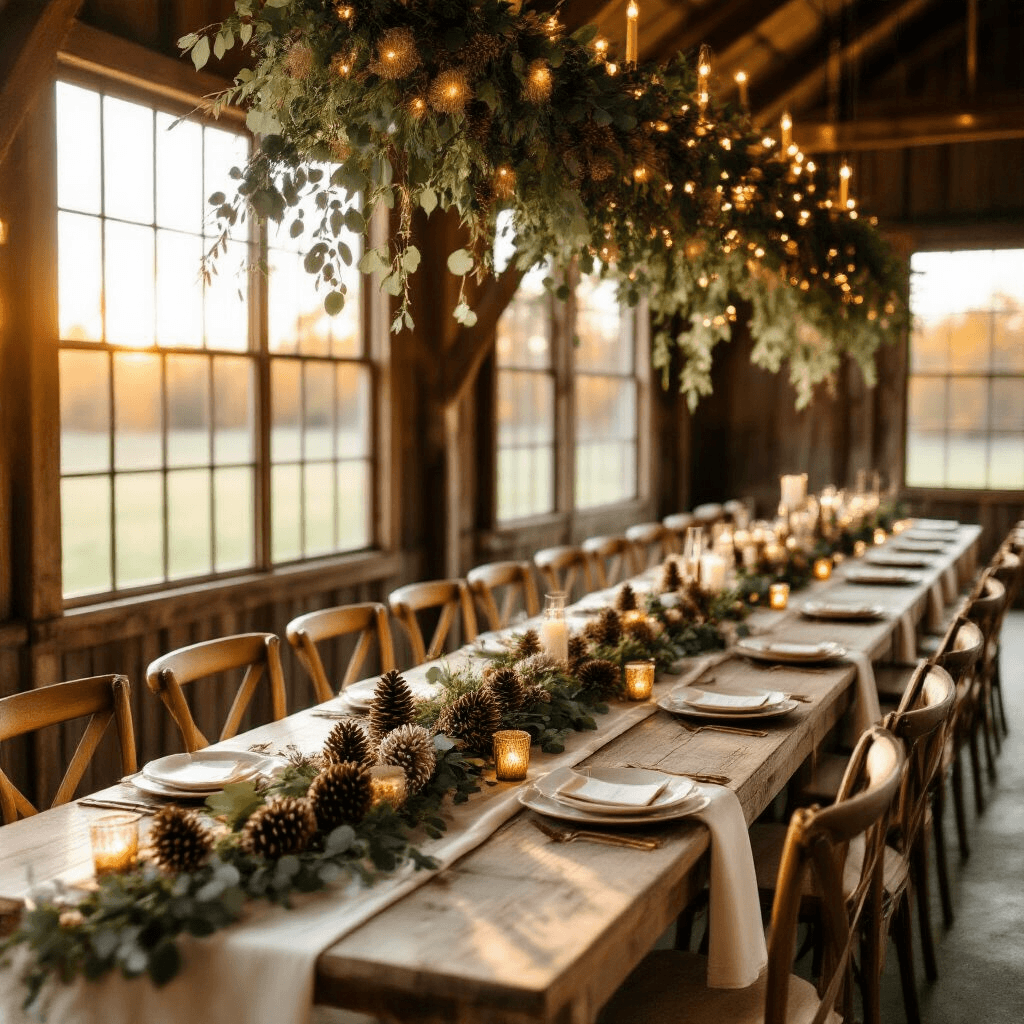
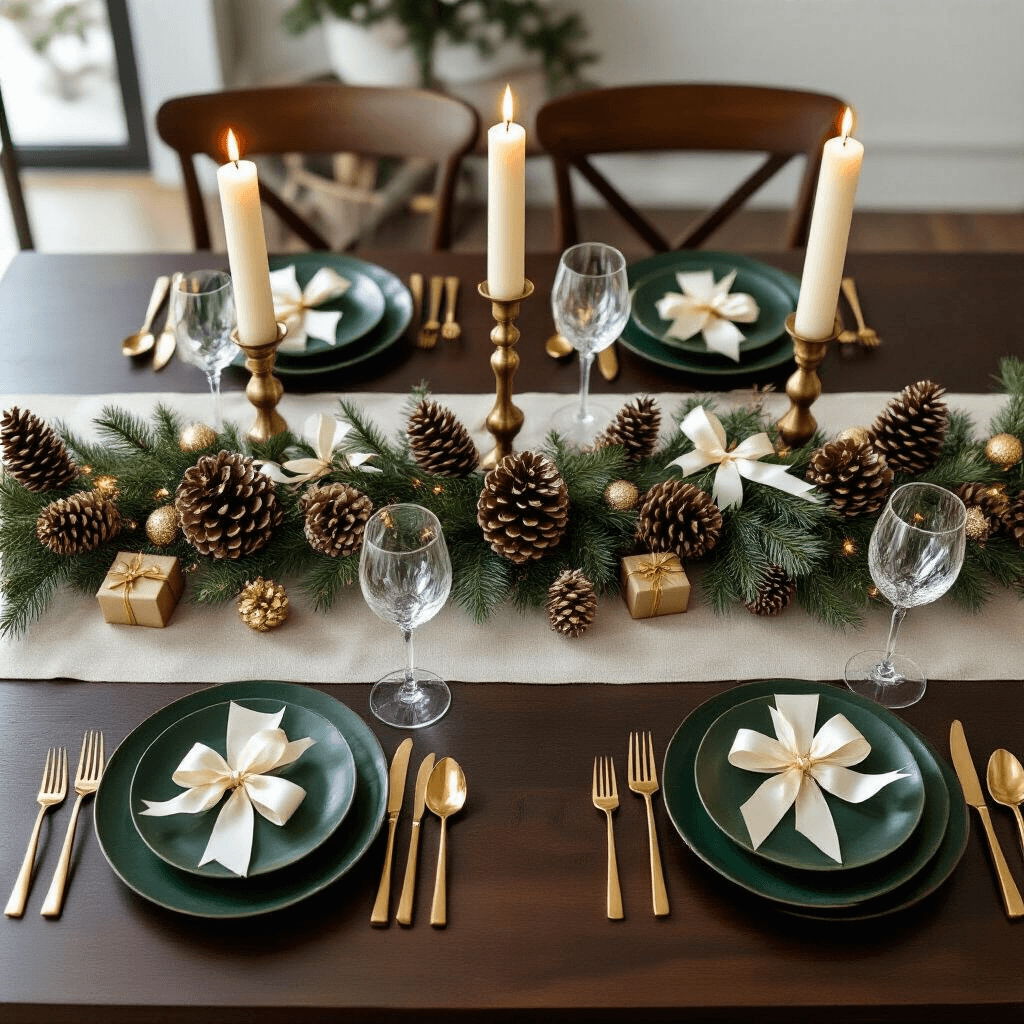
Seasonal tweaks: Add gold for Christmas, copper for autumn, white for winter weddings
Pattern Planning:
I learned this trick from a wedding planner friend – never place identical elements right next to each other.
Winning formulas:
- Large cone → small cone → medium cone → repeat
- Natural → painted → natural → painted
- Cone → greenery → cone → dried fruit → repeat
Installation That Looks Intentional:
For mantels: Drape with gentle curves, not arrow-straight lines
For tables: Let ends trail naturally rather than cutting precisely
For stairs: Follow the banister angle with slight swoops between posts

Want to keep this one?
We'll email you the link so you can find it again later.