Christmas Crochet Garland: How to Make One That Actually Looks Amazing
Christmas Crochet Garland: How to Make One That Actually Looks Amazing
A Christmas crochet garland might just be the most satisfying holiday project you’ll ever make.
I know what you’re thinking.
“I’ve seen those gorgeous ones on Pinterest, but mine will probably end up looking like a tangled mess of yarn.”
Trust me, I’ve been there.
But here’s the thing — once you understand the basic structure, the whole process becomes surprisingly simple. And the result? A completely unique, handmade decoration that no big-box store can replicate.
Whether you’re a beginner who just learned to chain stitch or someone who’s been crocheting for years, this guide walks you through everything you need to know.
What Makes a Christmas Crochet Garland So Worth Making?
Let me be straight with you.
Store-bought garlands are fine. But a handmade crochet garland has something no mass-produced decoration ever will — it’s yours.
You picked the colors. You chose the motifs. You made every single stitch.
And when someone walks into your living room and says “Wait, did you MAKE that?” — that feeling is priceless.
Beyond the satisfaction, here’s why I keep coming back to this project every holiday season:
- Completely customizable — change colors, shapes, and length to fit any space
- Budget-friendly — a few balls of yarn go a very long way
- Great for using up yarn scraps from other projects
- Beginner-friendly versions exist alongside more complex options
- Doubles as ornaments or gift toppers — individual motifs are incredibly versatile
The Basic Structure Every Garland Follows
Before we dive into specific pattern styles, let me break down the bones of how any Christmas crochet garland comes together.
It’s actually just three simple steps.
Step 1 — Crochet Your Individual Motifs
This is the fun part.
You’re making small, festive shapes that will hang along your garland string.
The most popular choices include:
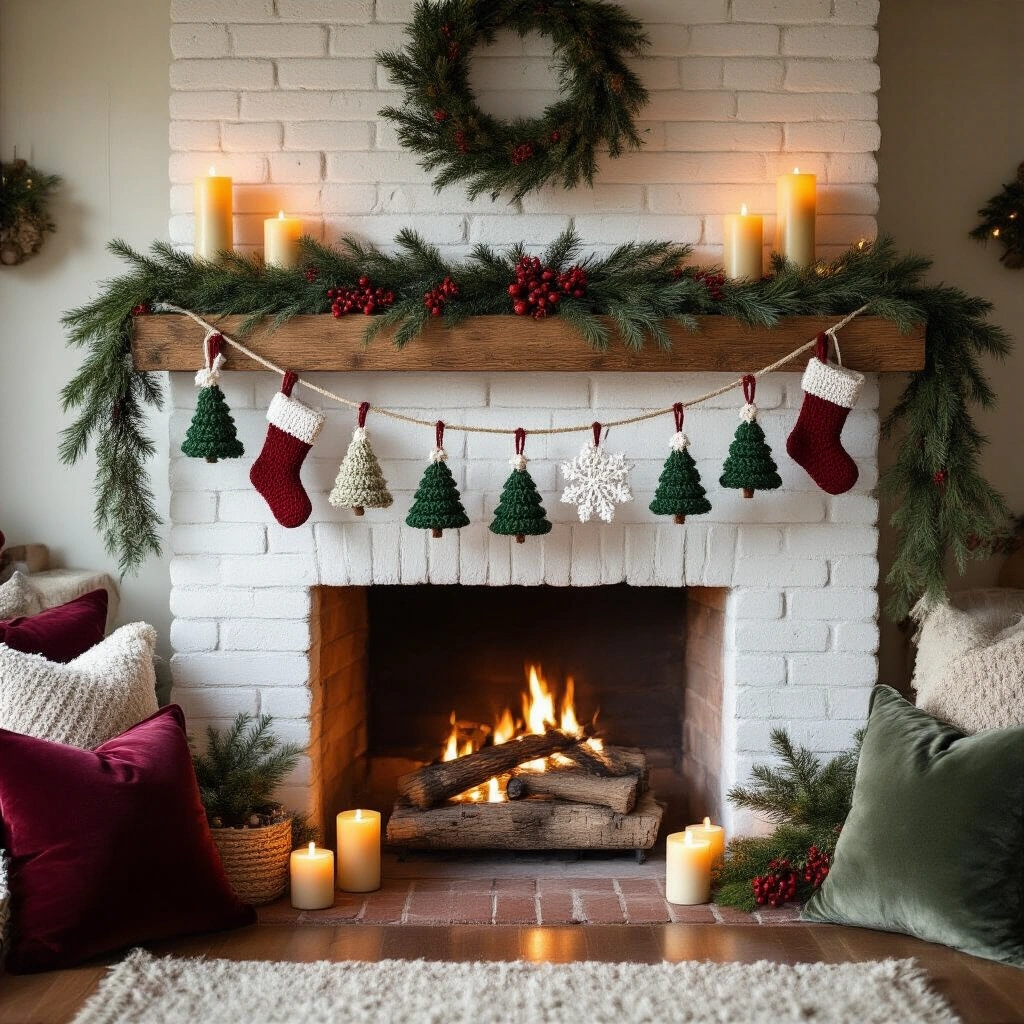
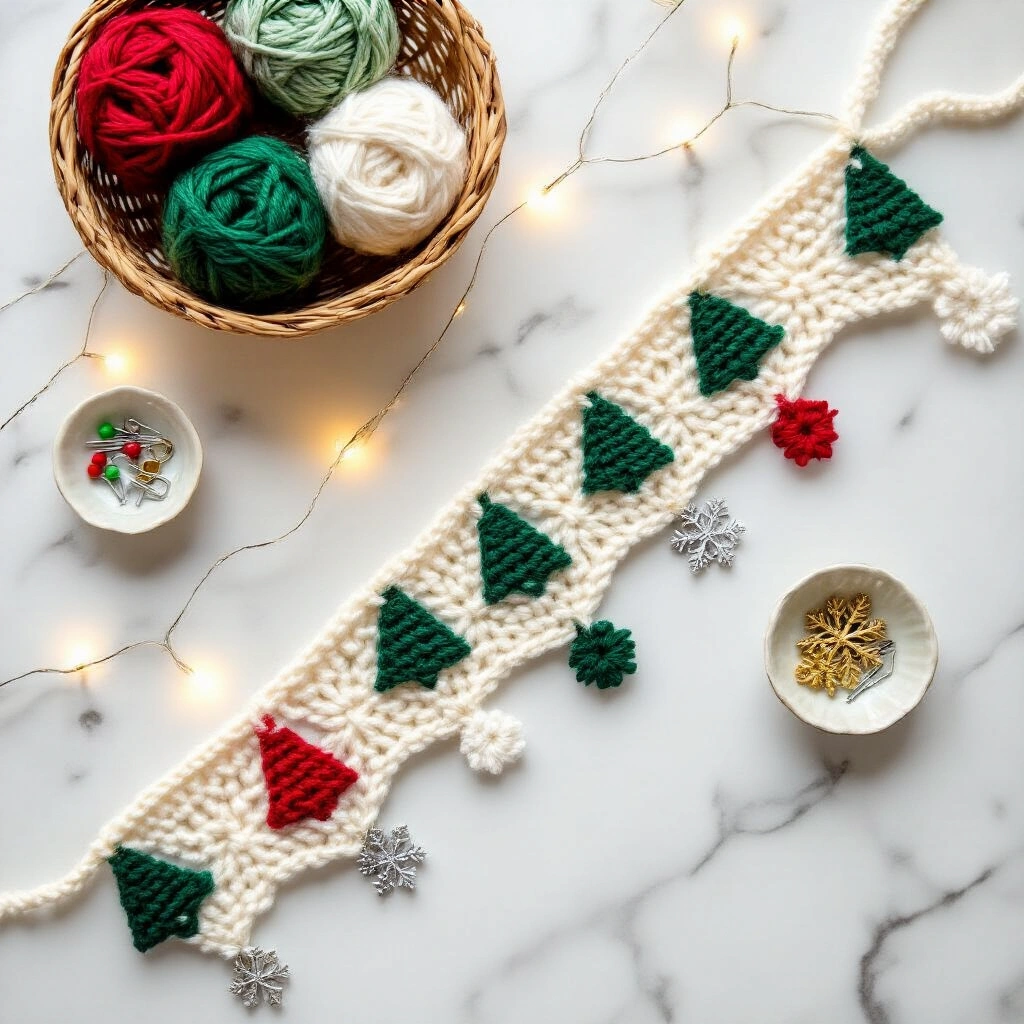
- 🎄 Christmas trees (triangle-shaped, super beginner-friendly)
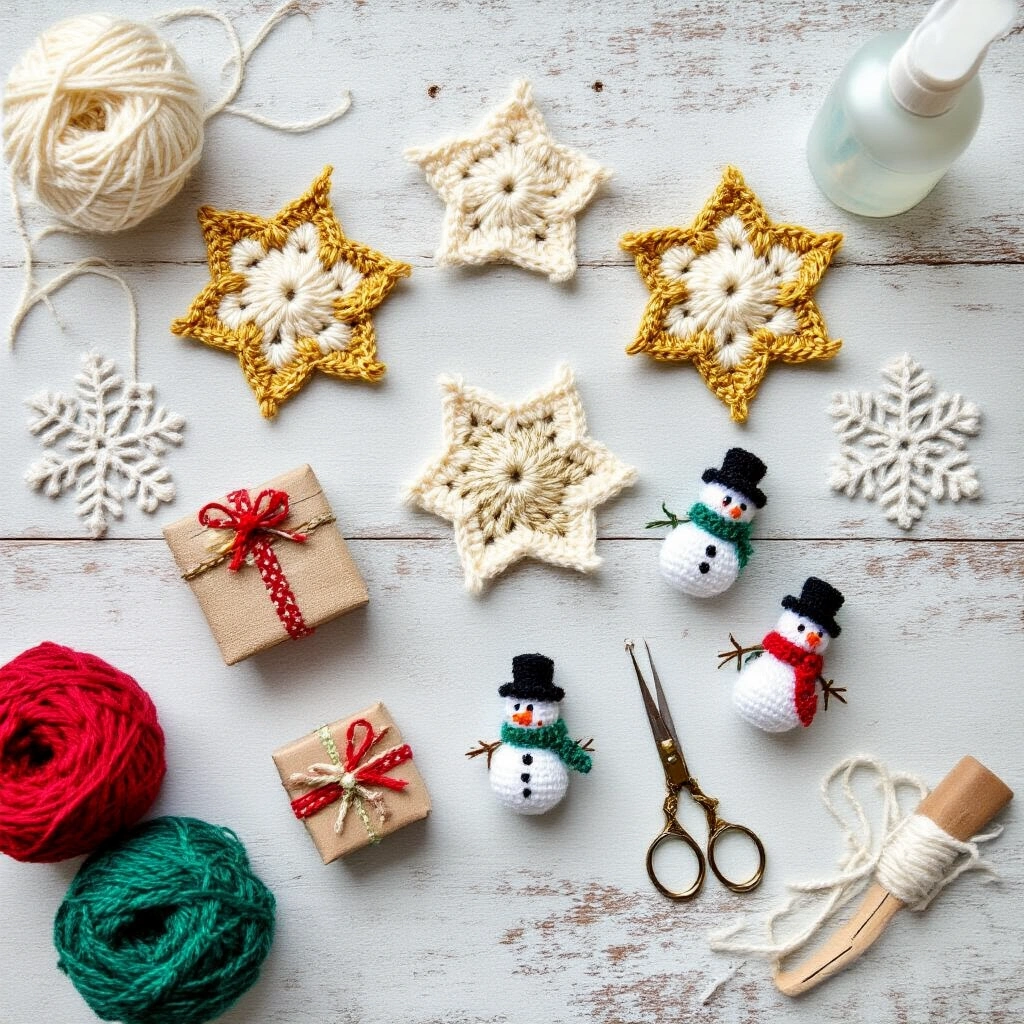
- ⭐ Stars (flat or double-sided for a thicker look)
- 🎁 Gift packages (tiny crocheted squares with slip-stitch “ribbon”)
- 🧦 Stockings (classic and endlessly charming)
- ❄️ Snowflakes (delicate and stunning when blocked)
- ☃️ Snowmen and Christmas puddings
- 💡 Light bulbs, Santa hats, and smiley Christmas faces
You don’t have to pick just one. Mix and match motifs for a garland that tells a little festive story across your mantel.
Step 2 — Block or Finish Your Pieces
This step gets skipped way too often.
Blocking — which basically means wetting your finished motifs, shaping them, and letting them dry flat — is the difference between a garland that looks handmade in the best way and one that looks a little… sorry.
Snowflakes especially need blocking to open up their beautiful shape. Trees benefit from it too, so they lie flat and hang cleanly.
Save this article
Enter your email and we'll send it straight to your inbox.
You’ll need a few basic supplies:
- Blocking mats for crochet to pin your pieces flat
- Rust-proof blocking pins to hold the shape while drying
- A spray bottle with water (or a quick hand-wash and squeeze dry)
It takes maybe 10 minutes of effort and makes an enormous difference.
Step 3 — Make Your Garland String
You’ve got options here, and none of them are wrong.
Option A — Crochet a chain string
This is the most cohesive look. Crochet a long foundation chain, then add a row of single crochet on top to make it sturdier and less likely to stretch out.
Option B — Use twine, ribbon, or cord
Honestly? Sometimes simpler is better. Natural jute twine for crafts gives a gorgeous rustic look that pairs beautifully with green and red motifs. A velvet ribbon creates something that looks almost luxurious.
Option C — Paper-chain style rings
Instead of separate motifs on a string, you crochet individual rings and loop each one through the previous — just like a traditional paper chain. This creates a bold, chunky garland with zero fiddly sewing.
7 Specific Garland Styles You Can Actually Make
Let me walk you through some of my favorite pattern styles, from the simplest to the more ambitious.
1. Tiny Gift Package Garland
This one is perfect for beginners.
Here’s how it works:
- Crochet small squares in single crochet — these are your gift boxes
- Add a contrasting color slip stitch across the center horizontally and vertically to create the “ribbon”
- Tie a tiny yarn bow and attach it to the center
- Join each gift to a long lace-style chain with a slip stitch through the back
The result looks like a string of beautifully wrapped presents. It’s ridiculously cute and takes almost no time per motif.
2. Stocking, Pudding, and Snowman Garland
This is the one that always gets comments.
You make a mix of:
- Mini crocheted stockings
- Round little Christmas puddings with white icing and a holly detail
- Tiny snowmen with their own little scarves
Then you stitch them all together in a row.
The variety across the garland gives it this wonderful storybook quality — like something from a children’s book illustration. It takes more time than simpler styles, but the payoff is huge.
3. Christmas Tree and Snowflake Garland
This is probably the most classic-looking option.
- Crochet small trees in green yarn (chunky or worsted weight works beautifully)
Want to keep this one?
We'll email you the link so you can find it again later.