

Origami Garland Event Decor: The Complete Guide to Stunning Paper Installations That Actually Work
### Origami Garland Event Decor: The Complete Guide to Stunning Paper Installations That Actually Work
Origami garland event decor is one of the most underrated, budget-friendly, and genuinely beautiful ways to transform any space — and I’ve seen it turn a plain community hall into something that looks like it cost five times the actual budget.
If you’ve ever stood in a craft store holding a pack of origami paper, wondering whether you could actually pull this off for a real event, I want to tell you that the answer is almost always yes.
But I also know the real questions running through your head right now.
Will it look cheap?
How many pieces do I actually need?
What if it falls down mid-reception?
Can I do this without spending weeks folding paper cranes at my kitchen table?
I’ve been there. And this guide answers all of it — from the first fold to the final pin.
—
What Makes Origami Garlands So Good for Events?
Let me be straight with you: paper decorations have a reputation problem.
Most people assume paper means fragile, amateur, or last-minute. Origami garlands are none of those things when done properly.
Here’s what actually makes them worth your time:
- Lightweight — No need for heavy structural supports
- Customizable — Match any color palette, theme, or season
- Reusable — Store them after the event and use them again
- Photogenic — Paper folds catch light beautifully in photos
- Affordable — A small installation can cost as little as $25
- Adaptable — Works for intimate dinners, grand ballrooms, and everything in between
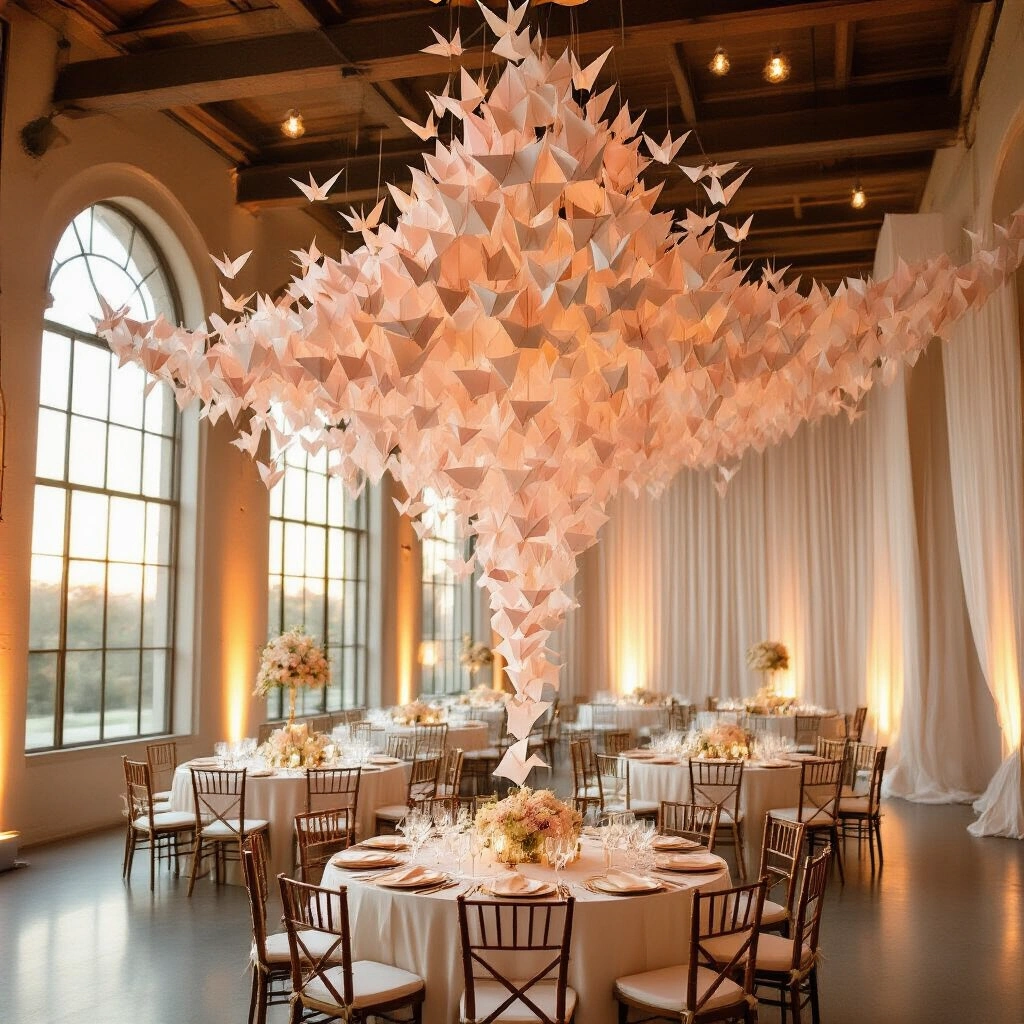
A well-made origami garland doesn’t look like a school art project. It looks intentional, considered, and genuinely beautiful.
—
How Much Will This Actually Cost?
Here’s the honest breakdown before we get into anything else:
| Installation Size | Estimated Budget |
|---|---|
| Small (dessert table, photo booth) | $25–$100 |
| Medium (ceremony backdrop, head table) | $100–$250 |
| Large (full wedding or event venue) | $250–$500+ |
The higher end of that range includes premium paper, lighting, structural supports, and professional installation.
Save this article
Enter your email and we'll send it straight to your inbox.
If you’re DIYing on a real budget, I’ll show you how to get a stunning result for much less.

—
The Styles That Actually Work (And Who They’re For)
Before you fold a single piece of paper, decide on your overall aesthetic.
The style you choose determines everything — your paper colors, your shapes, your hanging structure, and how the finished installation photographs.
- Whimsical and playful — bright primaries, mixed shapes, layered lengths
Works best for birthday parties and children’s events - Modern minimalist — white, ivory, or monochrome black and white
Works best for editorial shoots and contemporary weddings - Boho romantic — soft pastels, dried grasses, natural wood
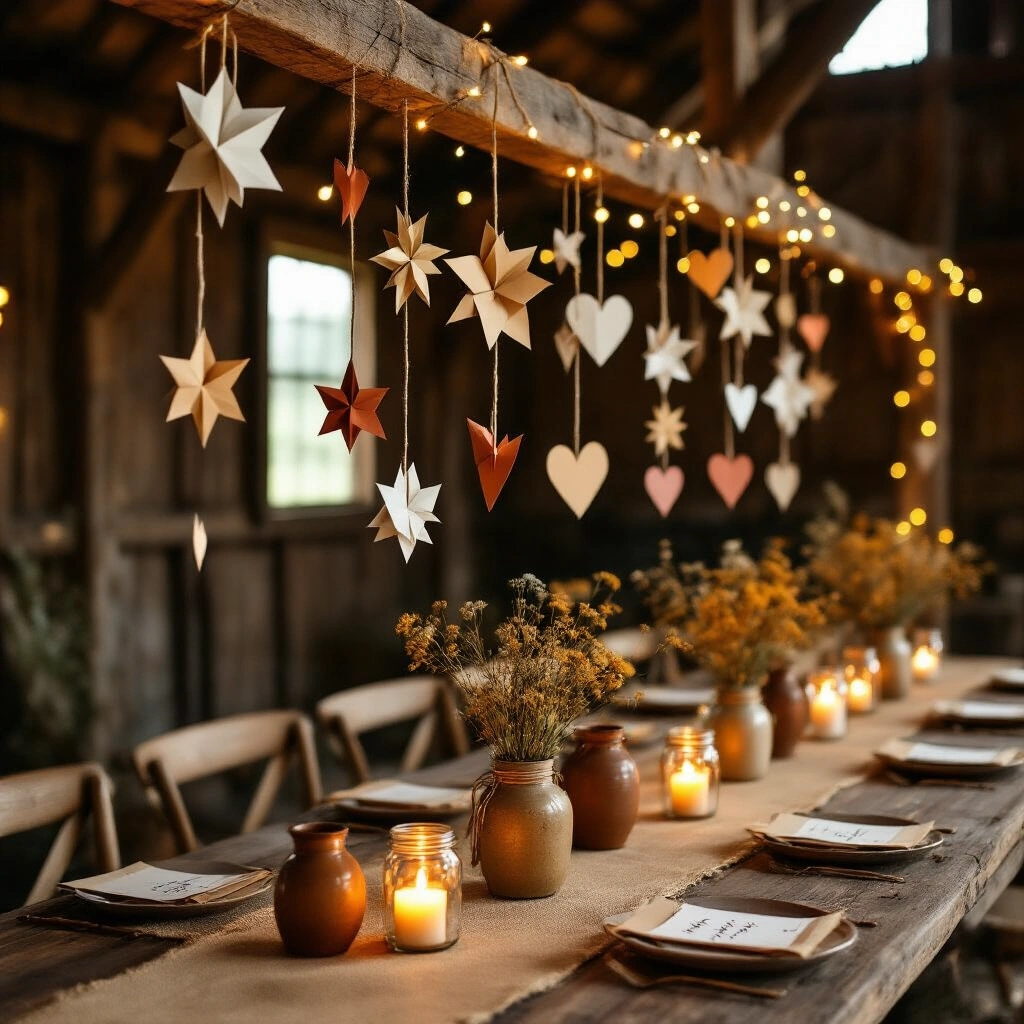
Works best for garden parties, bridal showers, and outdoor ceremonies - Rustic chic — kraft paper, warm neutrals, twine
Works best for barn weddings and harvest celebrations - Jewel-toned evening — deep emerald, burgundy, navy, and gold
Works best for anniversary dinners and formal parties - Holiday and seasonal — red, green, gold, copper, silver
Works best for Christmas parties, New Year’s Eve, and winter events
—
What You Need Before You Start
The Non-Negotiable Tools
These are the things I reach for every single time:
For folding and assembly:
- Square origami paper or lightweight cardstock
- A sharp pair of scissors
- A cutting mat and ruler
- A pencil for marking measurements
- Large-eye needles
- Embroidery floss, fishing line, or clear monofilament
- Double-sided tape or adhesive dots
- Craft glue
- Small clips or clothespins
- Measuring tape
- A reference card or printed folding diagram
For hanging and display:
- Wooden branches or wooden dowels
- A backdrop stand
- Removable mounting strips and clear hooks
- A storage box for finished pieces
Lighting — Because It Makes Everything
You don’t need a professional photography setup. But you do need to think about light.
Natural light options:
- A large window with indirect light
- Open shade outdoors
- Backlight for translucent paper (this looks incredible in photos)
- Golden-hour light for warm, soft outdoor shots
Artificial light options:
- Warm-white string lights behind or around the garland
- A small LED panel or continuous light for photography
- Battery-powered fairy lights for dark venues
- Portable softbox for product-style flat lays
Optional But Genuinely Useful
These aren’t essential, but they make the finished result look significantly more polished:
- Fabric drapes or a neutral backdrop
- Floral arrangements and greenery
- Candles or LED tea lights
- Cake stands and decorative trays for height variation
- A fairy-light curtain behind the installation
- Custom event signage
—
Budget-Friendly Alternatives That Still Look Beautiful
Not everyone has $300 to spend on paper and supplies. Here’s how to get a
Want to keep this one?
We'll email you the link so you can find it again later.


