DIY Gingerbread House Garland: How to Make, Style, and Display This Charming Holiday Decoration
DIY Gingerbread House Garland: How to Make, Style, and Display This Charming Holiday Decoration
A gingerbread house garland is one of those holiday decorations that stops people in their tracks.
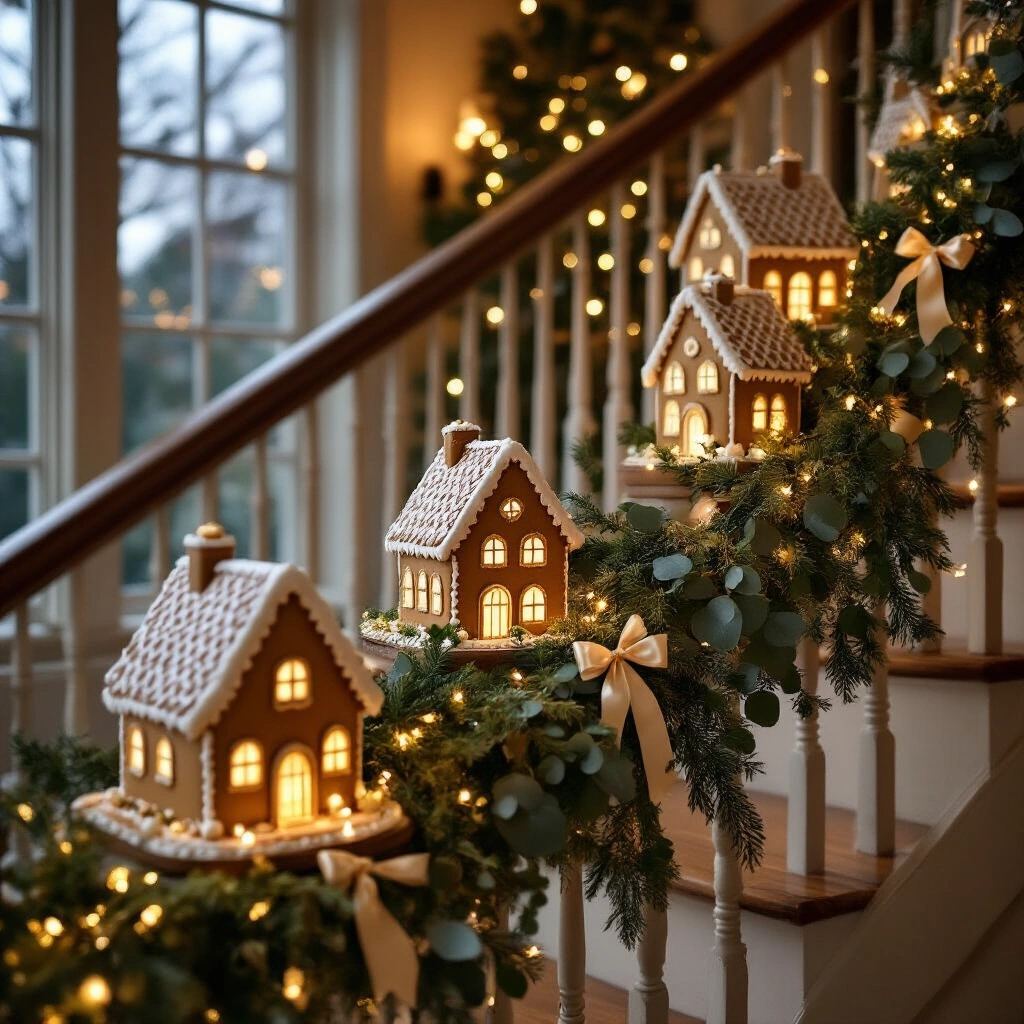
You know the feeling — you walk into someone’s home and there it is, strung across the mantel or draped along the staircase, and you immediately want to know how they made it.
Maybe you’ve been scrolling Pinterest at midnight, saving every cozy cottage Christmas image you can find, and thinking, can I actually pull that off?
The answer is yes — and it’s easier than you think.
I’ve made versions of this garland out of cardboard, felt, and even real baked gingerbread, and each time it becomes the most-talked-about decoration in the room.
This guide walks you through everything:
- What materials actually work (and what’s a waste of time)
- Step-by-step instructions without the fluff
- Styling tips to make it look like it belongs in a magazine
- Photography guidance for capturing it beautifully
- Safety notes, especially if you have young kids or pets around
Let’s get into it.
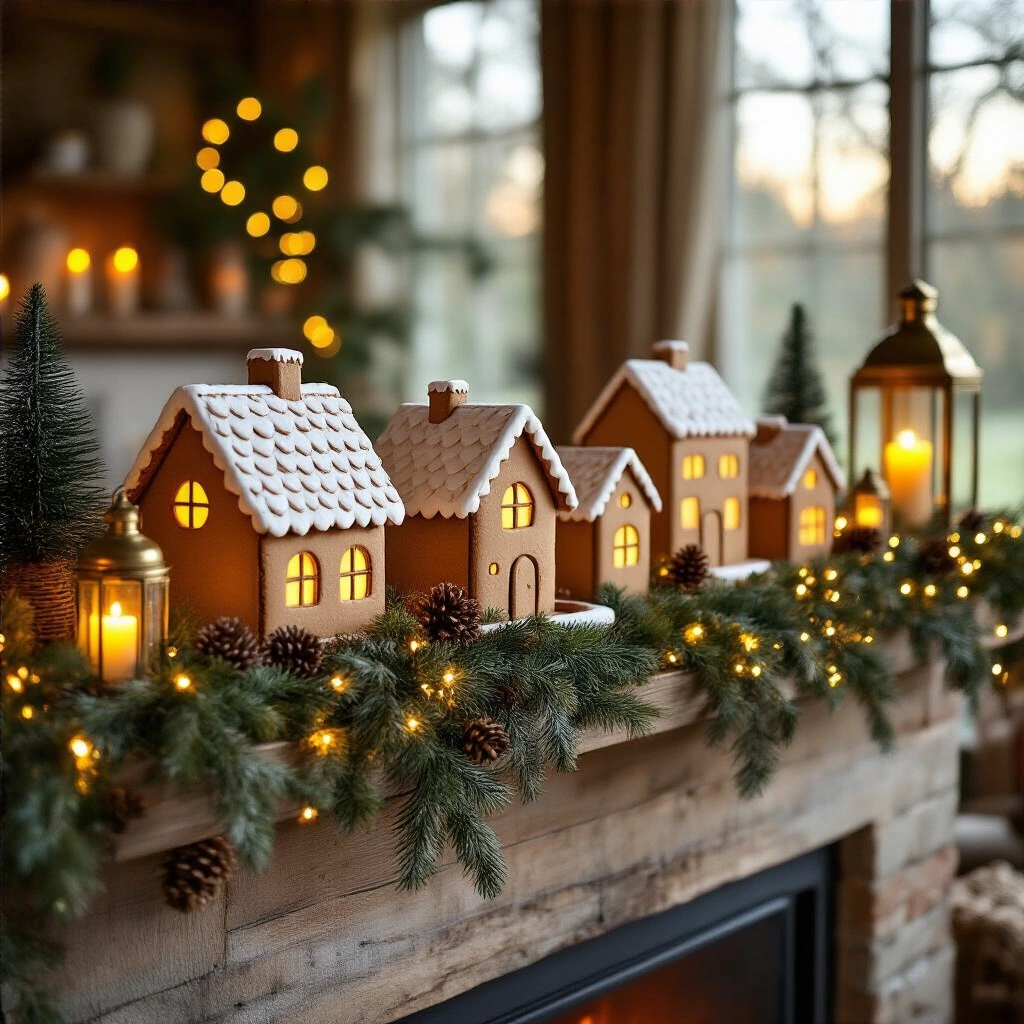
What Kind of Gingerbread House Garland Do You Actually Want?
Before you buy a single thing, ask yourself one question: do you want this garland to last, or do you want it to be eaten?
That one decision shapes everything else.
Here’s a quick breakdown of your main options:
Save this article
Enter your email and we'll send it straight to your inbox.
| Material | Best For | Lasts? | Kid-Friendly? |
|---|---|---|---|
| Cardboard / cardstock | Budget crafting, quick projects | Yes, seasonally | Yes (with help cutting) |
| Felt | Soft, reusable, no drying time | Yes, for years | Very much so |
| Wood | Rustic, heirloom-quality display | Yes, indefinitely | With adult help |
| Air-dry clay | Textured, paintable, unique | Yes, with care | Mostly yes |
| Edible gingerbread | Baking lovers, dessert tables | No (eat within days) | Yes, with supervision |
I personally keep a felt version stored in a labeled box every January and pull it out every November without having to make a single thing.
That said, the first time I made a cardboard version with my kids on a rainy Saturday afternoon, it became one of my favorite holiday memories — glue sticks, chalk markers, and all.
Quick Planning Guide Before You Start
Nobody wants to be three hours into a craft project and realize they’re missing something critical.
Here’s what to expect before you begin:
- Photography time: 30–60 minutes for the finished garland, plus 15–30 extra minutes for close-up detail shots
- Styling time: About 1–2 hours for a mantel or shelf; longer for a staircase or full party backdrop
- Total project time: Plan for 3–6 hours from start to finish — though drying time may spread the project across two days
- DIY difficulty: Easy to moderate for paper, cardboard, or felt; moderate for wood; advanced for edible gingerbread
- Budget: Very affordable with cardboard and twine; mid-range if you add battery lights, specialty finishes, or abundant greenery
Everything You Need (And What You Can Skip)
The Essentials
You don’t need a craft room full of supplies to make this work.
Here’s what actually matters:
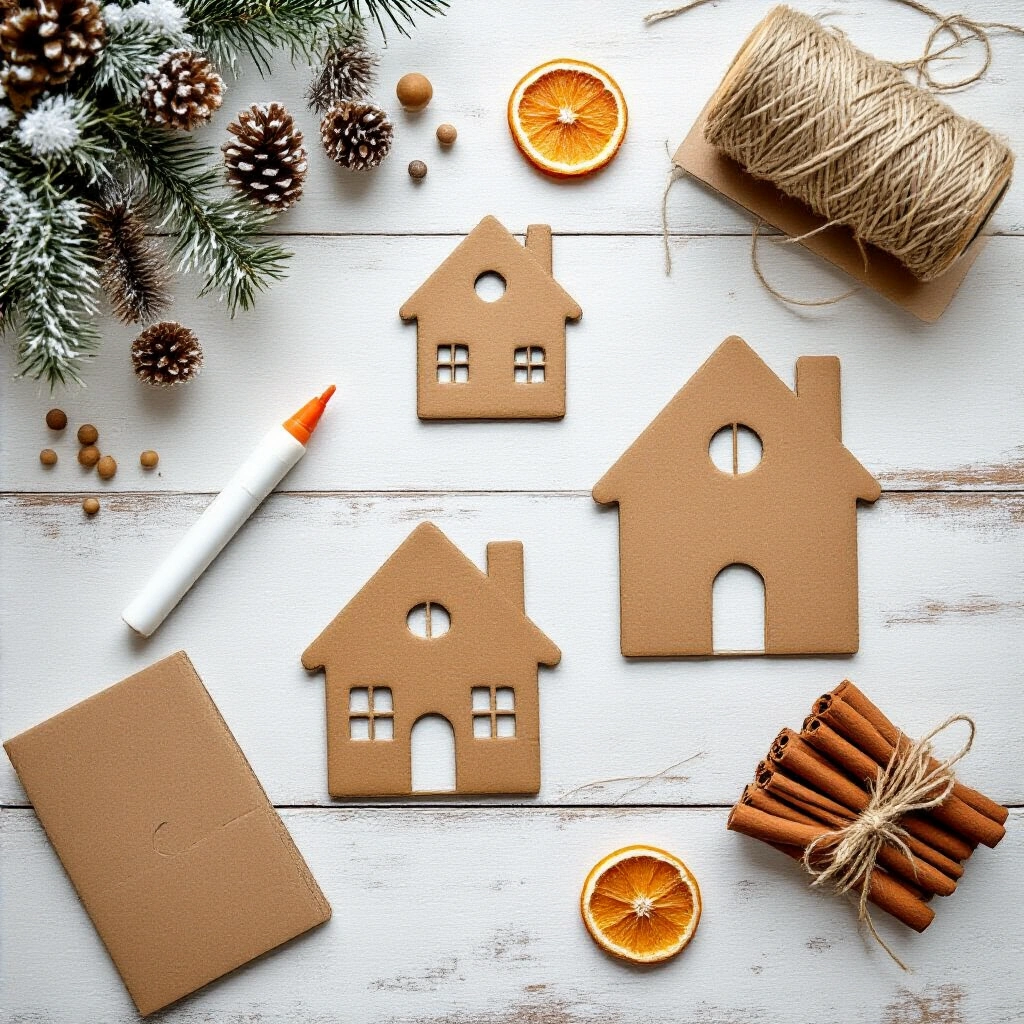
- House templates — draw your own or print a free one; aim for two or three complementary sizes
- Cardstock or cardboard — clean cereal boxes work perfectly; cardstock gives a neater finish
- Scissors or a craft knife — scissors for cardstock, a craft knife and self-healing cutting mat for thicker board
- White paint, chalk marker, or dimensional paint — this creates the “icing” look that makes the whole thing feel authentic
- Natural jute twine or ribbon — twine gives a rustic feel; satin ribbon feels more polished
- Low-temp glue gun or mini binder clips — for attaching the houses to the twine
- Pencil and ruler — for consistent spacing and clean tracing
- Removable adhesive hooks — for hanging without damaging walls or woodwork
The Nice-to-Haves
These are the details that take a “cute garland” to a “wow, did you make that?” level:
- Warm-white battery-operated fairy lights — tuck these behind the houses for a gentle glow that photographs beautifully
- Miniature bottle-brush trees — scatter a few below the garland for a full village feel
- Faux snow or white flocking spray — adds instant winter charm
- Small bows, dried orange slices, or cinnamon sticks — texture and scent wrapped into one
- A simple fabric or paper backdrop — essential if you’re using this as a party photo area
Smart Swaps When You’re on a Budget
- Use clean cardboard packaging instead of buying new sheets
- Swap ribbon for baker’s twine from the dollar section
- Skip specialty paint and use a white chalk marker — one marker goes a long way
- Instead of store-bought greenery, clip a few real evergreen sprigs from outside
Want to keep this one?
We'll email you the link so you can find it again later.