How to Photograph a Timeless Wedding Dress: The Complete Styling and Photography Guide
How to Photograph a Timeless Wedding Dress: The Complete Styling and Photography Guide
A timeless wedding dress deserves more than a quick snap on your phone.
Whether you’re a bride wanting to document your gown beautifully, a photographer building your bridal portfolio, or a boutique owner creating content that actually converts — getting this right takes planning, patience, and a clear process.
I’ve spent a lot of time working with bridal imagery, and I’ll tell you this upfront: white fabric is one of the hardest things to photograph well.
It blows out easily. It picks up every shadow. It shows every wrinkle, every piece of lint, every awkward crease.
But when you get it right?
The images are absolutely stunning — the kind that stop people mid-scroll on Pinterest and make brides feel something real.
This guide walks you through everything: the tools, the setup, the shooting angles, the editing, and the publishing strategy.
Let’s get into it.
What You Need Before You Even Touch the Camera
Before you fire a single shot, you need to know what you’re working with — and what you’re working toward.
Here’s a quick reality check on timing:
Total time needed: 5–8 hours, start to finish
- Styling and prep: 1–2 hours
- Photography and video: 2–3 hours
- Editing, resizing, and publishing: 2–3 hours
Don’t try to rush this.
Save this article
Enter your email and we'll send it straight to your inbox.
The brides and brands I’ve seen try to cram everything into 90 minutes almost always end up with images that look exactly like they were rushed.
Rough budget breakdown:
| Budget Level | Cost Range | What It Covers |
|---|---|---|
| Affordable | $150–$500 | DIY styling, basic camera or phone, simple location |
| Mid-range | $750–$2,500 | Professional photographer, styled shoot, short video |
| Luxury | $3,000–$10,000+ | Editorial production, premium florals, multiple locations, pro hair and makeup |
Space requirements by venue type:
- Intimate: Bridal suite, bedroom, boutique, small studio
- Medium: Hotel suite, garden, historic home, private venue
- Grand: Ballroom, cathedral, estate with room for the full train and veil
The Full Equipment List for Timeless Wedding Dress Photography
I’m going to break this into what you actually need versus what’s nice to have.
The Camera Gear You Need
- Full-frame or high-resolution mirrorless camera — for the detail and the dynamic range white fabric demands
- 85mm portrait lens — flattering compression for bridal portraits
- 50mm lens — versatile, natural-looking environmental shots
- 35mm lens — great for wider venue and scene-setting images
- Macro lens — essential for lace, buttons, beading, and embroidery close-ups
- Tripod — critical for flat lays and detail work
- Reflector or white bounce card — your shadow control tool
- Extra memory cards and batteries — always, always, always
The Styling Kit You Cannot Skip
These aren’t optional:
- Portable clothes steamer — steam the gown before anything else
- Padded bridal hanger — a plain wire hanger will ruin your shots
- Lint roller — use it obsessively
- Garment clips and fashion tape
- Clean white or neutral styling surface
Lighting Setup
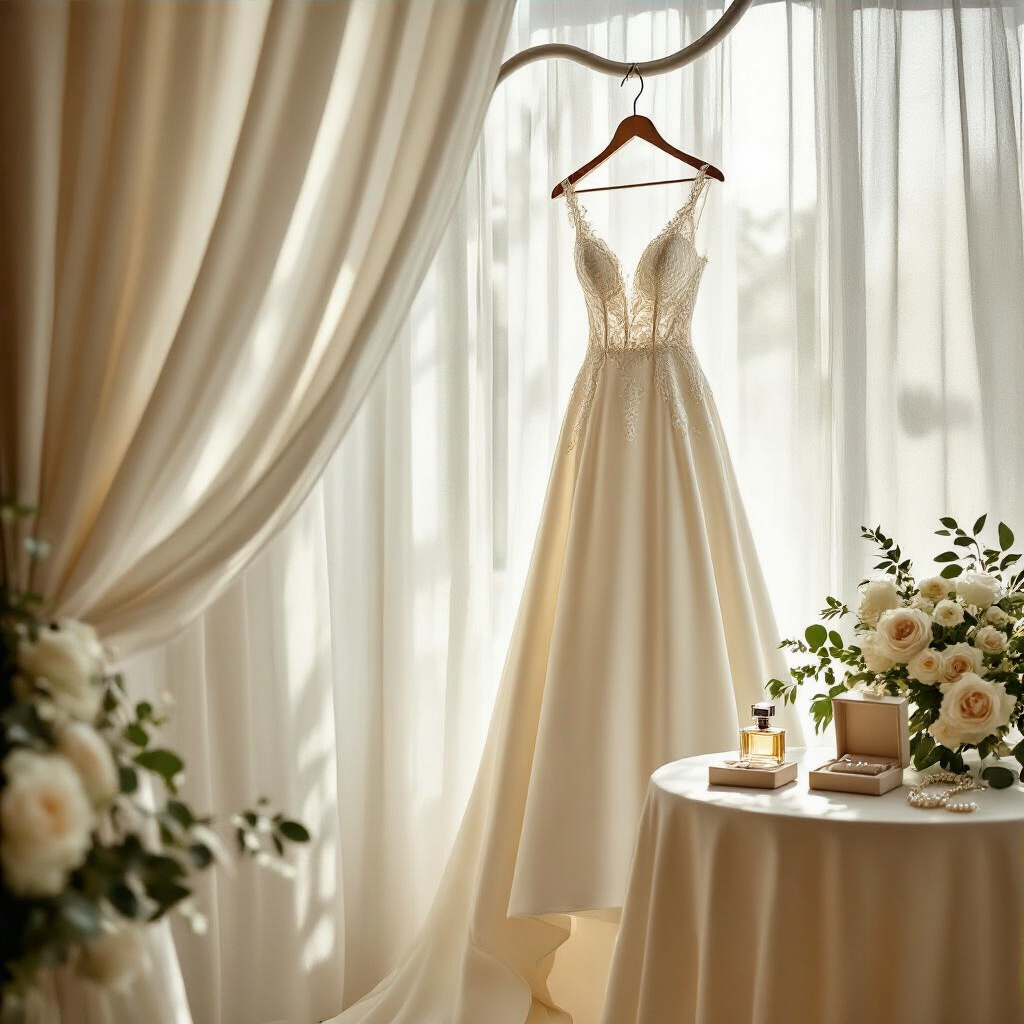
Natural window light is your best friend for bridal photography.
It reveals fabric texture without creating the harsh, flat reflections you get from artificial light sources pointed directly at satin or silk.
Here’s how different fabrics respond to light:
- Satin: Needs soft, angled light — direct light creates blinding reflections
- Lace: Side lighting shows the texture and detail beautifully
- Tulle and chiffon: Backlighting creates the airy, ethereal effect brides love
- Crepe and Mikado: Flattering in almost any soft light
Basic lighting setup that actually works:
- Large window with diffused daylight
- Sheer white curtains to soften harsh direct sun
- White reflector on the shadow side
- LED panel or softbox for consistent indoor shots when natural light isn’t available
Styling Props: What to Gather Before You Shoot
I organize props into three groups.
This keeps the shoot moving and stops you wasting 20 minutes hunting for a ribbon when you’re mid-session.
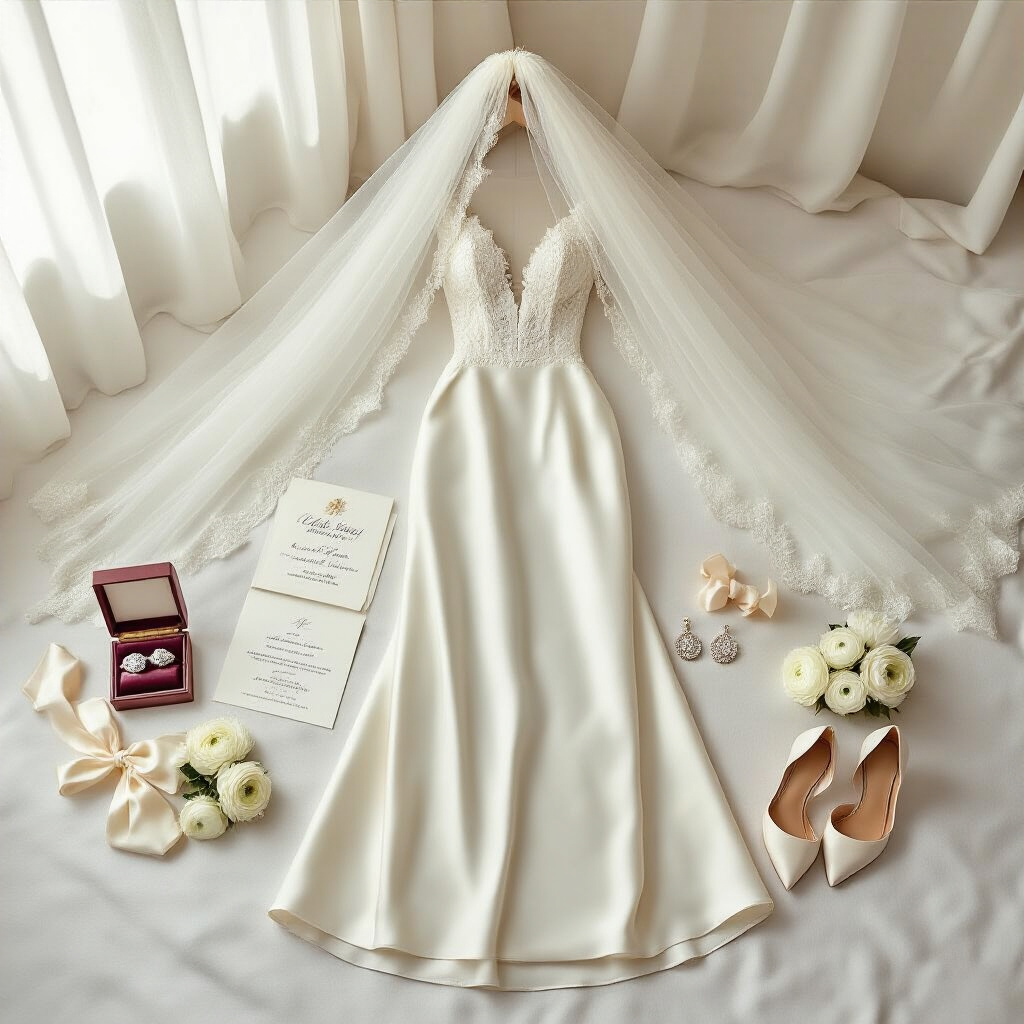
Group 1 — Essential:
- The dress
- Veil
- Bridal shoes
- Bouquet
- Wedding rings
Group 2 — Personal:
- Heirloom piece (a brooch, handkerchief, or piece of jewelry)
- Invitation suite
- Perfume bottle
- Ring box
Group 3 — Decorative:
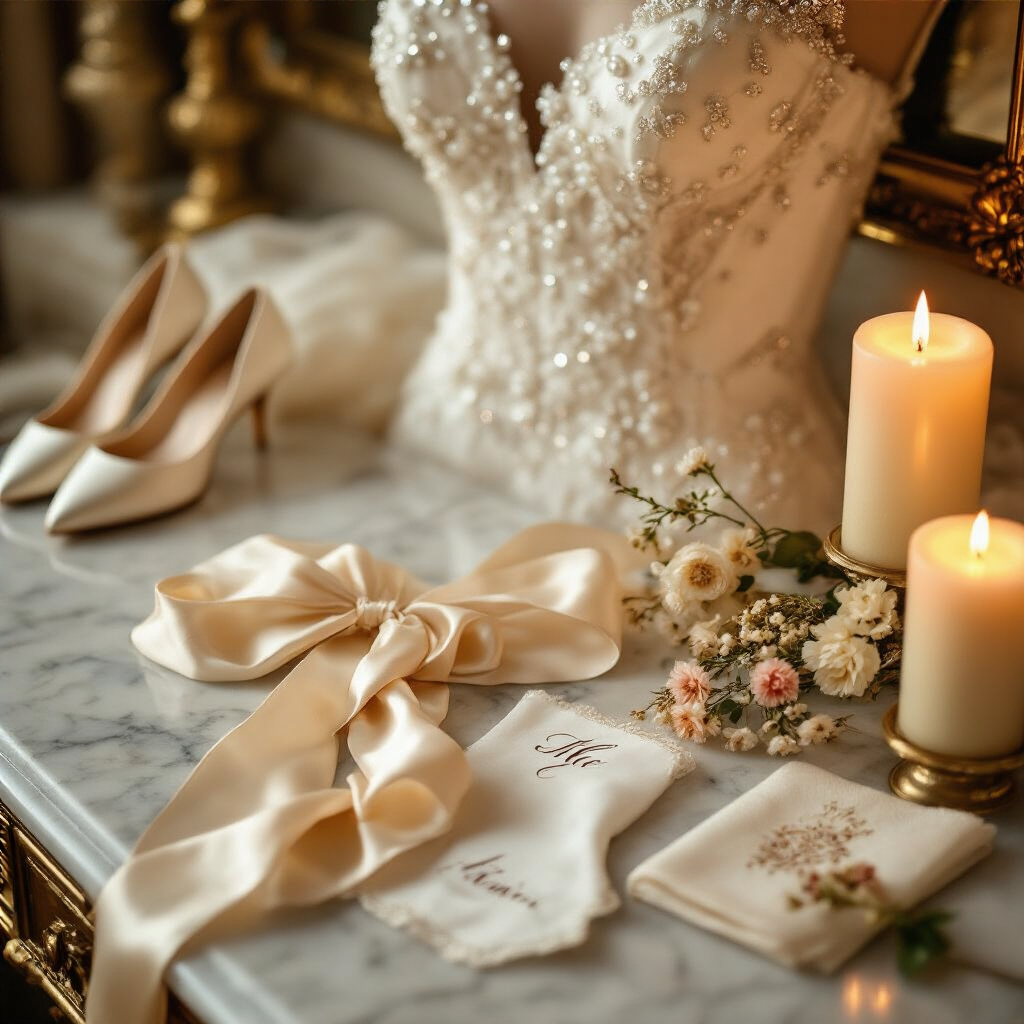
- Ivory or champagne silk ribbon
- White or cream florals
- Vintage mirror
- Decorative candles
- Neutral linen or silk fabric for flat lay backgrounds
Optional
Want to keep this one?
We'll email you the link so you can find it again later.