Pool Noodle Garland: The Easiest $10 Party Decoration You’re Not Making Yet
Pool Noodle Garland: The Easiest $10 Party Decoration You’re Not Making Yet
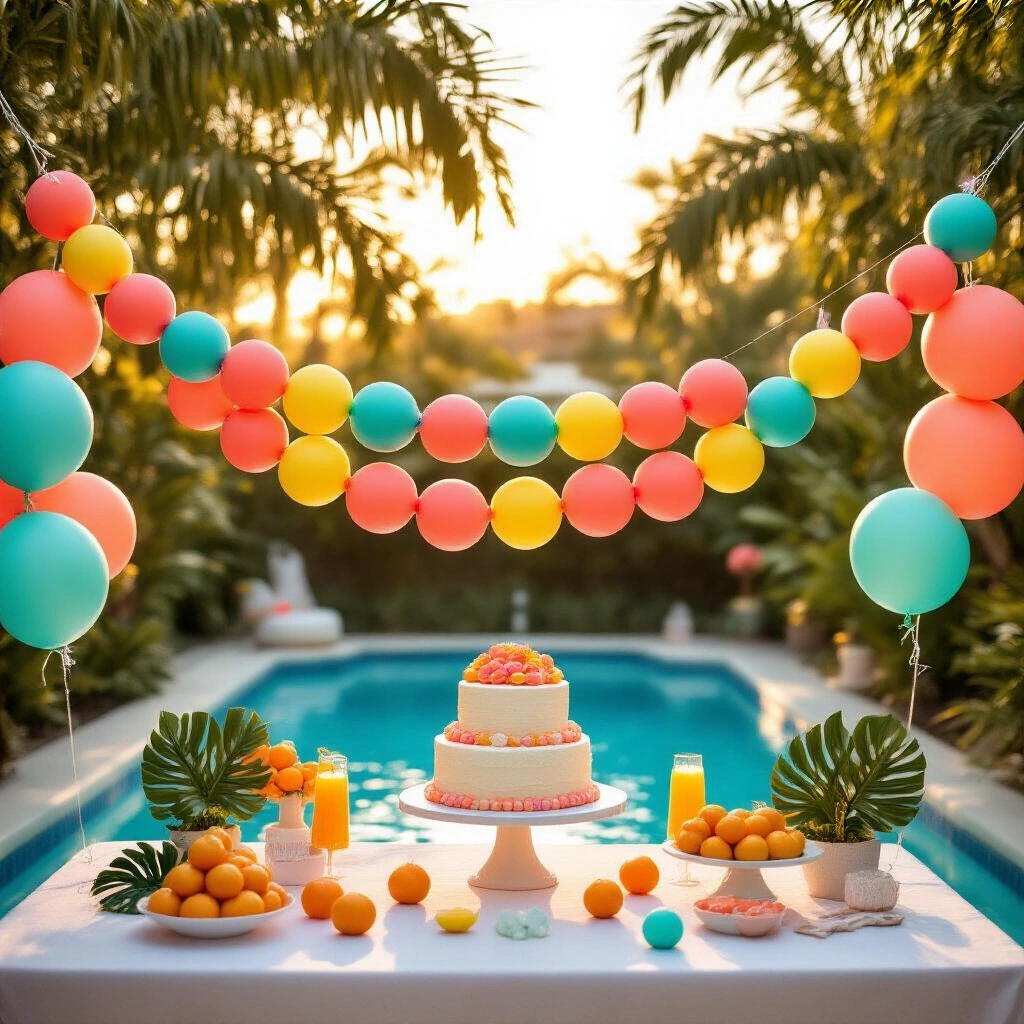
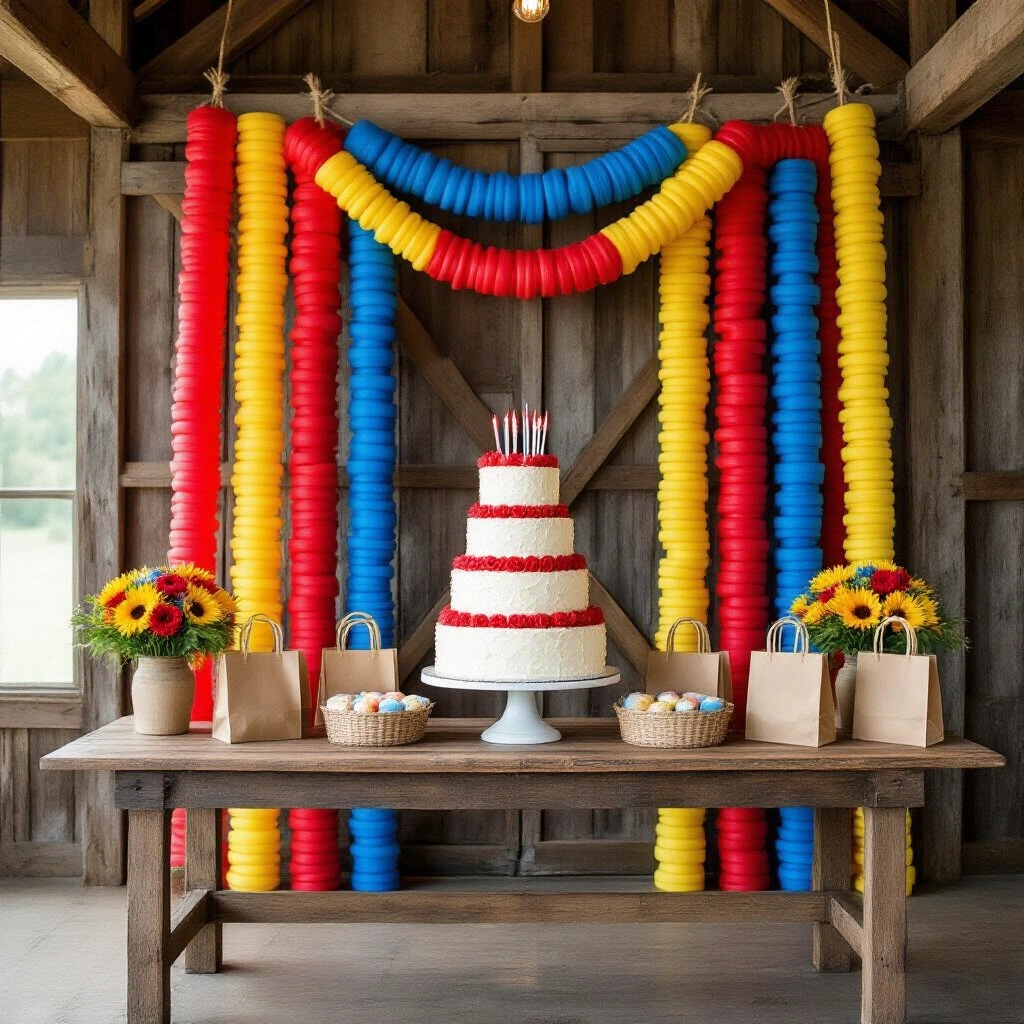
A pool noodle garland is one of those ideas that sounds almost too simple — until you see it hanging above a dessert table and realize it looks like something a professional party stylist charged $300 for.
I made my first one the night before my daughter’s pool party.
It took me 45 minutes, cost me about $8, and honestly? It was the thing everyone photographed.
If you’ve been spending too much on party decorations that end up in the trash, this one is going to change how you think about DIY decor.
What Is a Pool Noodle Garland (And Why Is Everyone Making One)?
It’s exactly what it sounds like. You take pool noodles, slice them into rounds like a loaf of bread, thread them onto string, and hang the whole thing up like a giant colorful necklace.
The result looks playful, oversized, and genuinely impressive.
The best part?
- It costs between $5 and $25 for a basic version
- You can make a 15–20 foot garland in about 30–45 minutes
- You need almost no crafting experience
- It works for pool parties, birthdays, classrooms, holiday events, and outdoor venues of any size
I’ve made versions for summer parties, a Halloween bash, and even a Christmas gathering. Every single time, someone has asked me where I bought it.
What You’ll Actually Need to Make This
Let’s keep this real and straightforward.
Here’s the honest materials list, broken into what you genuinely need and what’s just nice to have.
The Essentials
- Pool noodles in two or more colors (most dollar stores and big-box retailers carry them in summer)
- Serrated knife — a bread knife works perfectly
- A sturdy cutting board
- Twine, cotton cord, or fishing line — fishing line gives you that magical floating-in-midair look
- A large-eye needle or a skewer with the tip wrapped in tape (to make threading easier)
- Scissors
- A measuring tape
- Masking tape to mark your cut lines
- Command hooks or removable clips for hanging
That’s genuinely it for a simple, beautiful garland.
Optional Extras (If You Want to Go Further)
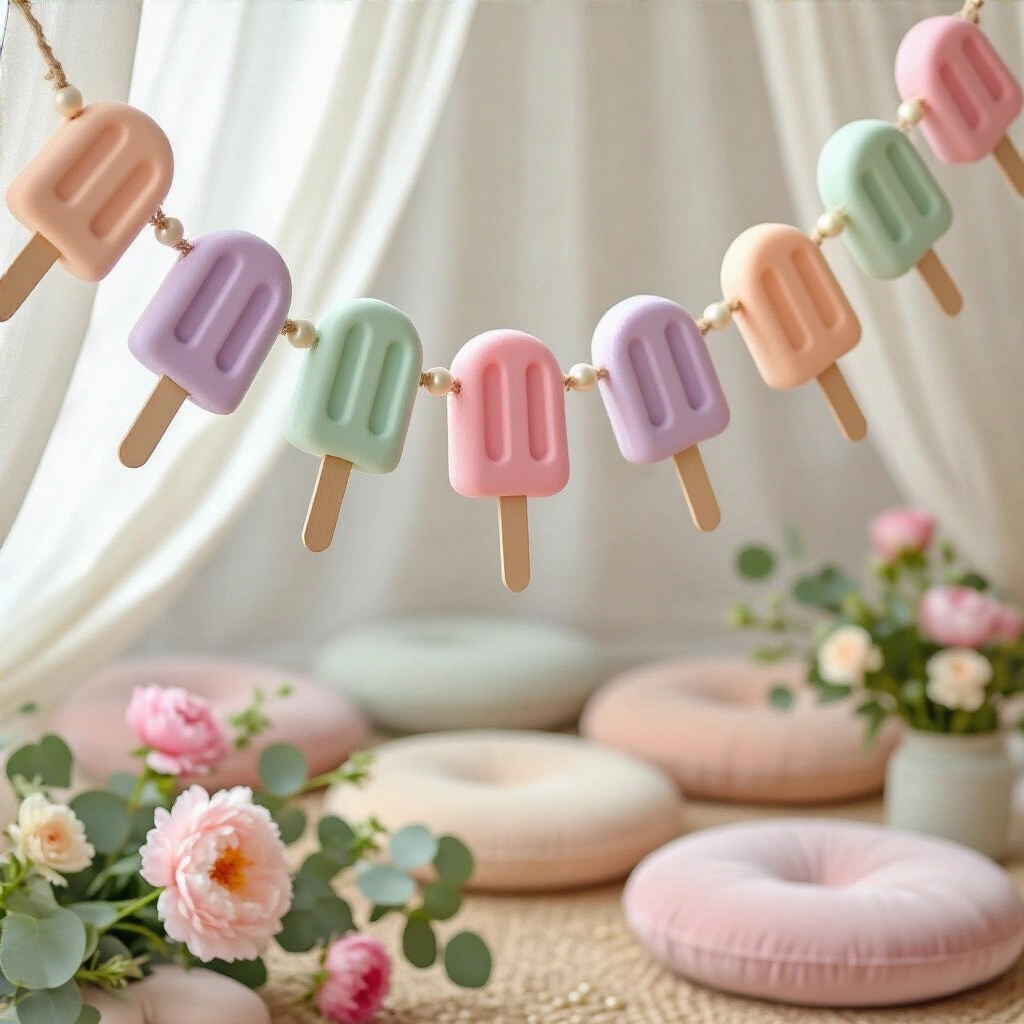
- Jumbo craft sticks — for a popsicle-style design
- A hot-glue gun
- Wooden or plastic beads
- Ribbon or tulle
- Acrylic paint and brushes
- Faux flowers, seashells, or themed cutouts
- Fairy lights or battery-powered string lights for evening events
How to Make a Pool Noodle Garland, Step by Step
This is where it gets fun.
Save this article
Enter your email and we'll send it straight to your inbox.
I’m going to walk you through exactly how I do this, including the small things that actually make a difference.
Step 1: Plan Your Colors and Pattern First
Before you touch a single noodle, decide on your color story.
This is the step most people skip, and it’s the reason some garlands look chaotic instead of cheerful.
Here’s how to pick a palette that actually works:
- Rainbow progression: every color in order — works beautifully for kids’ parties
- Two-color alternating: simple, clean, and graphic (think red and white, or blue and yellow)
- Pastel sorbet mix: soft pinks, lavenders, mints, and peaches for a more elegant feel
- Monochrome: shades of one color for a modern, polished look
- Holiday-specific: red and green for Christmas, orange and black for Halloween, red, white, and blue for patriotic events
My personal rule: Stick to two or three colors if you want it to look intentional. More than four colors without a deliberate plan tends to look messy rather than festive.
Step 2: Cut the Noodles
Put the noodle on your cutting board.
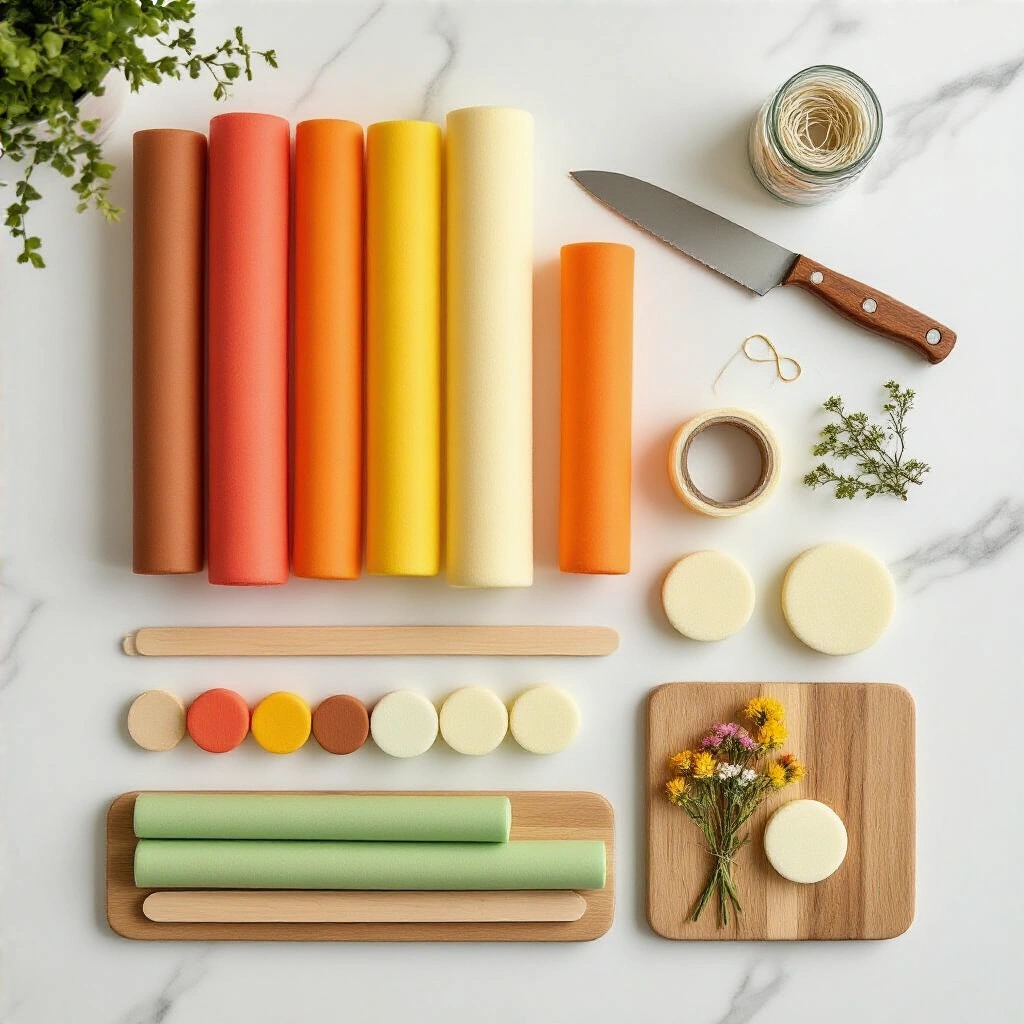
Use masking tape to mark your slice widths so every piece comes out consistent.
Here’s what I’ve found works best:
- ½-inch slices for a classic bead garland look — lightweight and delicate
- 1-inch slices for a chunkier, more substantial statement piece
- Thicker slices if you’re making popsicle shapes or character-themed pieces
Use a controlled sawing motion with the serrated knife. Don’t press down hard — let the knife do the work. Keep the round face of each slice facing forward when you thread them.
Sort your cut pieces into color groups before you do anything else. This saves so much time and frustration during the threading stage.
Step 3: Add Decorative Details (Optional but Worth It)
This is where you can take a simple garland and turn it into something really special.
Some of my favorite ideas:
- Popsicle style: glue a jumbo craft stick into the bottom of a thicker noodle slice — the noodle should make up about two-thirds of the total length, with the stick as the handle
- Painted stripes: use painter’s tape and acrylic paint to
Want to keep this one?
We'll email you the link so you can find it again later.