How to Make the Perfect Paper Star Garland That’ll Transform Any Room Into a Magical Space
How to Make the Perfect Paper Star Garland That’ll Transform Any Room Into a Magical Space
Contents
- How to Make the Perfect Paper Star Garland That’ll Transform Any Room Into a Magical Space
- Why I Fell in Love with Paper Star Garlands (And Why You Will Too)
- The Foolproof Flat Star Method (Perfect for Beginners)
- Level Up with 3D Folded Stars (When You’re Ready to Impress)
- The Sewing Machine Shortcut (My Personal Favorite)
- Choosing Papers That’ll Make Your Garland Sing
- Color Combinations That Never Fail
You know that feeling when you walk into a room and something’s missing? The walls look bare, the space feels flat, and you’re scratching your head wondering how to add some personality without breaking the bank.
I’ve been there countless times, staring at empty walls like they’re mocking me. That’s when I discovered the magic of paper star garlands – those charming strings of stars that instantly make any space feel more welcoming and festive.

Why I Fell in Love with Paper Star Garlands (And Why You Will Too)
Let me tell you about the first time I made a paper star garland. I was hosting my daughter’s birthday party and had exactly $12 left in my decorating budget after buying the cake. Desperate times called for desperate measures.
Three hours later, I had created the most gorgeous garland that stretched across our entire living room. The kids were mesmerized, the adults kept asking where I bought it, and I felt like Martha Stewart herself.
Here’s what makes paper star garlands absolutely brilliant:
- They cost practically nothing to make
- You can customize them for any season or occasion
- They work in every room of your house
- Even craft-challenged people (like my husband) can make them
- They’re surprisingly durable when made properly
The Foolproof Flat Star Method (Perfect for Beginners)
This is where I always tell newcomers to start. It’s so simple that my 8-year-old can do it, yet the results look professionally made.
What you’ll need:
- Colored cardstock paper in your chosen colors
- Star-shaped paper punch or scissors
- Twine or ribbon
- Glue stick
- Small paintbrush (trust me on this one)
Step-by-step process:
- Cut your stars – Punch or cut stars from your chosen papers
- Measure your twine – Add 12 inches to your desired length for hanging
- Create the sandwich – Place one star face-down, add a thin line of glue, lay the twine on top
- Seal the deal – Press the matching star on top, glue-side down
- Space them perfectly – Keep stars about 3-4 inches apart for the best visual impact
The whole process takes about 1.5 hours for 6 feet of garland. Perfect for a cozy evening project with your favorite Netflix show running in the background.
Level Up with 3D Folded Stars (When You’re Ready to Impress)
Once you’ve mastered the flat method, these dimensional stars will blow your mind. They catch light beautifully and create shadows that add serious depth to your decor.
I discovered this technique when preparing for my sister’s bridal shower. The 3D effect made the garland look like it came from an expensive boutique.
The folding magic:
- Trace and cut your stars first
- Make five strategic folds on each star
- Crease those lines like your life depends on it
- Watch as flat paper transforms into sculptural beauty
Pro tip: Use metallic cardstock for 3D stars. The way light bounces off the dimensional folds is absolutely stunning.
The Sewing Machine Shortcut (My Personal Favorite)
This method changed everything for me. Instead of gluing individual stars, you stack two different colored stars and run a straight line down the middle with your sewing machine.
Why I love this approach:
- Takes half the time of gluing
- Creates instant 3D effect when you fold the stars outward
- The stitching line becomes part of the design
- Super secure connection that won’t fall apart
The first time I tried this, I was skeptical. How could something so simple look so professional? But when I folded those stars outward and saw the beautiful layered effect, I was completely sold.
Choosing Papers That’ll Make Your Garland Sing
Not all papers are created equal when it comes to star garlands. I’ve learned this the hard way through some spectacular failures.
My go-to paper choices:
- Vintage book pages – For that shabby chic, intellectual vibe
- Magazine pages – Unexpected pops of color and pattern
- Metallic cardstock – When you want serious glamour
- Sheet music – Perfect for music lovers or vintage themes
- Maps – Amazing for travel-themed rooms or masculine spaces
Avoid these paper disasters:
- Tissue paper (tears too easily)
- Construction paper (fades quickly)
- Newspaper (looks cheap and gets dirty fingerprints)
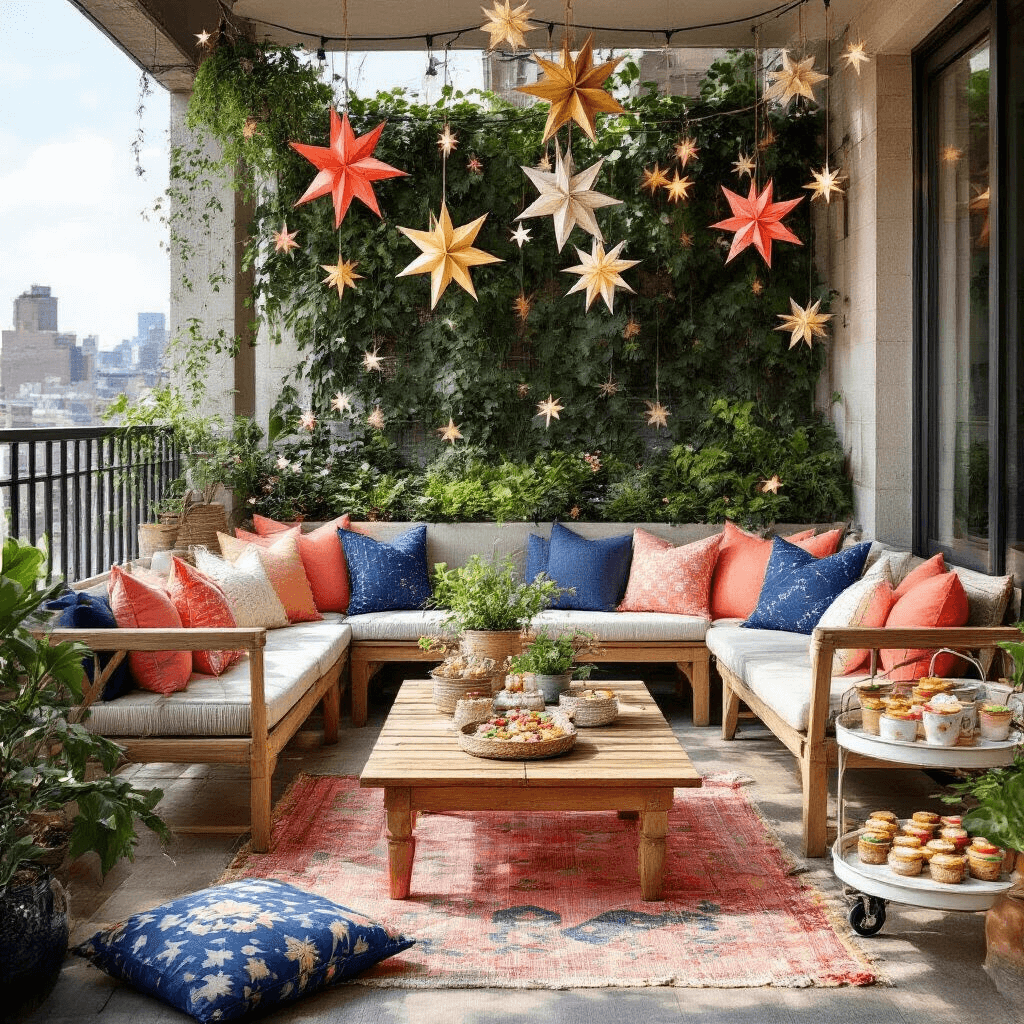
Color Combinations That Never Fail
Color intimidates a lot of people, but I’ve got some foolproof combinations that work every single time.
Classic crowd-pleasers:
- Navy, gold, and cream – Sophisticated and timeless
- Blush pink, gold, and white – Romantic and elegant
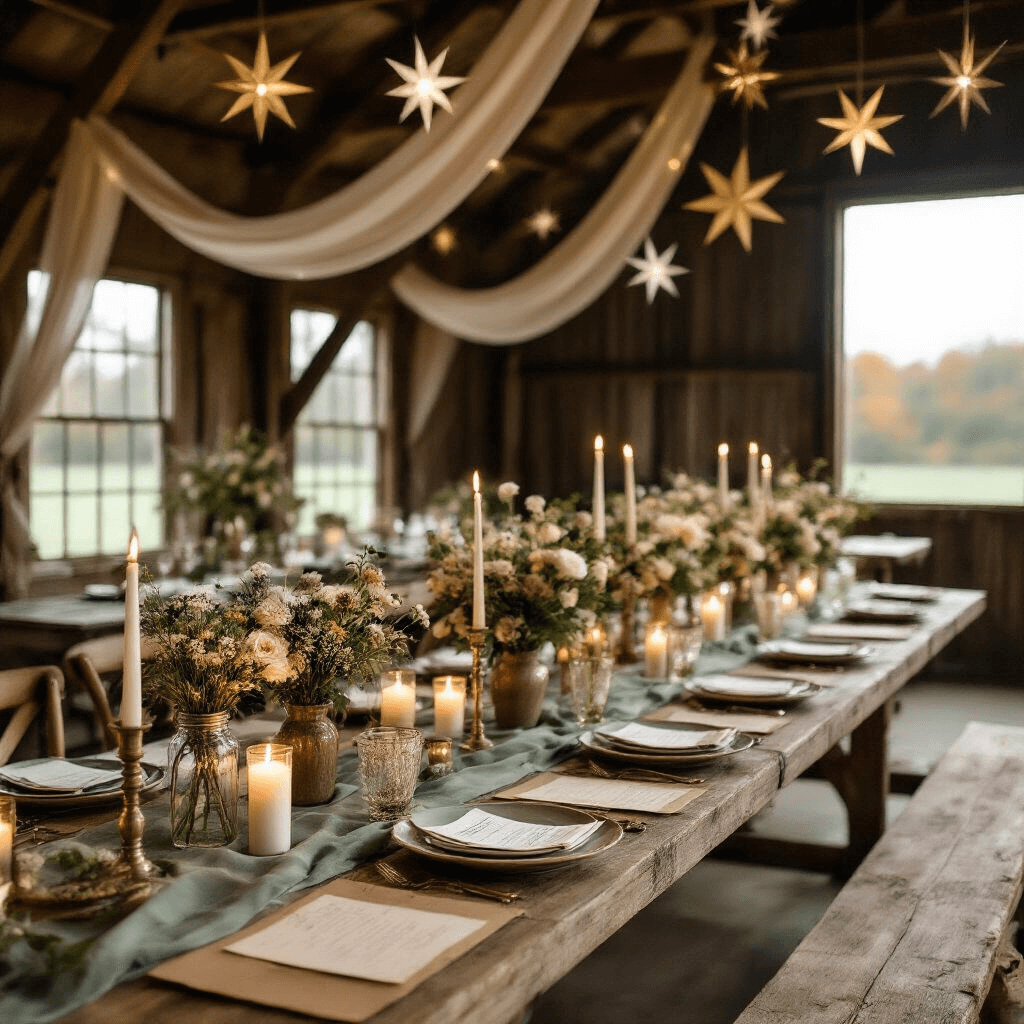
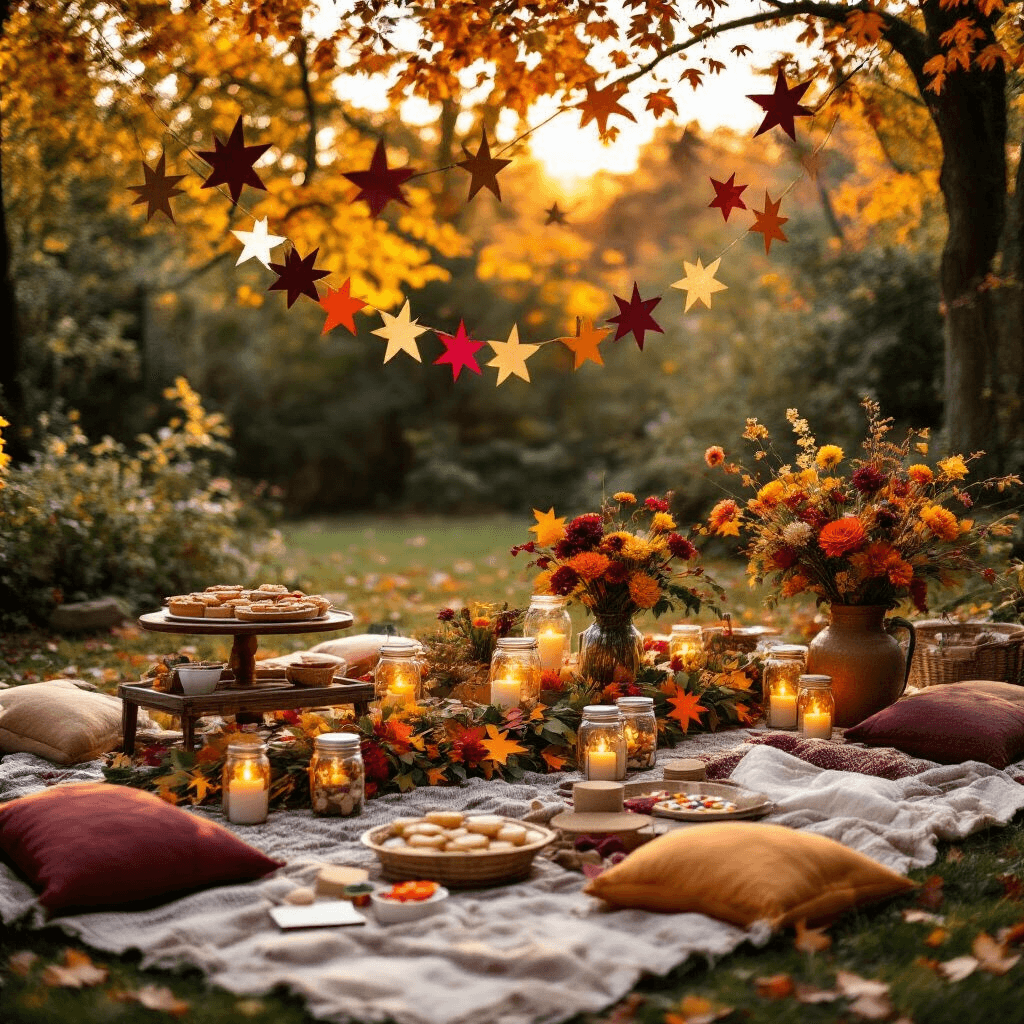
- Forest green, burgundy, and kraft brown – Cozy autumn vibes
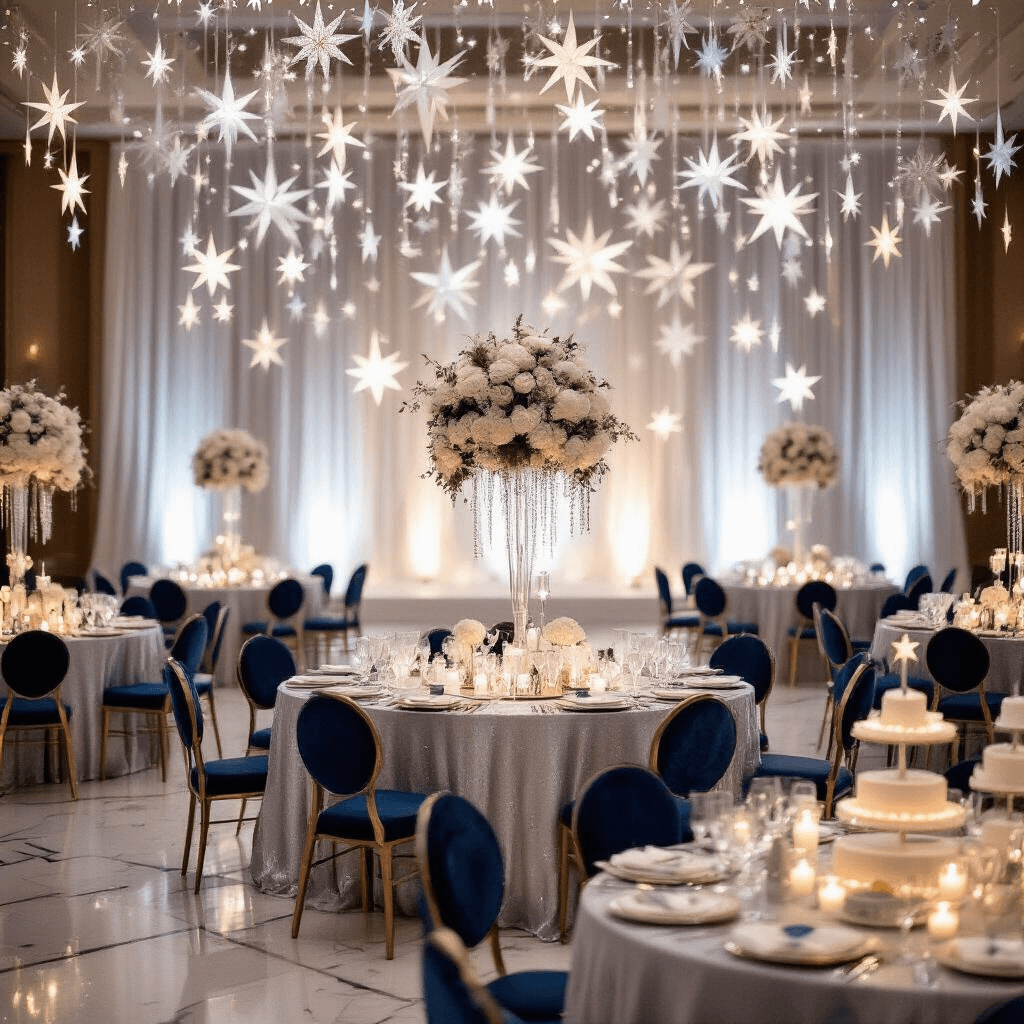
- Silver, white, and pale blue – Winter wonderland magic