DIY Paper Garland: The Ultimate Guide to Creating Stunning Event Decor
Paper garlands are the Swiss Army knife of party décor—simple, affordable, and incredibly versatile. Whether you’re decorating for a wedding, birthday, or cozy dinner at home, paper garlands add instant charm. They’re:
-
Budget-friendly – Most projects cost under $20.
-
Customizable – Choose any color, theme, or shape.
-
Beginner-friendly – No special crafting skills required.
-
Instagram-worthy – Perfect for photo backdrops and décor shots.
Unlike store-bought décor, a handmade garland adds a personal touch that guests always notice.
Essential Tools and Supplies
Contents
- Essential Tools and Supplies
- Step-by-Step: How to Make a Paper Garland
- Style Hacks to Elevate Your Garland
- Common Mistakes to Avoid
- Photography Tips for Instagram-Worthy Shots
- Budget-Friendly Options
- When to Use Paper Garlands
- Pro Styling Secrets
- The Ultimate Cheat Sheet
- Quick Product Recommendations
- Final Thoughts
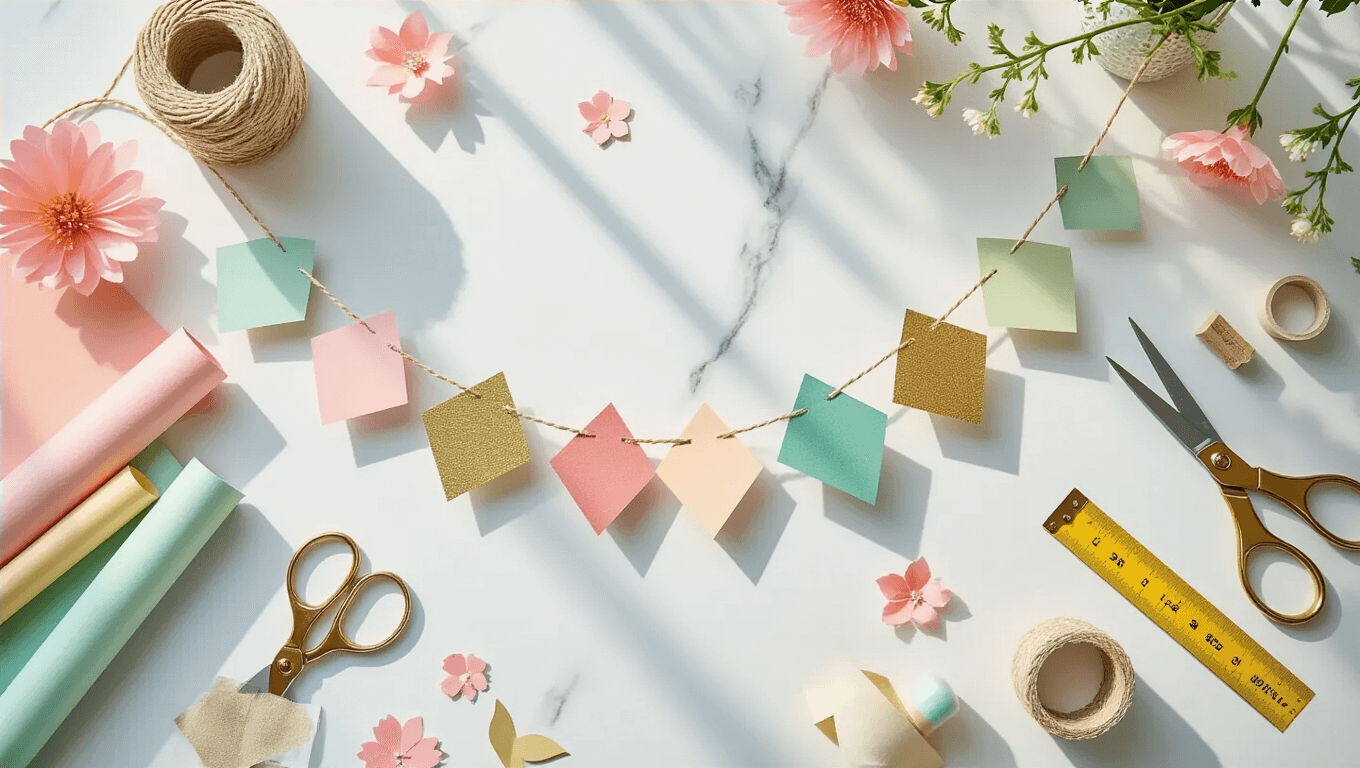
Before you start, gather a few simple tools:
-
Colorful craft paper – Try a craft paper variety pack with multiple colors and textures.
-
Sharp scissors – A decorative scissors set adds fun edges.
-
Glue stick or double-sided tape.
-
Twine or string – A sturdy craft twine roll works for most projects.
-
Paper punches (optional) – Great for creating uniform circles, hearts, or stars.
Step-by-Step: How to Make a Paper Garland
1. Choose Your Theme and Color Palette
Think about the event vibe:
-
Boho wedding: Neutrals, gold, and kraft paper.
-
Kid’s birthday party: Rainbows, bright primaries, and playful shapes.
-
Holiday season: Reds, greens, metallic accents.
2. Cut Out Your Shapes
-
Use scissors for freehand cutting or paper punches for precision.
-
Popular shapes include circles, triangles, hearts, and stars.
-
Mix and match sizes for a more dynamic look.
3. Assemble the Garland
-
Lay shapes flat on the table to experiment with patterns.
-
Attach them to string with glue, tape, or by sewing straight through.
-
Leave even spacing for a polished look.
Style Hacks to Elevate Your Garland
Want your DIY project to look professionally styled? Try these tricks:
-
Mix Textures: Combine metallic cardstock with matte paper.
-
Layer Shapes: Overlap small circles over large triangles for depth.
-
Play with Scale: Alternate tiny stars with oversized circles.
-
Add Embellishments: Sequins, glitter, or mini tassels make your garland pop.
Common Mistakes to Avoid
Even simple projects have pitfalls. Skip these rookie errors:
-
Overcrowding: Too many shapes make the garland heavy and messy.
-
Uniform Shapes Only: Variety adds interest and balance.
-
Forgetting Length: Measure your wall or backdrop before cutting.
-
Perfectionism: Handmade charm lies in small imperfections!
Photography Tips for Instagram-Worthy Shots
If you’re making paper garlands for a photo backdrop, presentation is key:
-
Use Natural Light: Position your garland near a window.
-
Avoid Midday Sun: Harsh shadows can ruin photos.
-
Layer Multiple Garlands: Creates depth in photos.
-
Choose Backgrounds Wisely: A plain wall makes your garland stand out.
Budget-Friendly Options
One of the best things about paper garlands? They’re cheap but chic. Most projects cost less than a fancy latte. Here’s how to save even more:
-
Reuse old magazines or sheet music for a vintage look.
-
Buy bulk craft paper for larger projects.
-
Use leftover wrapping paper for holiday garlands.
When to Use Paper Garlands
Paper garlands aren’t just for birthdays. They work for countless occasions:
-
Weddings: Line aisles, decorate dessert tables, or create a dreamy photo backdrop.
-
Birthday Parties: Add pops of color over a gift table.
-
Holiday Décor: From Halloween bats to Christmas snowflakes.
-
Baby Showers: Spell out the baby’s name with letter cutouts.
-
Everyday Home Décor: Add a cozy touch above a fireplace or bookshelf.
Pro Styling Secrets
Event stylists often use these quick tricks:
-
Layer Multiple Garlands: Hang two or three for a fuller look.
-
Combine Materials: Mix paper garlands with fairy lights.
-
Go Vertical: Hang strands floor-to-ceiling for dramatic backdrops.
-
Add Metallic Accents: Gold or silver cardstock instantly elevates the look.
The Ultimate Cheat Sheet
-
Difficulty Level: Beginner to Intermediate
-
Time Needed: 30–60 minutes
-
Cost: $5–$20
-
Best For: Weddings, birthdays, seasonal parties, home décor
Pro Tip: Store garlands flat in a box to reuse them for multiple events.
Quick Product Recommendations
-
Craft Paper Variety Pack – Endless colors for every theme.
-
Decorative Scissors Set – Create fun, patterned edges.
-
Craft Twine Roll – Strong and stylish.
-
Shape Paper Punch Kit – Circles, hearts, and stars made easy.
Final Thoughts
DIY paper garlands are more than just decorations—they’re memories in the making. Affordable, customizable, and perfect for any occasion, these garlands are a go-to craft for party planners and hobbyists alike.
So, grab your scissors, paper, and twine, and let your creativity flow. Don’t aim for perfection—aim for fun, color, and charm. In the end, your handmade paper garland will be the star of the event.
Happy crafting! 🎉✂️🌈


