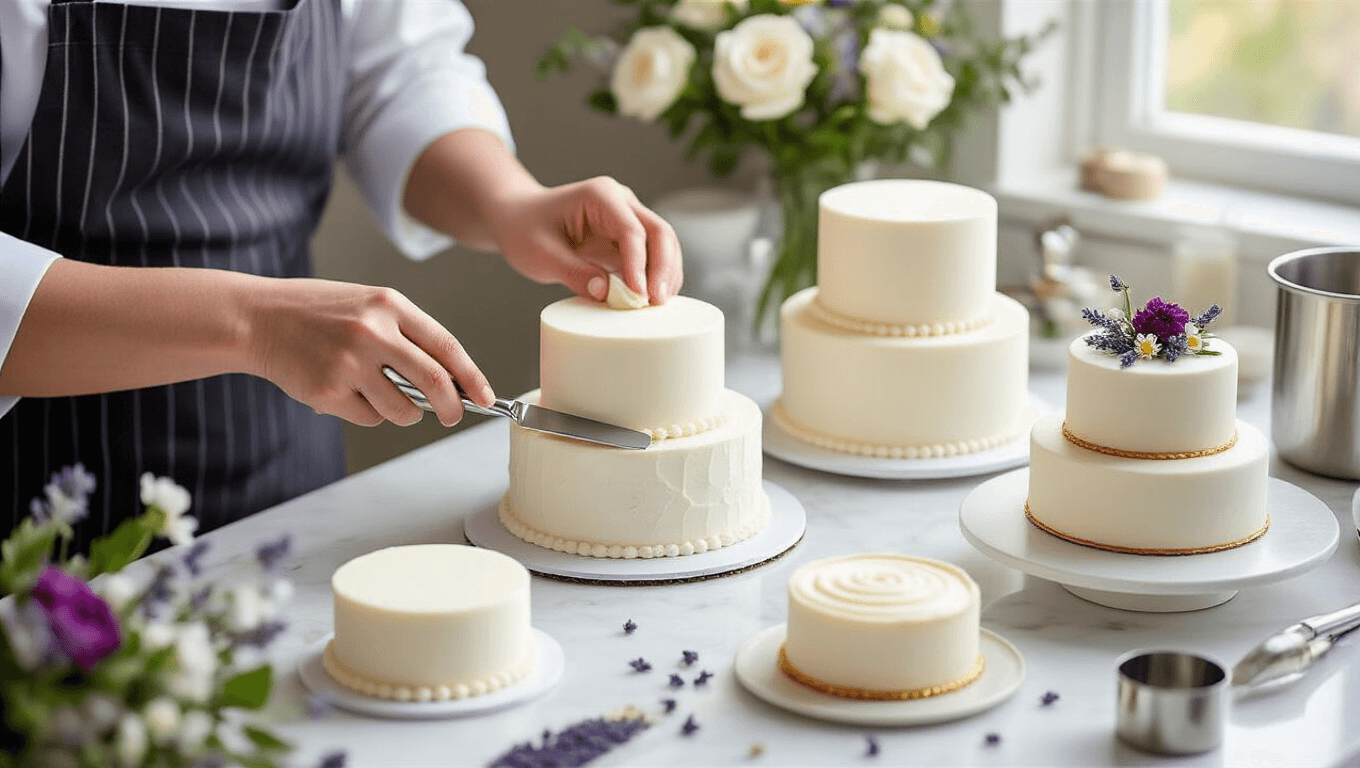
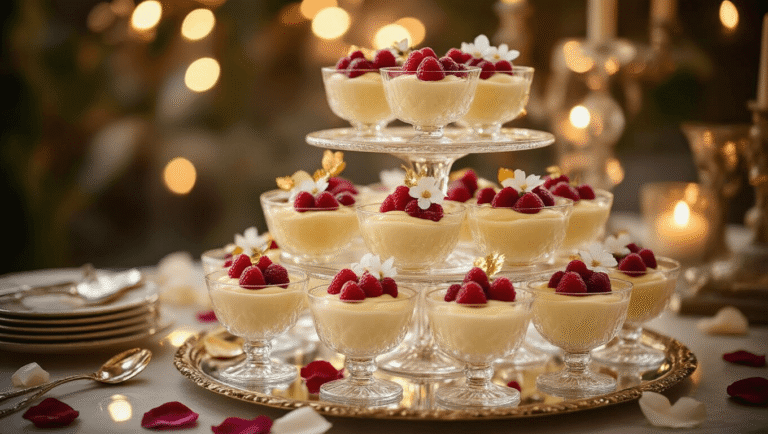
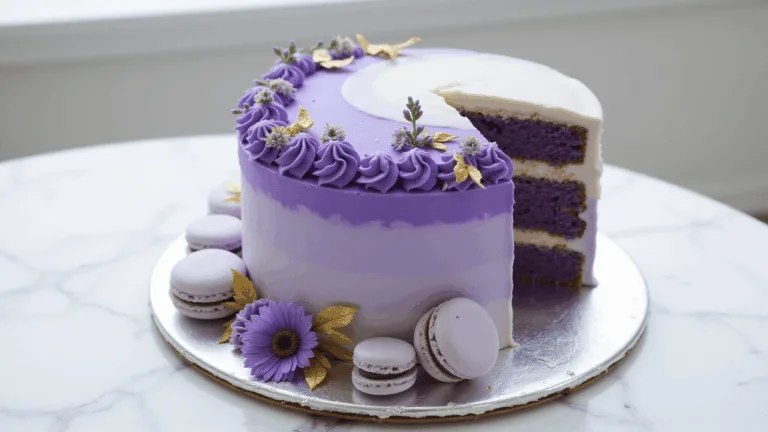
Mini Wedding Cakes: Elegant Individual Desserts for Your Special Day
Mini cakes are more than just a trend—they offer a practical and creative solution for couples who want their dessert to stand out. Here’s why they’re worth considering:
-
Personalized experience: Every guest gets their own little cake.
-
Dietary flexibility: Easier to offer vegan, gluten-free, or dairy-free options.
-
Beautiful presentation: Stacked, glazed, or decorated, they look stunning.
-
Memorable favors: Individually packaged mini cakes make wonderful take-home gifts.
Recipe & Timing Details
Contents
Prep Time: 25–35 minutes
Cook Time: 20–25 minutes
Total Time: 1–1.5 hours
Servings: 8–24 mini cakes
Difficulty: Moderate
Cost: $18–$35 per batch
Dietary Options: Vegetarian-friendly, adaptable to vegan, gluten-free, or dairy-free diets
Essential Equipment You’ll Need
Must-Have Tools
-
Large sheet pan
-
Parchment paper
-
Mixing bowls
-
Offset spatula
👉 If you don’t already own one, check out this Cordless Hand Mixer 7-Speed — reliable, versatile, and perfect for mixing batters.
Optional But Helpful Tools
-
Piping bags
-
Cake turntable
-
Silicone molds
👉 A set of 6-piece Fluted & Plain Round Biscuit Cutters will help get clean, uniform rounds.
Ingredients List
Cake Base
-
1 pkg (16 oz) pound cake mix
-
Eggs (as required by mix)
-
Milk
-
Butter or oil
👉 For convenience, you can use Betty Crocker Pound Cake Mix (look up its listing with your tag).
Glaze
-
8 cups powdered sugar
-
½ cup milk
Optional Flavor Enhancers
-
Vanilla extract
-
Lemon zest
-
Cocoa powder
-
Edible flowers for garnish
Step-By-Step Preparation
-
Preheat oven to 350°F (180°C).
-
Line your sheet pan with parchment paper.
-
Prepare cake batter according to package instructions.
-
Spread batter evenly in the pan.
-
Bake for 20 minutes, until golden and a toothpick comes out clean.
-
Cool completely on a wire rack before cutting.
-
Cut into rounds using biscuit cutters.
-
Stack cake rounds from largest to smallest for a tiered effect.
-
Prepare glaze by whisking powdered sugar and milk until smooth.
-
Drizzle glaze over the cakes.
-
Decorate with chosen garnishes (edible flowers, fruit, or sprinkles).
Pro Tips For Perfect Mini Cakes
-
Always let the cake cool completely before cutting.
-
Use sharp cutters for clean edges.
-
Stack carefully to prevent slipping.
-
Apply glaze when the cake is room temperature, not warm.
👉 For even cleaner cuts and professional results, try the HULISEN Stainless Steel Biscuit Cutter Set (3-piece).
Storage And Serving Recommendations
Storage Guidelines
-
At room temperature: 1–2 days
-
Refrigerated: Up to 4 days
-
Frozen (un-iced cakes): Up to 2 months
Serving Suggestions
-
Best served at room temperature.
-
Pair with champagne or light dessert wine for an elegant touch.
-
Individually packaged mini cakes double as wedding favors.
👉 Use Clear Mini Cake Boxes for packaging (you’d look up the version that suits your cake size).
Creative Variations & Flavor Ideas
-
Naked Mini Cakes – Simple and chic with minimal frosting.
-
Geometric Designs – Use silicone molds for unique shapes.
-
Seasonal Decorations – Pastel flowers in spring, gold leaf in winter.
-
Cupcake-Style Versions – Easier for casual receptions.
Flavor Combinations To Try
-
Lemon–Blueberry (fresh and bright)
-
Chocolate–Raspberry (rich and romantic)
-
Matcha–White Chocolate (modern and elegant)
👉 For bold colors and flavors, try using LorAnn Baking Flavor Oils (you’d insert its product link with your tag).
Common Mistakes To Avoid
-
❌ Overbaking (leads to dry cakes)
-
❌ Uneven cutting with dull tools
-
❌ Glazing while the cake is still warm
-
❌ Using too much glaze (can make cakes soggy)
Styling The Cakes For Your Wedding Display
-
Arrange on rustic wooden stands.
-
Use greenery garlands as table runners underneath.
-
Mix heights by placing cakes on different tiers or trays.
-
Add personalized name tags or ribbons for favors.
👉 A 3-tier rustic wooden cupcake stand would be a beautiful display piece (look up one with your tag).
Final Thoughts
Mini wedding cakes offer a delightful blend of style and practicality. They’re easy to adapt for dietary needs, affordable to make in batches, and beautiful enough to double as table decor. Whether you keep them simple with classic glaze or get creative with flavors and seasonal decorations, these cakes will leave your guests impressed and satisfied.
With the right tools and a few presentation touches, you can create desserts that are just as memorable as your ceremony itself. So roll up your sleeves, preheat that oven, and get ready to wow your guests with mini wedding cakes that taste as amazing as they look.


