How to create wedding dIY decorations?
Your wedding day is one of the most memorable moments in your life—a beautiful occasion filled with love, joy, and the promise of forever. Creating wedding DIY decorations allows you to infuse your personal style into every detail while saving money and making lasting memories along the way. Whether you’re planning a rustic barn celebration, a chic outdoor garden party, or a glitzy affair, these hands-on projects will inspire you to craft a wedding space that’s as one-of-a-kind as your love story. Ready to get creative and wow your guests? Here are 10 gorgeous wedding DIY decorations ideas, each with easy-to-follow instructions and a dreamy “Picture this” to spark your imagination and confidence—let’s get started!
1. Painted Mason Jar Vases
Contents
- 1. Painted Mason Jar Vases
- Step-by-Step
- 2. Bohemian Rug Aisle Runner
- Step-by-Step
- 3. Suspended Paper Lantern Centerpieces
- Step-by-Step
- 4. Hanging Floral Arrangements for Chairs
- Step-by-Step
- 5. Chalkboard Wedding Signs
- Step-by-Step
- 6. Memory Wall of Photos
- Step-by-Step
- Step-by-Step
- 8. DIY Confetti Cones
- Step-by-Step
- 9. Eclectic Table Centerpieces
- Step-by-Step
- 10. Vibrant Yarn or Tassel Backdrops
- Step-by-Step
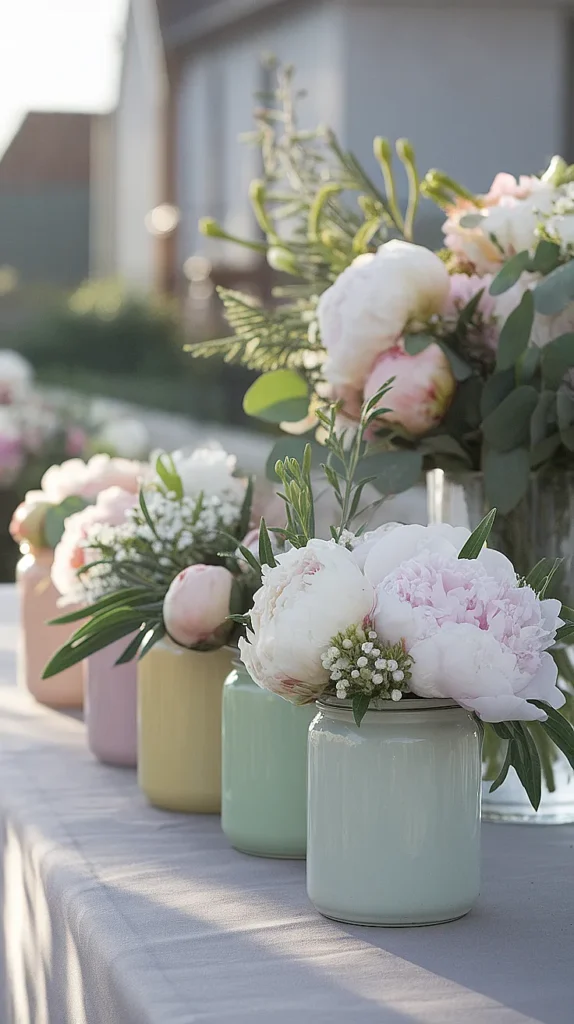
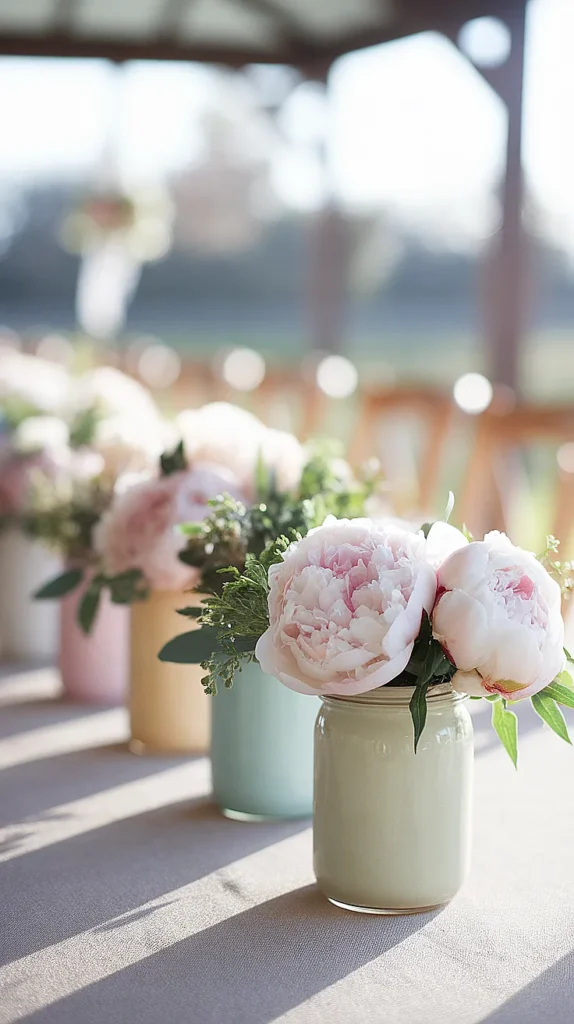
Painted mason jar vases are charming, versatile, and super affordable for centerpieces or aisle accents. These jars can be customized with your wedding colors, wrapped with lace or twine, and filled with fresh or silk flowers.
Step-by-Step
- Gather mason jars, acrylic paint, paintbrushes, and optional decorations (twine, lace, or ribbons).
- Clean and dry the jars.
- Apply 2–3 coats of paint, letting each layer dry fully.
- Decorate with twine or lace around the rim.
- Fill with your favorite flowers or greenery.
Picture this: Soft pastel jars filled with delicate peonies and greenery, lining tables and casting a romantic glow as the sunlight catches the colors.

2. Bohemian Rug Aisle Runner
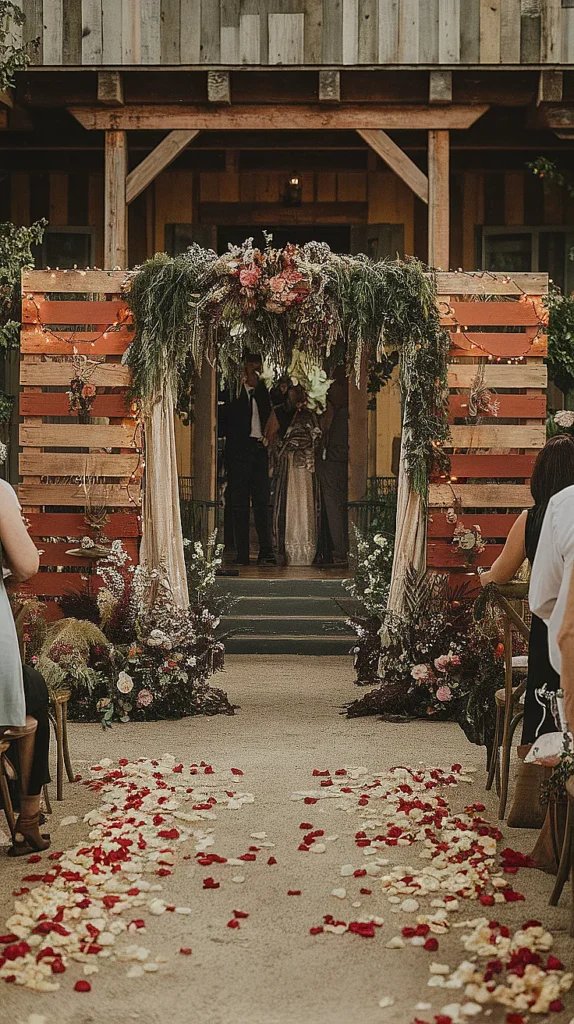
Swap the traditional white aisle for a collection of boho rugs to create an intimate, homey ceremony space. Mix patterns and textures for a cozy, eclectic vibe.
Step-by-Step
- Source vintage or new rugs in complementary colors and sizes.
- Clean and lay out rugs to create your aisle path.
- Secure each rug with non-slip mats or tape if outdoors.
- Arrange rugs so patterns and textures flow organically.
Picture this: Guests arriving to a magical aisle, rich with color and character, feeling like they’re stepping into a bohemian love story.


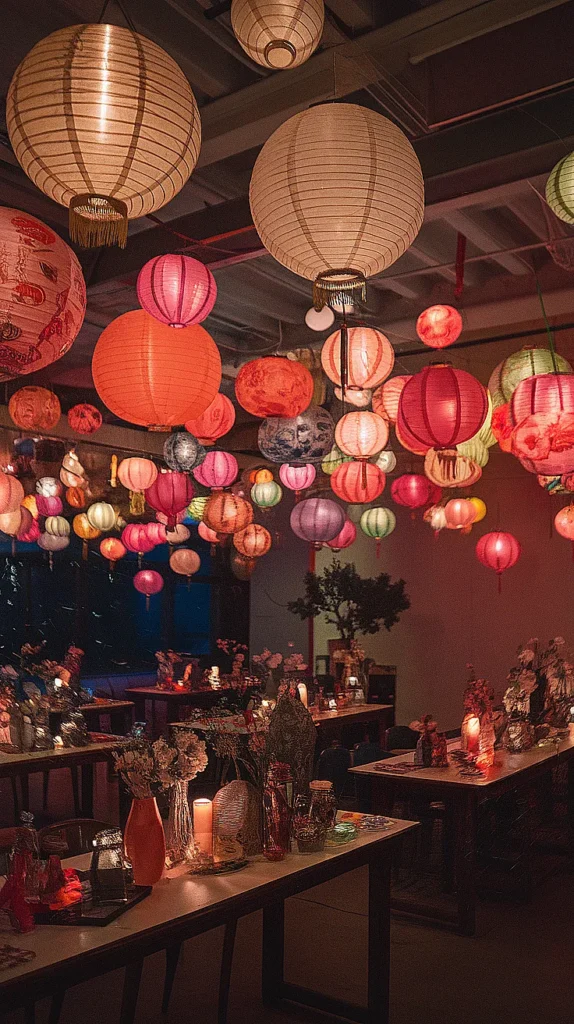
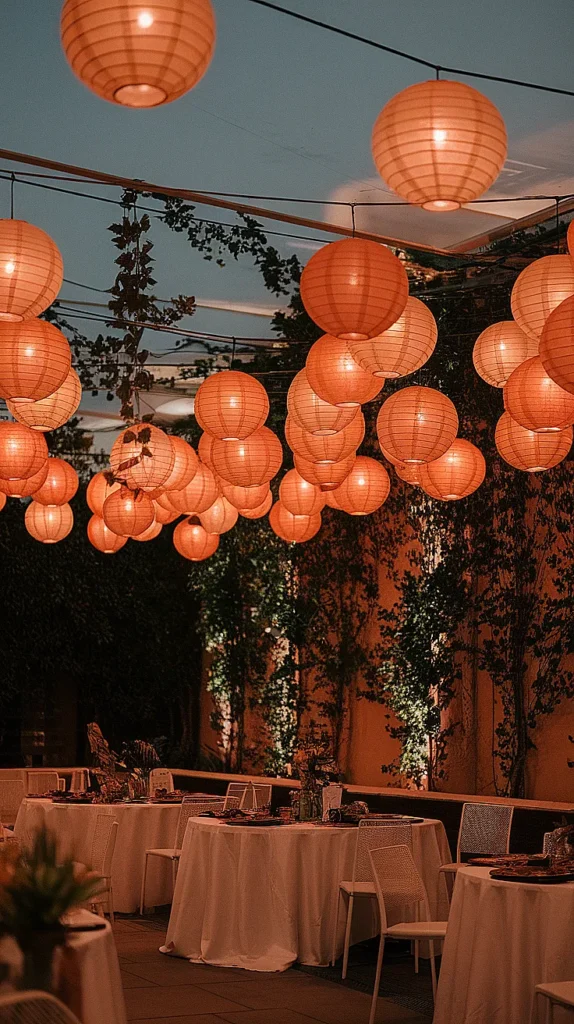
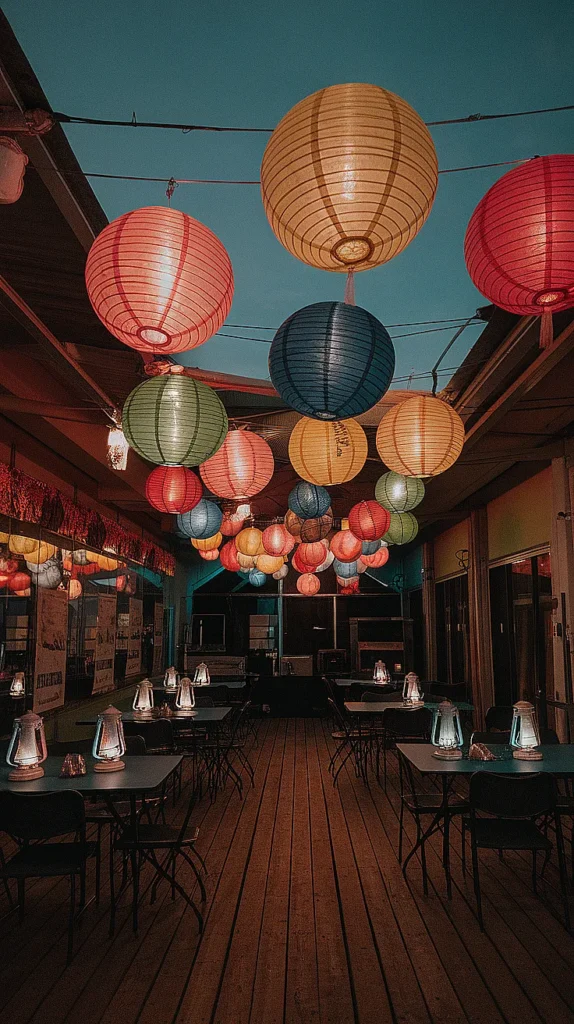
3. Suspended Paper Lantern Centerpieces
Paper lanterns instantly elevate tables with their whimsical, airy beauty and are easy on the budget. Hang them in clusters above seating areas for dramatic effect.
Step-by-Step
- Purchase paper lanterns in your wedding colors and sizes.
- Assemble lanterns following manufacturer instructions.
- Cut fishing line or cord to desired length.
- Suspend clusters above tables using hooks or an overhead frame.
Picture this: Lanterns floating above tables, filling the room with vibrant color and gentle movement as the evening breeze wafts through.
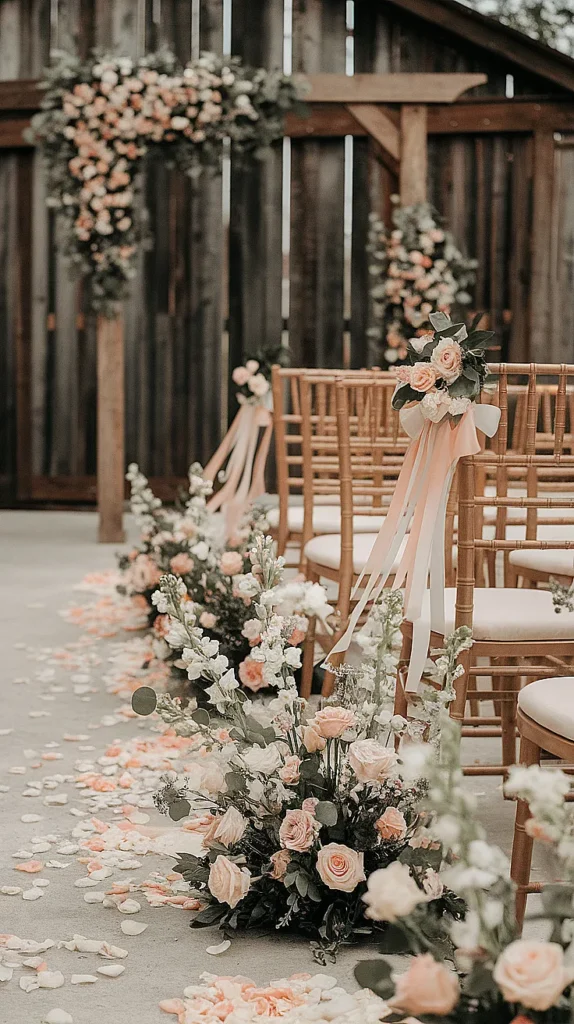
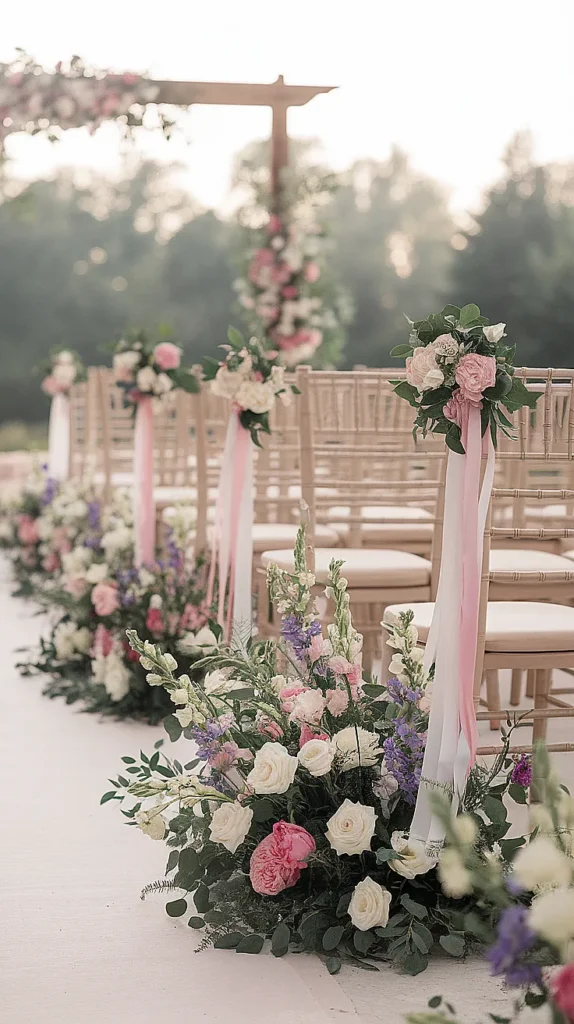
4. Hanging Floral Arrangements for Chairs
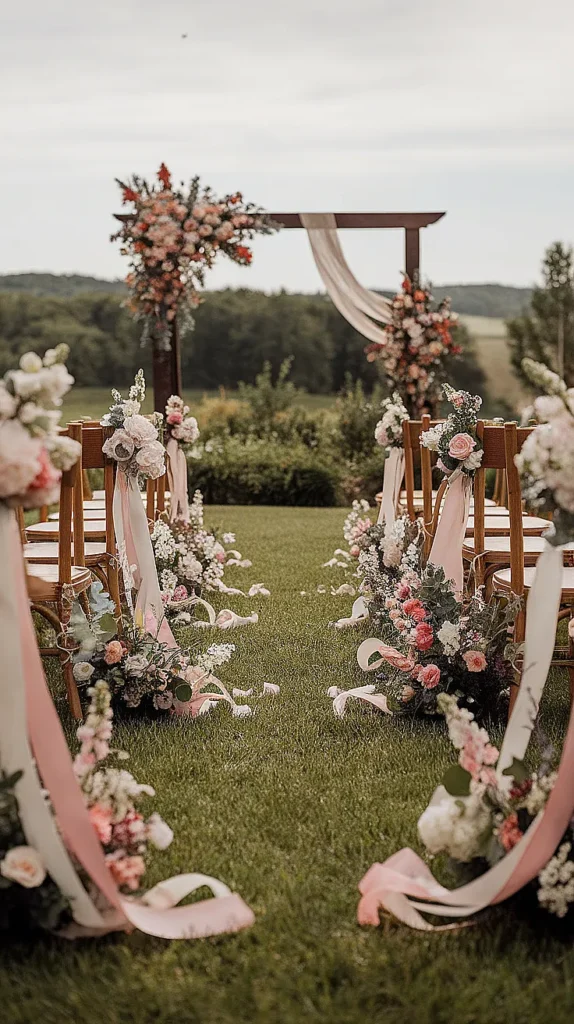
Adorn ceremony chairs with hanging bouquets for a lush, romantic touch. Use fresh or faux flowers and personalize with ribbons or fairy lights.
Step-by-Step
- Select flowers and greenery that fit your theme.
- Gather small bundles and secure with floral tape.
- Tie bouquets to chair backs using ribbon, string, or twine.
- Optionally add battery-powered fairy lights for sparkle.
Picture this: A ceremony aisle lined with chairs, each framed by bursts of blooms and gentle ribbons, creating an atmosphere of enchantment.
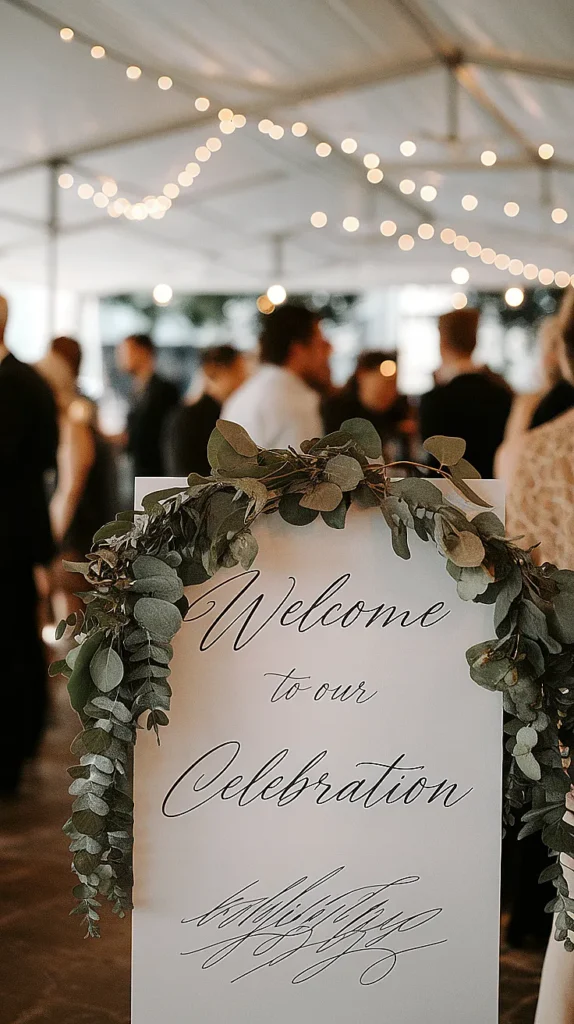
5. Chalkboard Wedding Signs
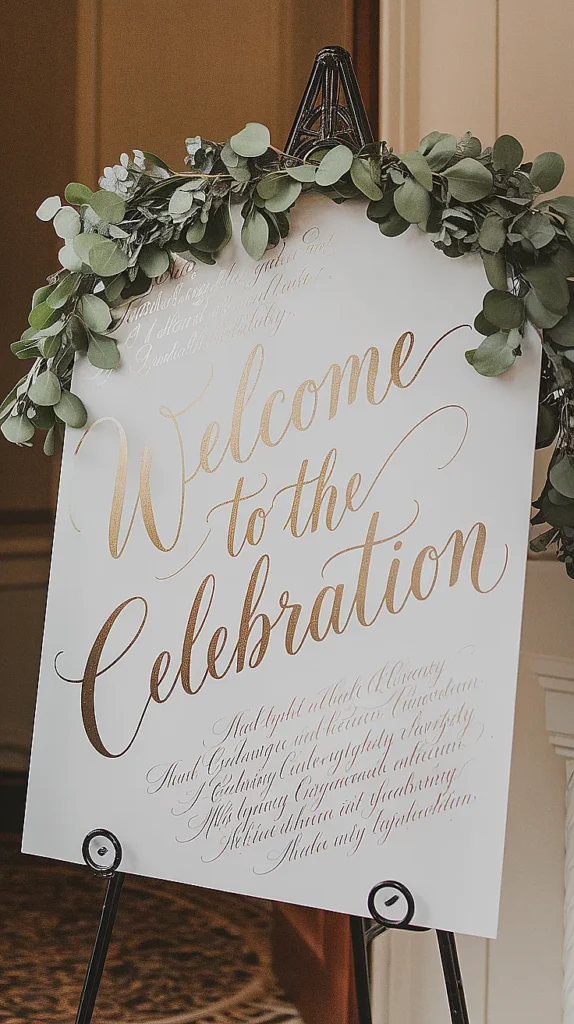
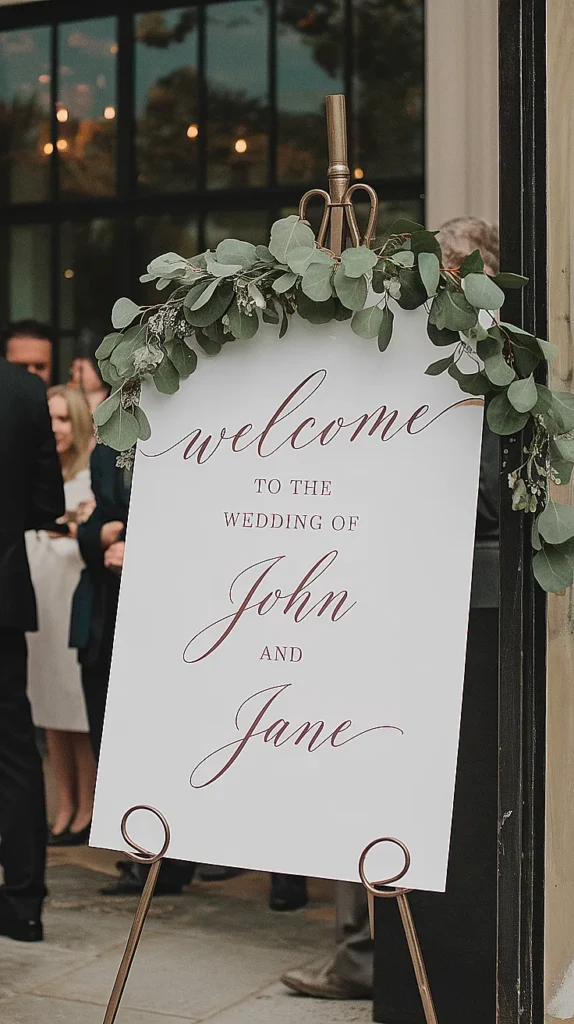
Chalkboard signs are perfect for welcoming guests, outlining your schedule, or sharing quirky messages. They bring character and customization to your venue.
Step-by-Step
- Purchase or repurpose a chalkboard or create one using chalkboard paint on old frames.
- Plan your wording—schedule, menu, or greetings.
- Use chalk markers or traditional chalk to write and decorate.
- Embellish signs with fresh flowers, greenery, or fairy lights.
Picture this: Elegant signage greeting your guests, decorated with sprigs of eucalyptus and calligraphy, guiding everyone through your celebration.
6. Memory Wall of Photos
Honor family, friendships, and your journey with a stunning wall of photos, heirlooms, and notes. Guests love lingering and reminiscing as they take it all in.
Step-by-Step
- Gather favorite photos and meaningful items.
- Arrange on a large board, frame, or fabric backdrop.
- Attach items using clips, string, or adhesive.
- Add decorative elements like fairy lights or flowers.
Picture this: A heartwarming collage of laughter and love, softly illuminated, inspiring tears and smiles as loved ones celebrate your shared history.
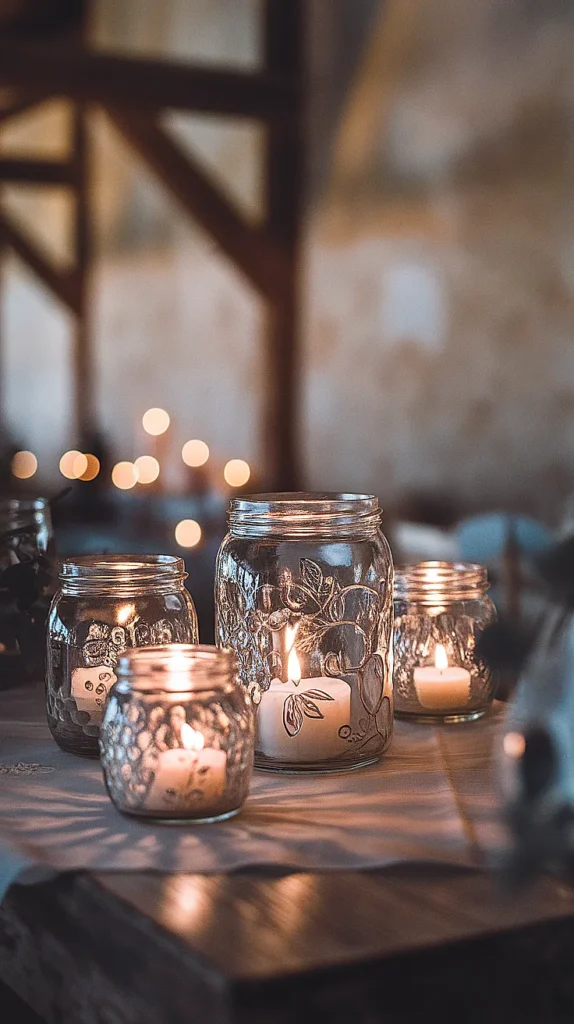
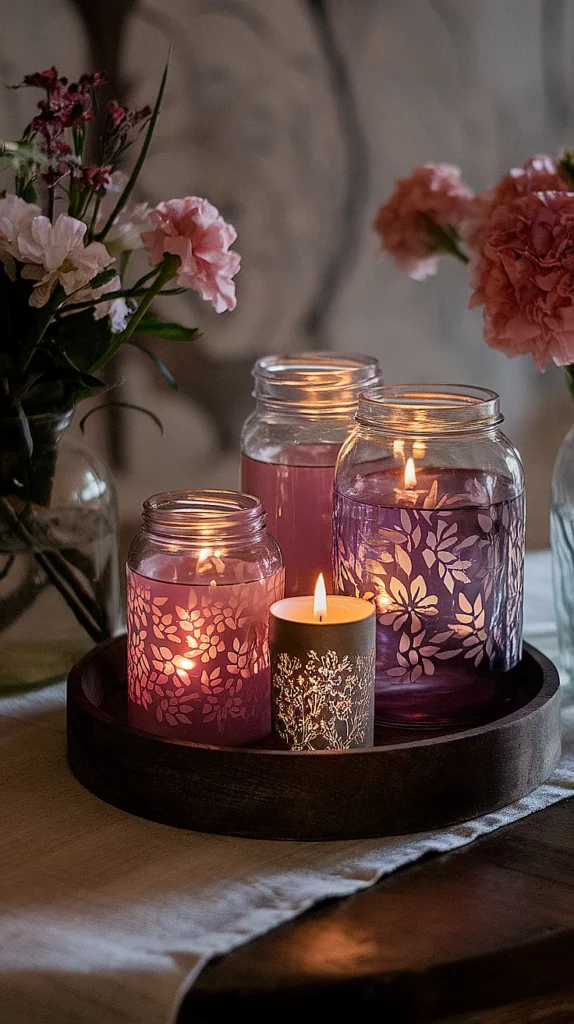
candle-holders”>7. Jam Jar Candle Holders
Recycled jam jars make adorable, rustic candle holders for tables or pathways. Decorate jars and fill with tealights or LED candles for a warm, magical glow.
Step-by-Step
- Clean empty jam jars thoroughly.
- Decorate with paints, pressed flowers, lace, or twine.
- Fill each jar with a candle or LED light.
- Set along pathways, tables, or ledges.
Picture this: Flickering candlelight peeking through delicate jar designs, casting romantic patterns across tables and creating an inviting ambiance.

8. DIY Confetti Cones
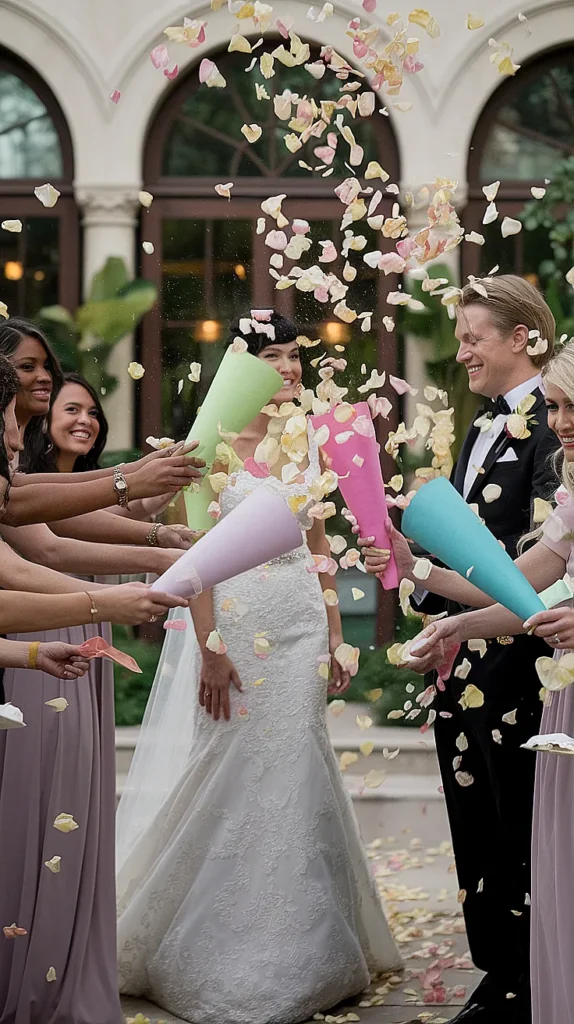
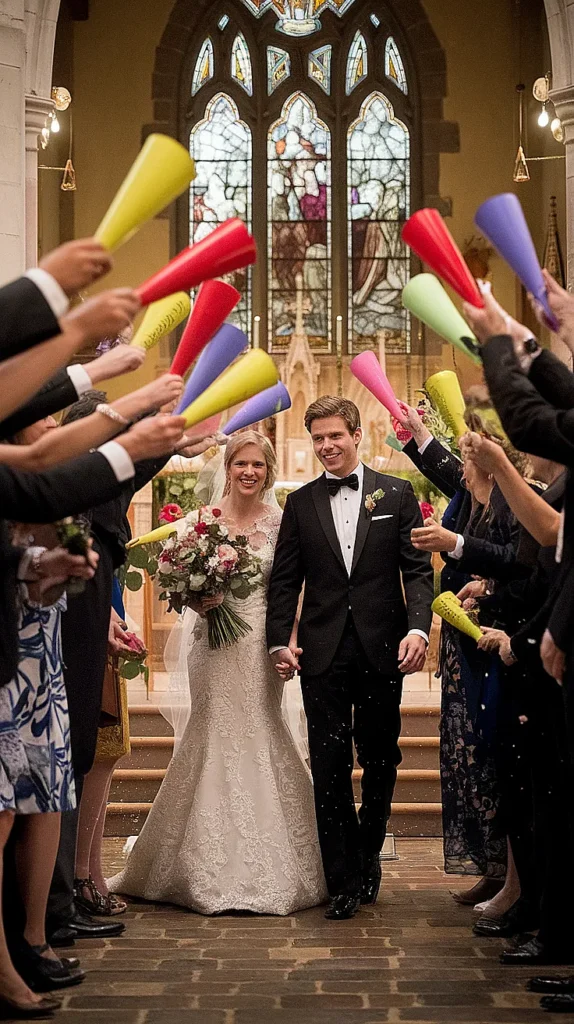
Homemade confetti cones add charm to your send-off, allowing guests to shower you with petals or paper confetti. Customize cones to match your color palette.
Step-by-Step
- Cut decorative paper into squares.
- Roll each square into a cone shape and secure with double-sided tape.
- Fill cones with dried petals, biodegradable confetti, or tiny paper shapes.
- Arrange cones in a pretty basket for guests to take.
Picture this: Friends clutching color-coordinated cones, ready to celebrate your walk as newlyweds with a joyful flurry of petals dancing in the air.
9. Eclectic Table Centerpieces
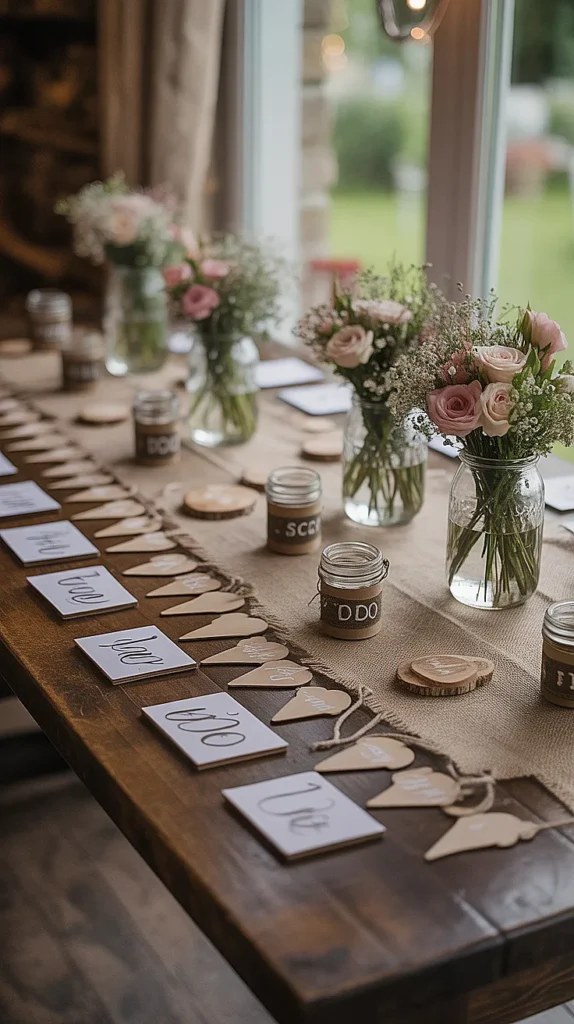
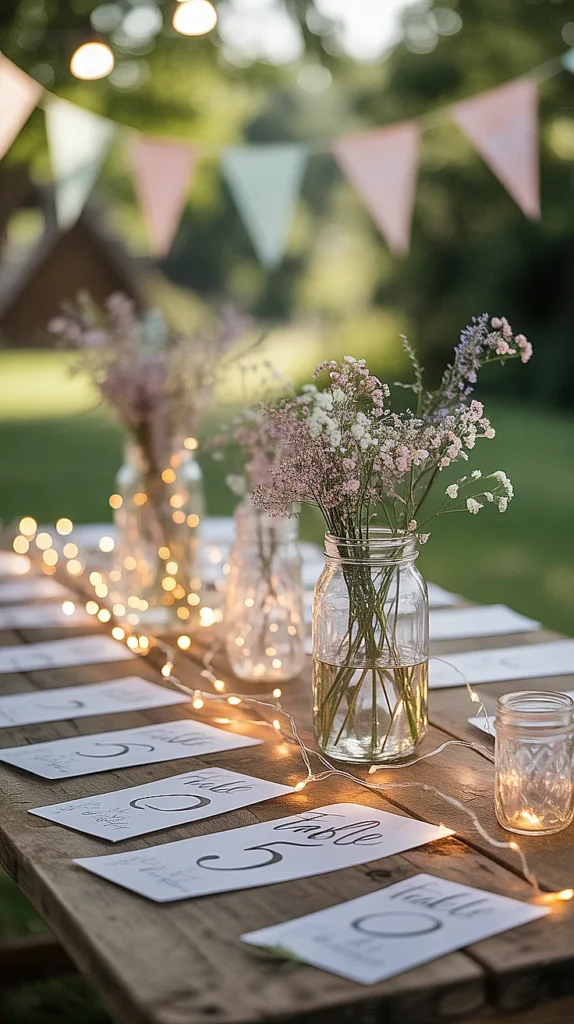
Mix-and-match centerpieces using objects like driftwood, succulents, vintage books, or toy cars—playful, budget-friendly, and bursting with personality.
Step-by-Step
- Gather a variety of objects: old books, plant pots, driftwood, candles.
- Arrange items in small clusters for each table.
- Add greenery, flowers, or creative touches like spray-painted toy cars.
- Ensure each table is unique and visually engaging.
Picture this: Tables alive with stories, color, and surprise—a celebration of your interests and journey, sparking conversation and delight.

10. Vibrant Yarn or Tassel Backdrops
Create a breathtaking photo backdrop or sweetheart table accent using colorful yarn, tassels, or even a wall of paper cranes for visual impact.
Step-by-Step
- Select yarn, tissue paper, or origami paper in your favorite shades.
- Craft tassels or cranes using online tutorials.
- Attach creations to a frame, dowel, or string.
- Hang the backdrop behind your sweetheart table or at your photo booth.
Picture this: A wall bursting with color and texture, framing joyful newlywed photos and glowing in the candlelight—a centerpiece guests will never forget.
Let your creativity shine as you dream up decor that tells your story and welcomes guests with warmth and style. With these DIY ideas, your wedding will radiate personality, love, and unforgettable beauty—crafted entirely by you!

