

DIY Halloween Garland: Easy, Spooky, and Budget-Friendly Decor
DIY Halloween Garland: Easy, Spooky, and Budget-Friendly Decor
Contents
- DIY Halloween Garland: Easy, Spooky, and Budget-Friendly Decor
- Why Make Your Own Halloween Garland?
- What You’ll Need: Halloween Craft Essentials
- Step-by-Step Garland Creation
- 1. Prepare Your Materials
- 2. Cut and Prepare
- 3. Assembly Techniques
- 4. Add Spooky Touches
- Photography and Styling Tricks
- Capture the Perfect Shot
- Social Media Ready
- Budget-Friendly Alternatives
- Styling Variations
- Common Mistakes to Avoid
- Final Thoughts
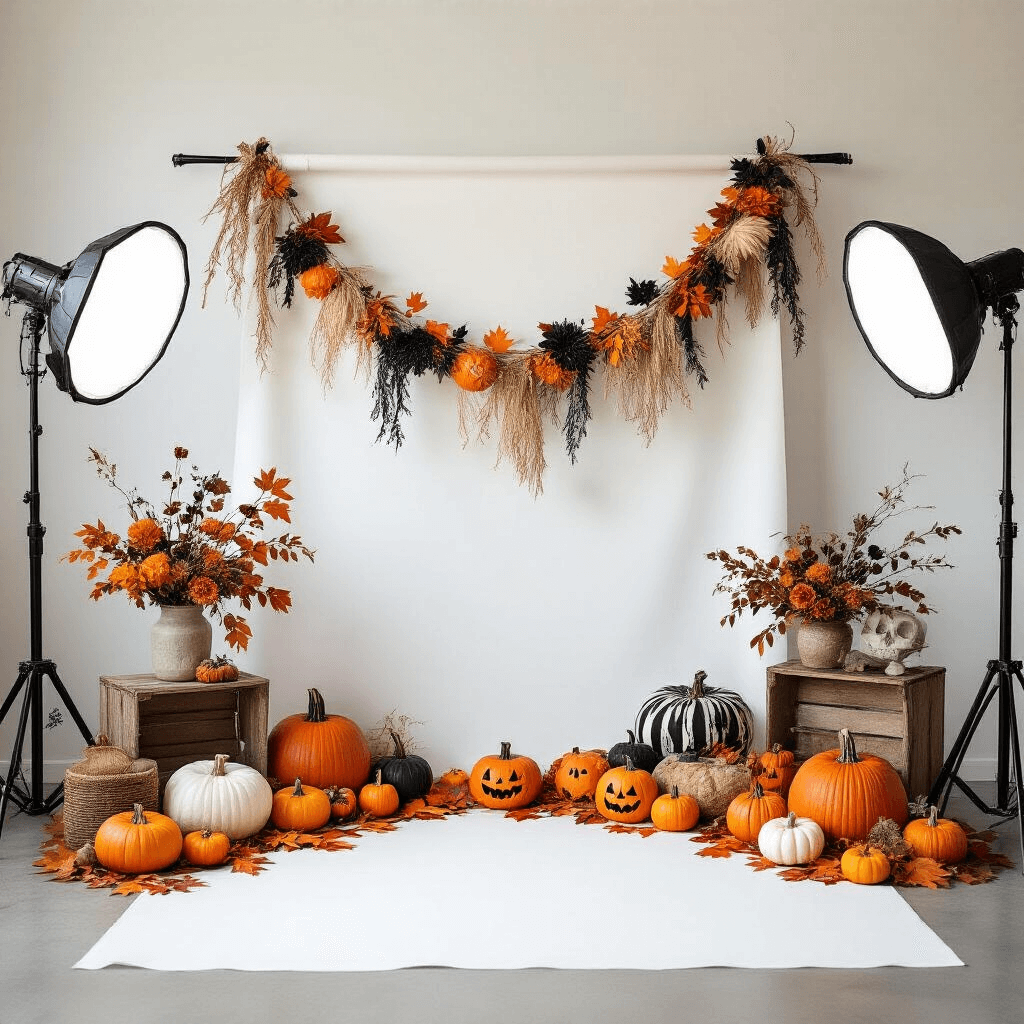
Halloween is just around the corner, and nothing screams festive spirit quite like a handmade garland that transforms your space into a spooky wonderland. This DIY Halloween garland project is perfect for crafty souls looking to add a personal touch to their seasonal decorations.
Why Make Your Own Halloween Garland?
Let’s be real – store-bought decorations can be boring and expensive. Creating your own Halloween garland gives you:
- Total creative control
- Budget-friendly crafting
- A unique conversation starter
- Fun family or solo project
- Instant Instagram-worthy decor
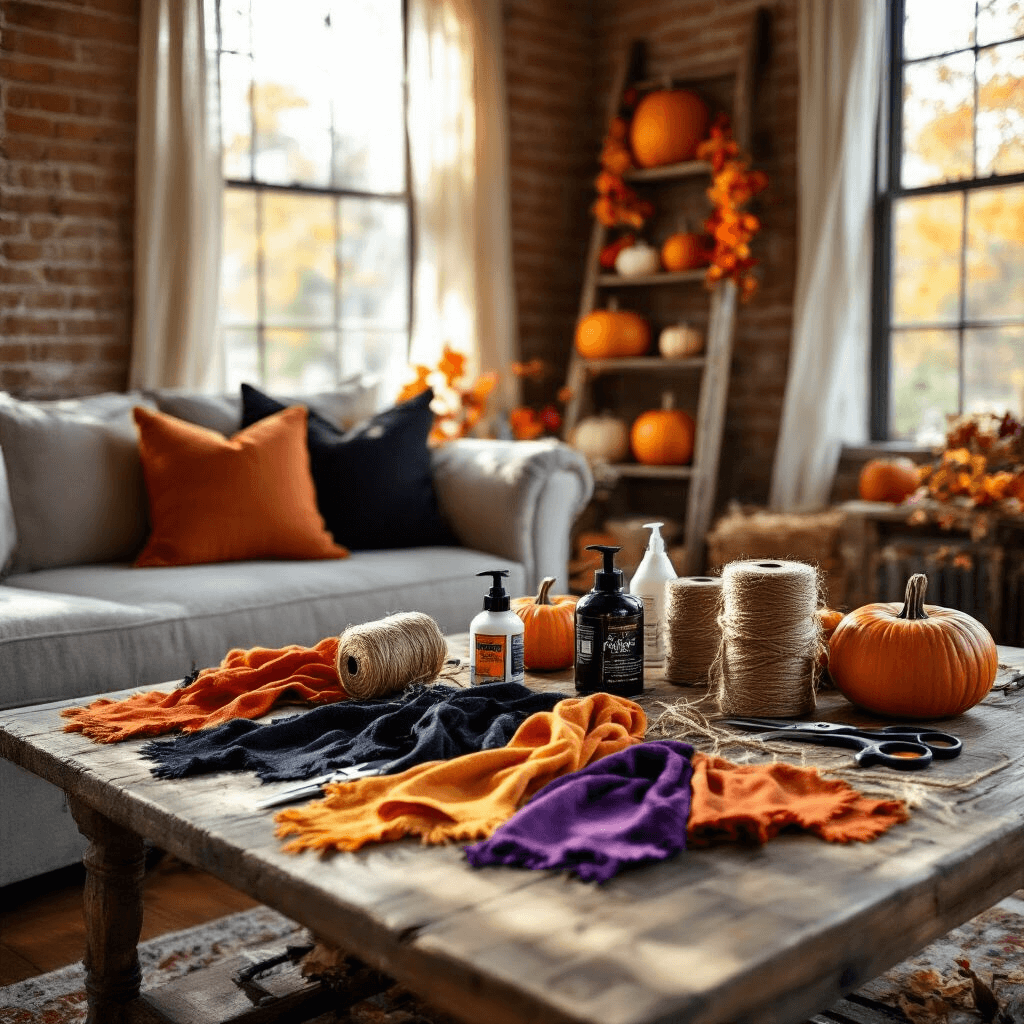
What You’ll Need: Halloween Craft Essentials
Gather these supplies before you start:
- Scissors
- Jute twine or string
- Fabric scraps
- Glue or Mod Podge
- Hole punch
- Optional: Wooden Halloween shapes
- Paint or markers
- Creativity and Halloween spirit!
Step-by-Step Garland Creation
1. Prepare Your Materials
- Clear a workspace
- Lay out all your supplies
- Choose your color palette (classic orange/black or try something unique!)
2. Cut and Prepare
- Cut fabric into 8-10 inch strips
- Measure and cut your base string
- Gather any additional decorative elements
3. Assembly Techniques
Pro Tips:
- Alternate textures for visual interest
- Use double knots to secure elements
- Mix patterns like polka dots, stripes, and solid colors
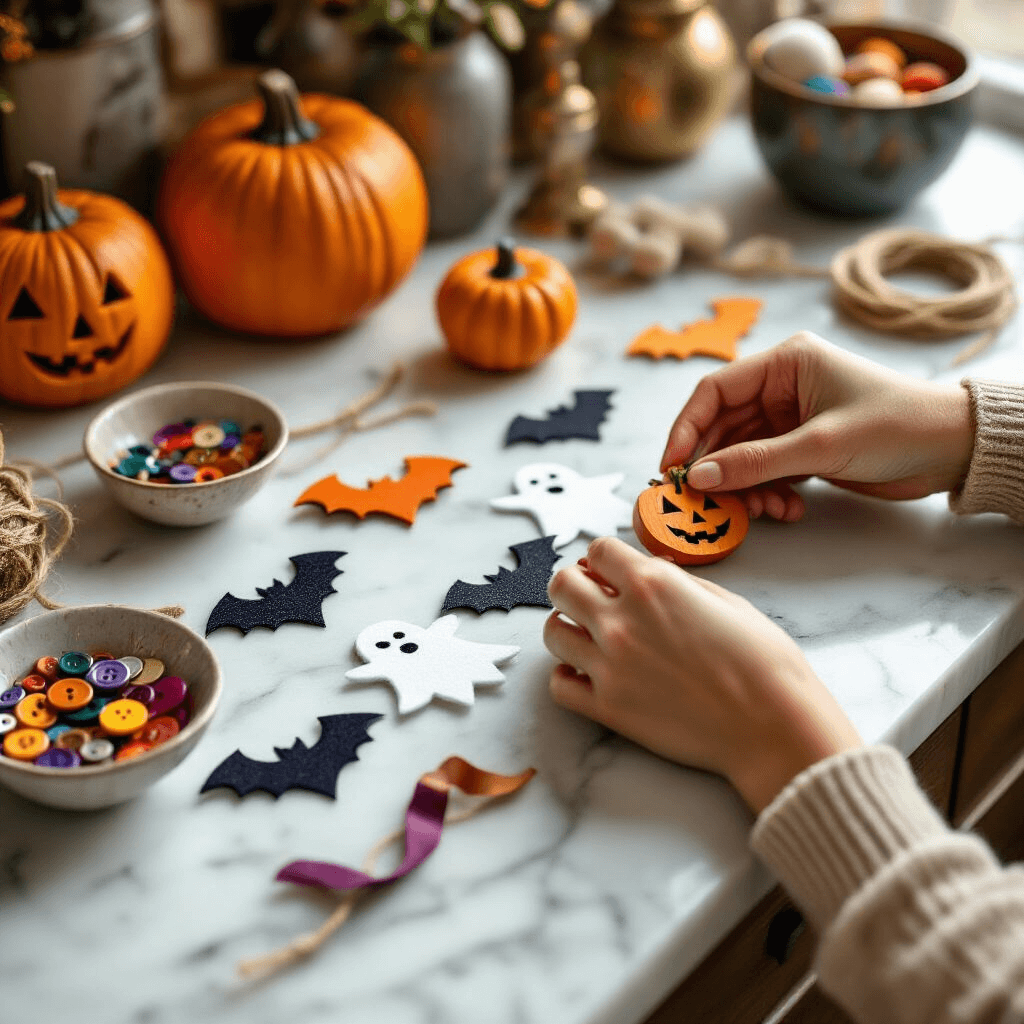
4. Add Spooky Touches
Consider adding:
- Glittery bat shapes
- Wooden pumpkin cutouts
- Metallic accents
- Felt ghost silhouettes
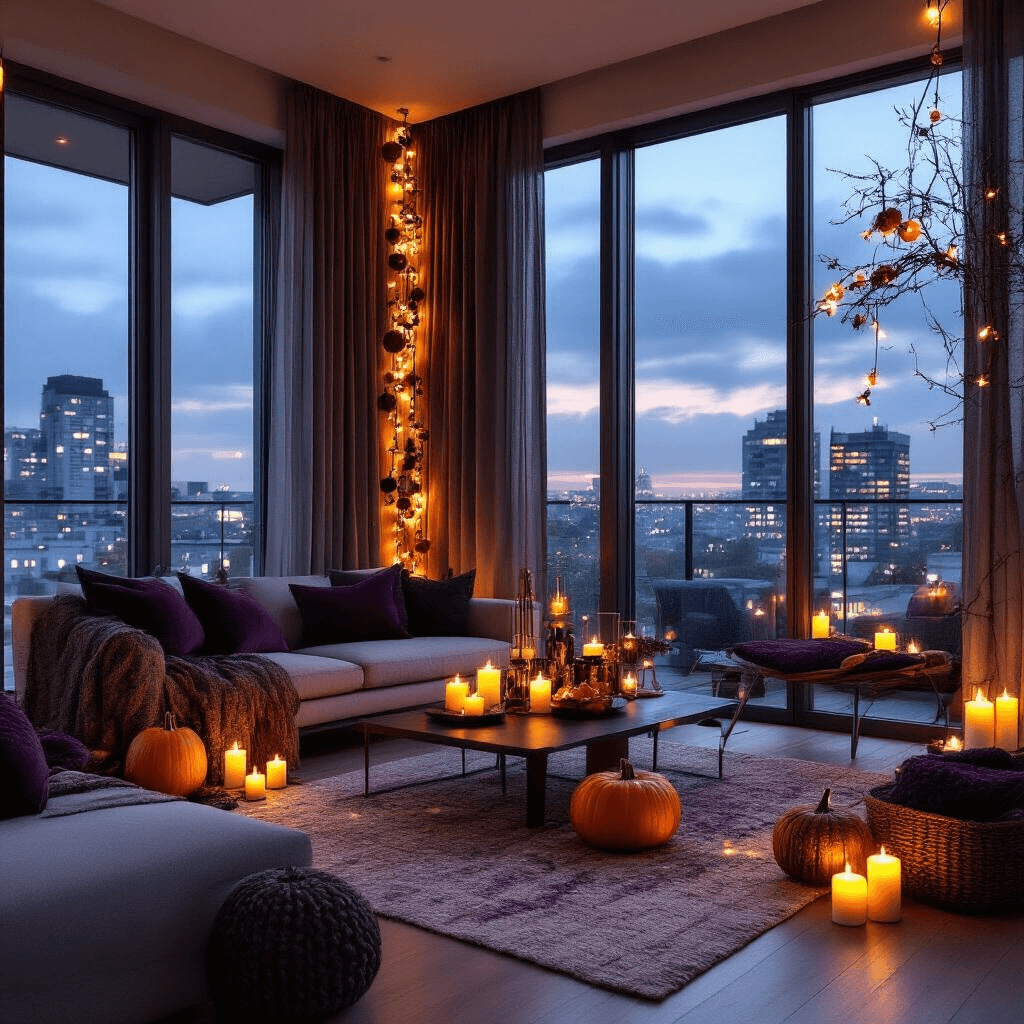
Photography and Styling Tricks
Capture the Perfect Shot
- Use natural daylight
- Create flat lay and styled room shots
- Shoot during golden hour for warm lighting
Social Media Ready
- Vertical Pinterest-friendly images
- Clear, bright photographs
- Use hashtags like #HalloweenDIY #SpookyCrafts
Budget-Friendly Alternatives
Save money with these hacks:
- Upcycle old fabric
- Use cardboard from cereal boxes
- Shop Dollar Store crafting supplies
- Raid your existing craft stash
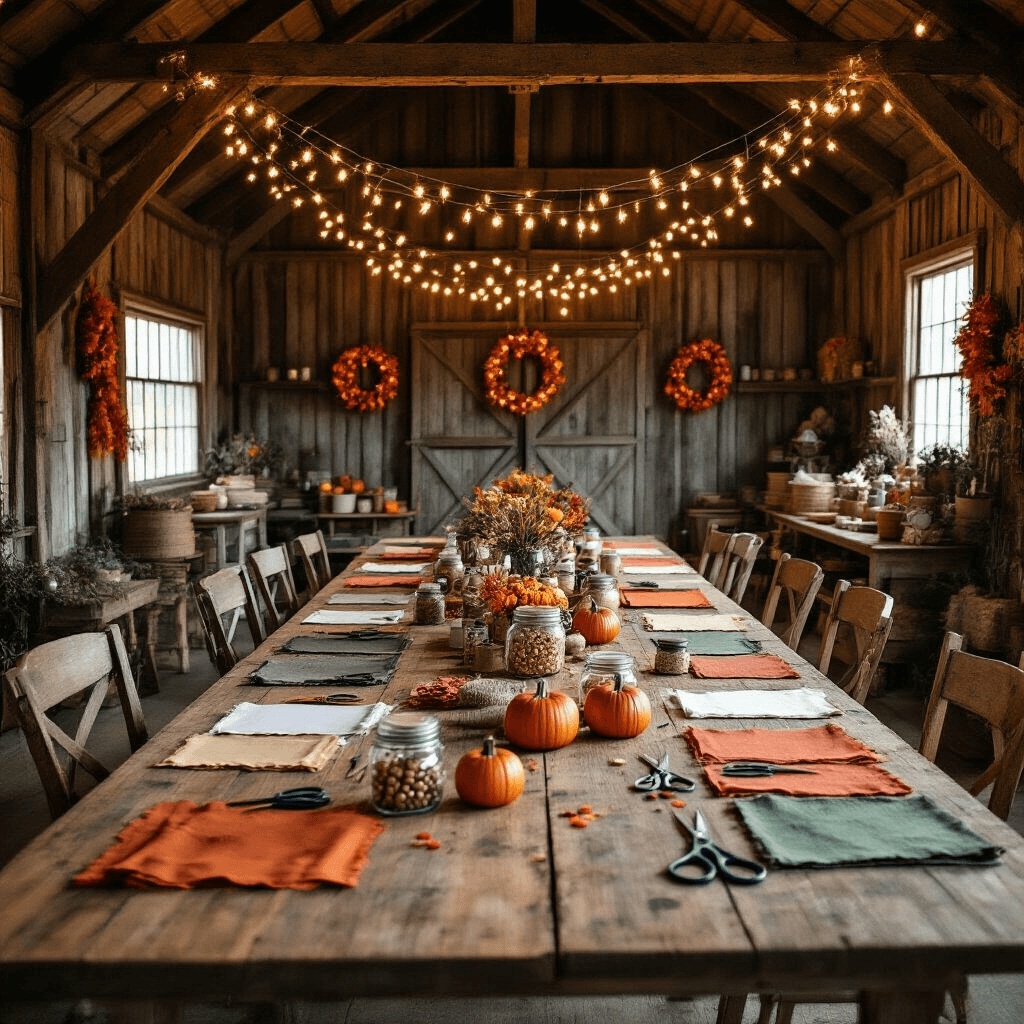
Styling Variations
Customize your garland:
- Boho Halloween (mix textured fabrics)
- Cute Halloween (pastel colors)
- Classic spooky (traditional black/orange)
- Minimalist (monochrome palette)
Common Mistakes to Avoid
- Overcrowding your garland
- Poor lighting in photos
- Weak knots that come undone
- Forgetting to plan your color scheme
Final Thoughts
Creating a DIY Halloween garland isn’t just about decoration – it’s about expressing your creativity and bringing seasonal joy to your space. Whether you’re crafting with kids or enjoying a solo project, this affordable and fun activity guarantees Halloween memories.
Pro Tip: Start early in October to maximize your festive decor time!
Halloween Craft Kit can be a great shortcut if you want some pre-prepared elements.
Happy crafting, Halloween enthusiasts! 🎃👻✂️


")