How to Hang Fireplace Mantle Garland That Actually Stays Put (And Looks Amazing)
Why Your Fireplace Mantle Garland Keeps Falling (And What to Do Instead)
Before we fix anything, let’s talk about why garlands fail in the first place.
Most people make one of these mistakes:
- They use a single thin garland that doesn’t have enough body to look full
- They skip proper attachment and just lay it across the top, hoping gravity cooperates
- They use the wrong hooks for the surface — or skip hooks entirely
- They never fluff the garland before or after hanging it, so it looks flat and sad
Fix those four things and you’re already 80% of the way to a mantel that looks professionally styled.
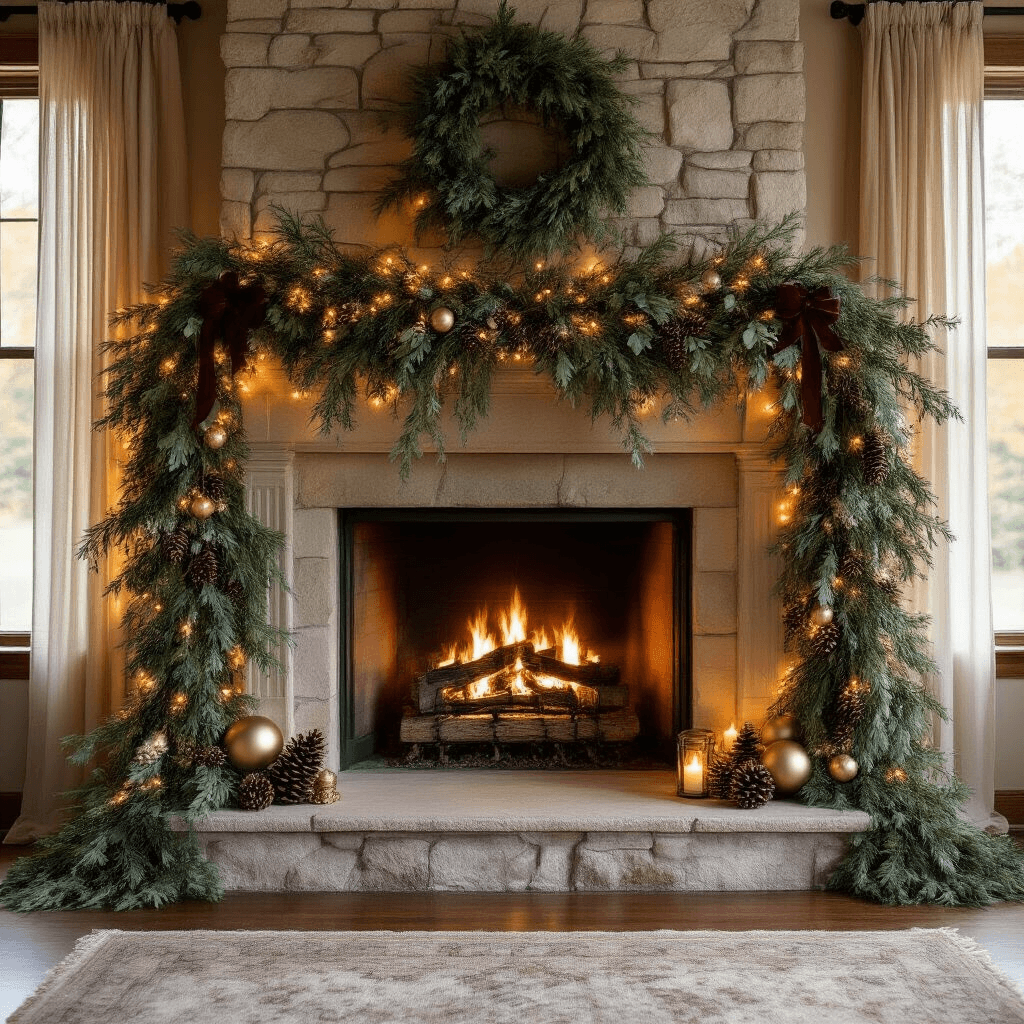
Step 1: Measure First, Buy Second — Get the Fireplace Mantle Garland Length Right
Nothing ruins a mantel faster than a garland that’s too short.
Here are the formulas I use depending on the look I’m going for:
For a simple drape across the top with some hang on each end:
- Mantel width + 4 ft (that’s 2 ft of overhang per side)
For a swag effect with a dip in the middle:
- At least 1.5× the mantel width, plus a little extra for ends
For a dramatic floor-to-ceiling cascade:
- Mantel width + (2 × mantel height)
The safest general rule:
- Buy a garland at least 3 ft longer than your mantel — you can always tuck the excess, but you can’t add length you don’t have
Planning a lush, layered look?
- Budget for 2 to 5 garlands layered together
- Most store-bought garlands are thin on their own — layering is what creates that full, magazine-worthy effect
I always grab a faux pine garland or two as my base, then build from there.
Step 2: How to Attach Garland to a Fireplace Mantle Without Damage
This is where most people overthink it.
You don’t need nails, drills, or anything permanent — unless you want to go that route.
Here are three solid methods depending on your situation:
Save this article
Enter your email and we'll send it straight to your inbox.
Option A: Command Hooks on Top of the Mantel (Best for Renters)
This is my go-to method.
It’s clean, leaves no damage, and holds surprisingly well when you do it right.
Here’s how to do it properly:
- Clean the surface first — dust it off, then wipe it down with rubbing alcohol where the hooks will sit
- Use heavyweight Command hooks or cord bundlers rated for several pounds — don’t cheap out here
- Place hooks toward the front edge of the mantel top:
- One near the center
- One near each end
- For heavier garlands, cluster two hooks together at the spots that take the most weight
- Face the hook opening toward the wall — this catches the garland spine and stops it from sliding forward
- Press the adhesive strip to the hook for 30 seconds, then press the hook firmly to the mantel for another 30 seconds
- Wait at least an hour before hanging anything — the adhesive needs time to cure
Attaching the garland:
- Slide a branch or the garland spine directly onto the hook
- If it keeps slipping, loop floral wire around the garland at that point and hang the wire on the hook instead — this gives you a much more secure hold

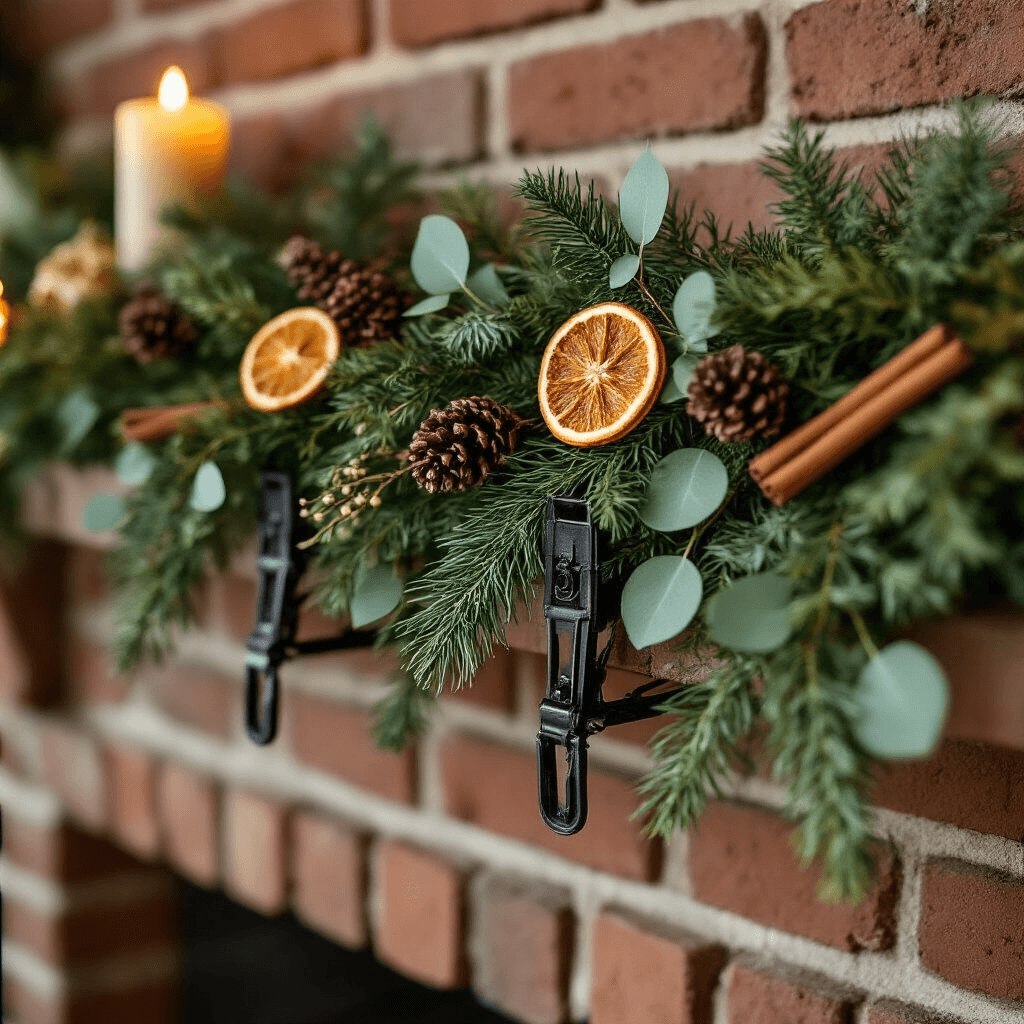
Option B: Brick Clips or Screw Hooks (Best for Brick or Stone Fireplaces)
If you’ve got a brick or stone fireplace, Command hooks won’t cut it — the surface is too uneven.
Here’s what works instead:
- Brick clips grip the edge of a brick without drilling or damaging anything — they’re genuinely clever little things
- Small screw eyes or eye hooks on either side of the fireplace work well too if you don’t mind a tiny hole
- Run picture hanging wire between the hooks and drape your garland over or wire it directly to the line
Brick clips for garland hanging are one of those products I wish I’d discovered years earlier — they make the whole process so much easier.
Option C: Chicken Wire Tube (Best for Heavy, Cascading Designs)
This one sounds extra, but if you want a truly lush, overflowing mantel, it’s worth it.
How it works:
- Roll chicken wire into a loose tube shape that runs the length of your mantel
- Secure it in place with Command strips or hooks
- Wire or zip-tie your garlands directly to the tube
- The tube adds height, structure, and depth that you simply can’t get by just laying garland flat
This is the method I use when I want the kind of asymmetrical, cascading look that you see in professional holiday home shoots.
It also makes adding extra stems and decorations way easier because everything has something to anchor to.
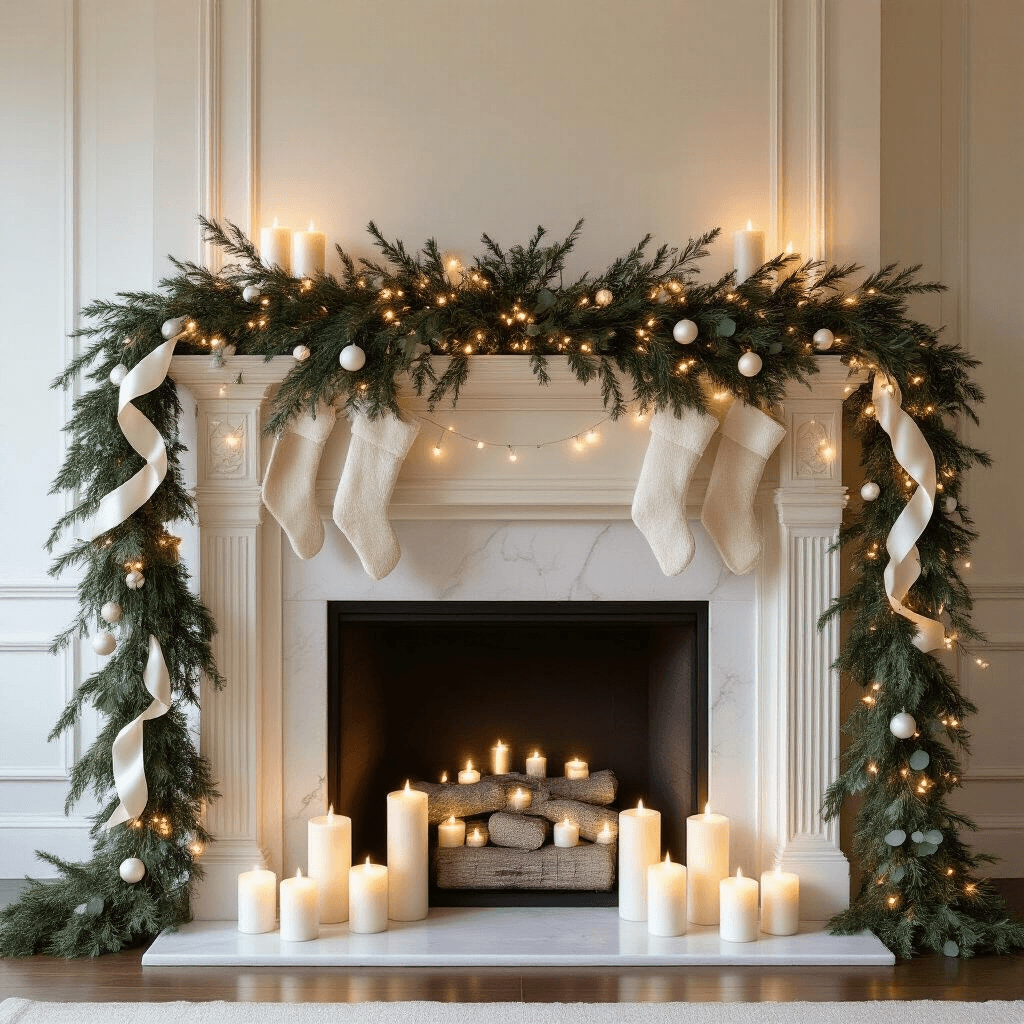
Step 3: Make Your Fireplace Mantle Garland
Want to keep this one?
We'll email you the link so you can find it again later.
Want to keep this one?
We'll email you the link so you can find it again later.