How to Make a Felt Garland: 3 Easy No-Sew Methods That Actually Look Good
How to Make a Felt Garland: 3 Easy No-Sew Methods That Actually Look Good
Making a felt garland is one of those projects that looks impressive but takes almost no skill to pull off.
I’ll be honest — the first time I made one, I was sitting on my living room floor surrounded by felt scraps, convinced I was about to waste an entire Sunday afternoon.
Thirty minutes later, I had a garland draped across my mantel that my neighbor asked me where I bought it.
That’s the magic of felt.
It’s forgiving, it’s cheap, and it doesn’t fray when you cut it — which means no sewing, no hemming, no stress.
Whether you want something cozy for a holiday mantel, cute for a kids’ birthday party, or clean and modern for a nursery, there’s a felt garland method here for you.
Let me walk you through all three.
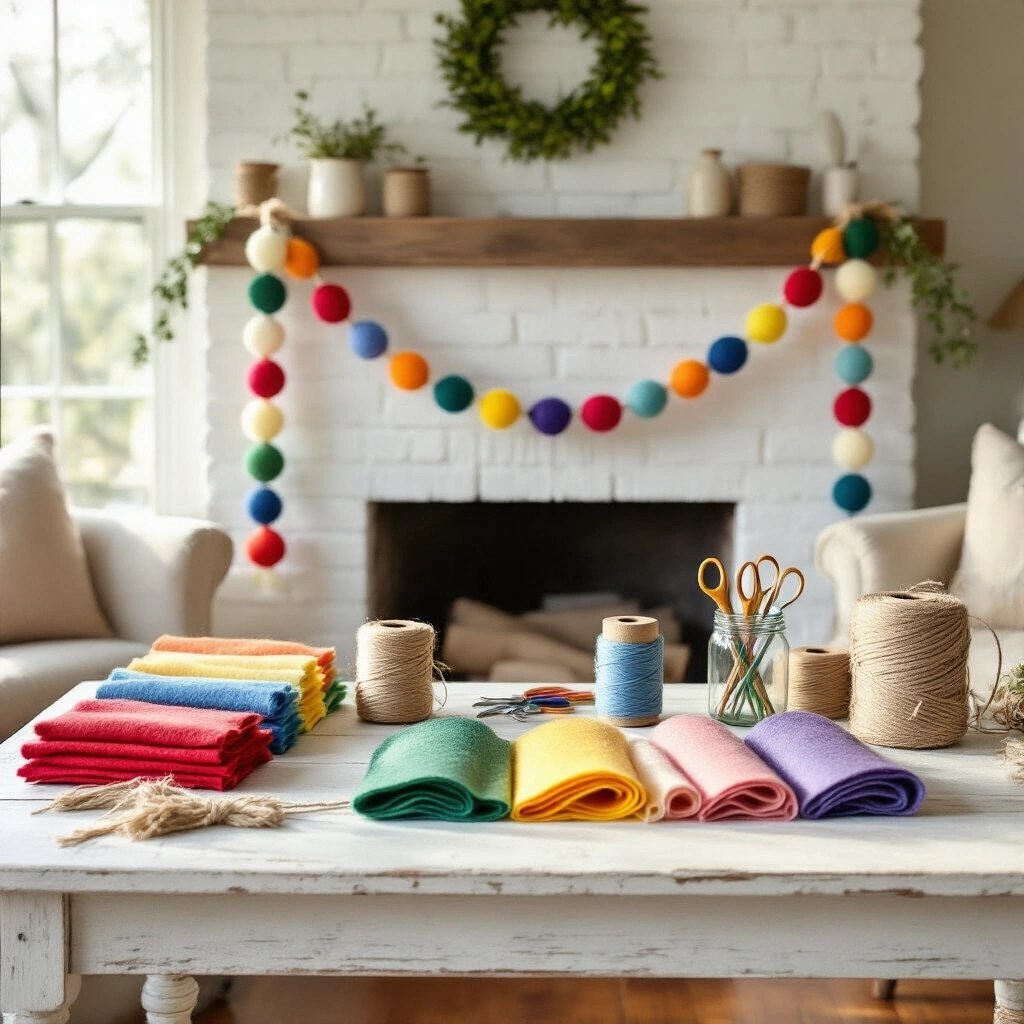
What You’ll Need Before You Start (For Any Method)
You don’t need much.
That’s one of the best things about felt garland projects — the supply list is short and inexpensive.
Here’s what covers all three methods:
- Felt sheets in your chosen colors
- Felt balls (if you’re doing Method 2)
- Embroidery floss or twine
- A large tapestry or embroidery needle
- Scissors or a rotary cutter
- Fabric glue or a hot glue gun
- Ruler
Pick your colors based on your theme before you buy anything.
Rainbow for a kids’ room. Warm neutrals for fall. Deep red and green for Christmas. Blush and ivory for a wedding or bridal shower.
Method 1: The No-Sew Felt Loop Chain Garland
This is the one that looks like a soft, cozy version of a paper chain.
It works beautifully on mantels, stair rails, party backdrops, or draped across a doorway.
Kids love making this one too — it’s that simple.
What You Need
- Felt sheets in your chosen colors
- Fabric glue or a hot glue gun
- Ruler and scissors
Step-by-Step
Step 1: Cut your strips
- Cut your felt into strips that are about 1 to 1.25 inches wide and 5 to 8 inches long
- Shorter strips make tighter, smaller loops — good for delicate looks
- Longer strips give you chunkier, more casual loops — great for bold holiday decor
- You can use a ruler and scissors, or a rotary cutter if you have one (it’s faster)
Step 2: Form your first loop
Save this article
Enter your email and we'll send it straight to your inbox.
- Take one strip, bend it into a ring shape, and overlap the ends slightly
- Put a small dot of glue on the overlap and press firmly
- Hold it for about 10–15 seconds until it sets
Step 3: Keep linking loops
- Slide a new strip through the existing loop before you glue it closed
- Glue the ends of the new strip together to lock it in place
- That’s it — you’re basically building a chain, one loop at a time
- Keep going until you hit your desired length
Step 4: Hang it
- Drape it over your mantel, around a doorframe, across a party backdrop, or on the Christmas tree
How long does it take?
About 30–60 minutes for a 6–8 foot garland, depending on how many colors you’re working with.
Best for: Holiday mantel decor, birthday parties, kids’ rooms, classroom decorations
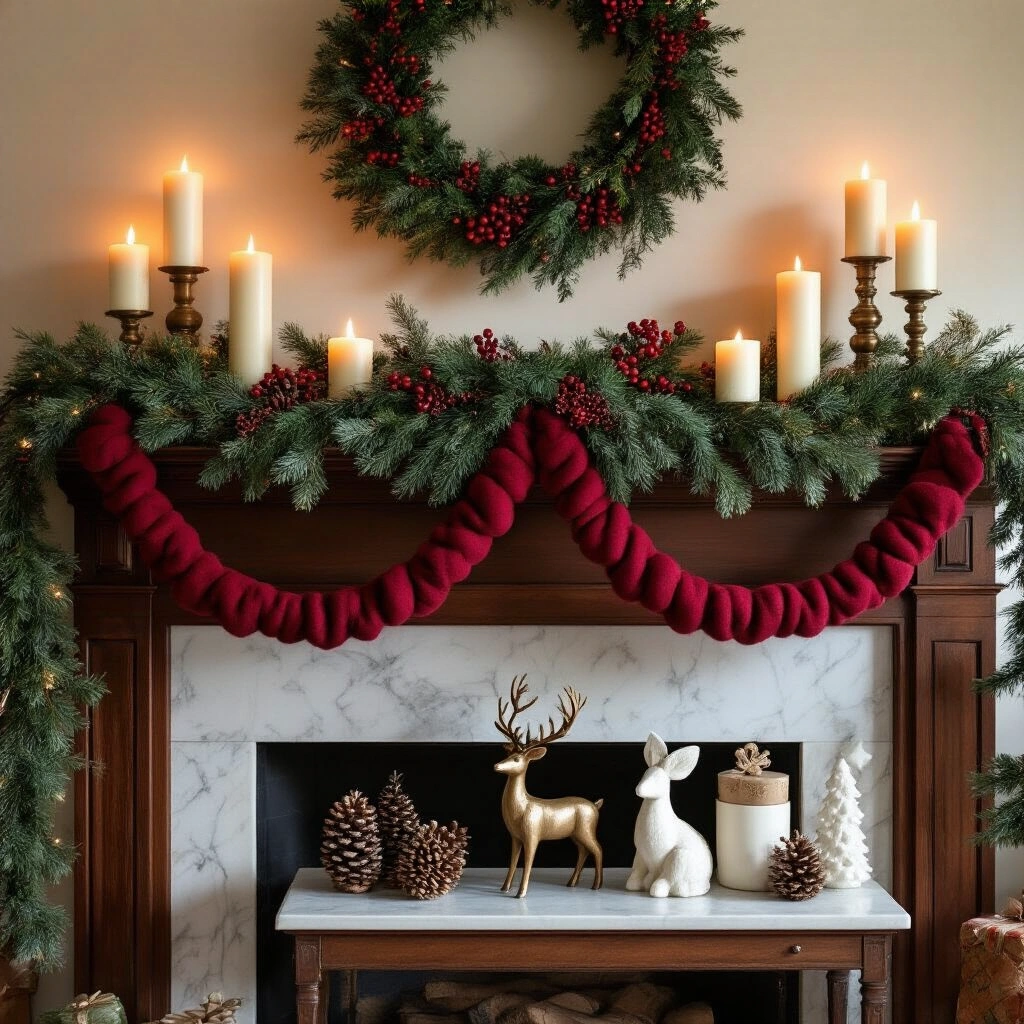
Method 2: The Felt Ball Garland (Clean, Modern Look)
This one has a totally different vibe — minimal, polished, and surprisingly versatile.
I’ve seen versions of this at weddings, in nurseries, above beds as wall decor, and layered over a fireplace mantel alongside greenery and candles.
It photographs beautifully, which is a bonus if you’re decorating for an event.
What You Need
- Felt balls in assorted colors (pre-made ones save a ton of time)
- Embroidery floss or natural twine
- A large needle with a wide eye
Step-by-Step
Step 1: Plan your color pattern
- Lay your felt balls out on a flat surface in the order you want to string them
- This is the fun part — try ombré, rainbow, repeating two-color patterns, or completely random
- Don’t skip this step — it’s much harder to rearrange once they’re on the string
Step 2: Prepare your string
- Cut your embroidery floss or twine to your desired garland length, plus about 12 extra inches on each end for hanging
- Tie a sturdy knot about 6 inches from one end — this stops the balls from sliding off
Step 3: String the balls
- Push your needle straight through the center of each felt ball
- Slide each ball down to the previous one
- You can push them close together for a full, lush look, or space them about 1 inch apart for something lighter and airier
Step 4: Finish the ends
- Tie a firm knot after the last ball
- Leave the tail ends long so you have something to tie or wrap around a nail, hook, or curtain rod
How long does it take?
About 20–45 minutes for an 8-foot garland — this is genuinely the fastest method of the three.
Want to keep this one? We'll email you the link so you can find it again later.