How to Create a Stunning Fabric Garland: A No-Sew DIY Guide
How to Create a Stunning Fabric Garland: A No-Sew DIY Guide
Contents
Ever walked into a room and felt something was missing? That’s where a fabric garland comes to the rescue!
Why Fabric Garlands Are Your New Favorite Decor Hack
Let’s be real – home decor can get expensive. But what if I told you could transform any space with just a few strips of fabric and some basic crafting tools?
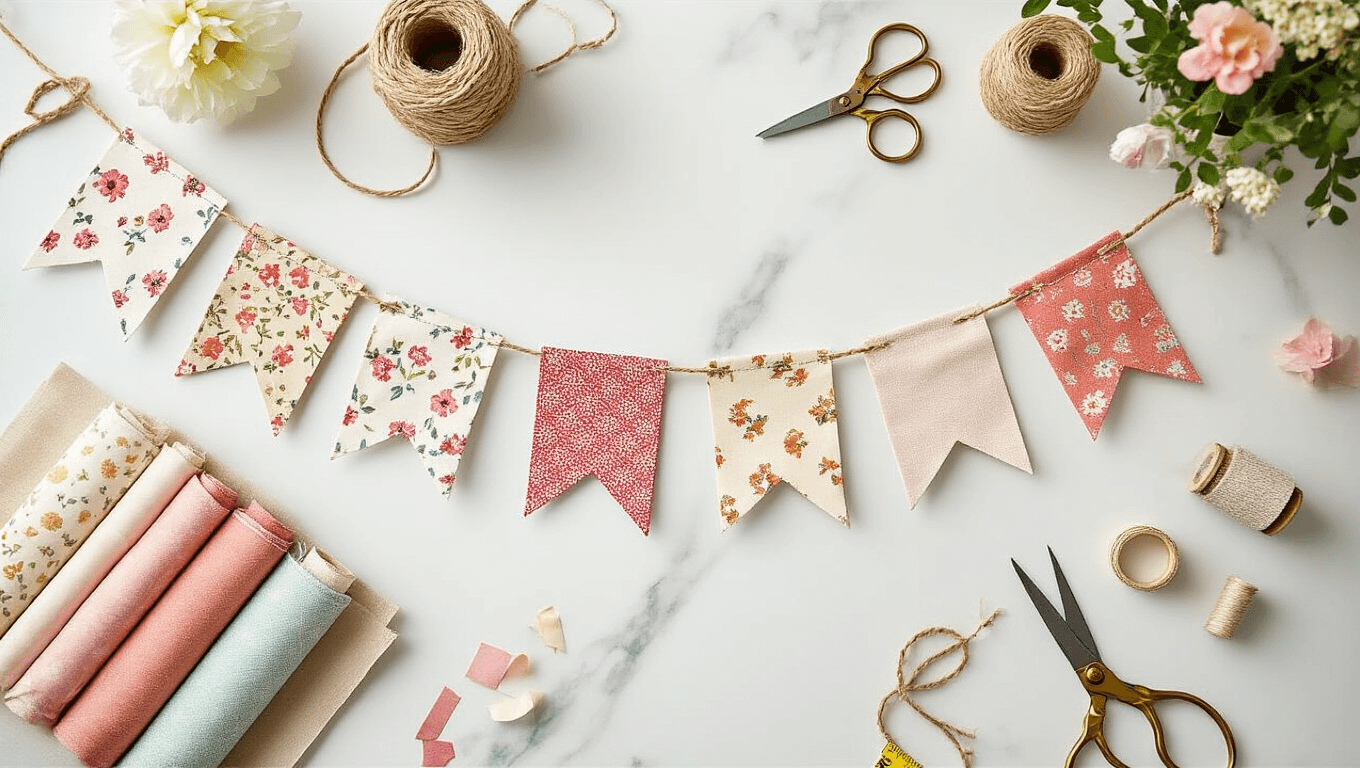
Materials You’ll Actually Need
Forget complicated supply lists. Here’s what you’re grabbing:
- 4-5 fabric types (mix solids and patterns)
- Jute twine or cotton string
- Pinking shears or regular scissors
- About 1/3 yard of each fabric
Pro Tip: Thrift stores are fabric garland gold mines! Grab unique textiles for pennies.
Cutting Like a Pro
Measurement matters. Here’s the magic formula:
- Strip width: 1-2 inches
- Strip length: 6-9 inches
- Fold fabric twice for faster cutting
- Ditch those selvage edges
The Super Simple Assembly Trick
- Cut twine 10 inches longer than desired length
- Create end loops
- Tape one end to your workspace
The Magical Knot Technique
- Fold fabric strip lengthwise
- Place under twine
- Wrap around
- Pull loose ends through loop
- Pull tight
Boom: You’re basically a crafting wizard now.
Design Hack: Endless Possibilities
Want to make this garland scream “YOU”? Play with colors:
- Christmas: Red and green
- Halloween: Orange and black
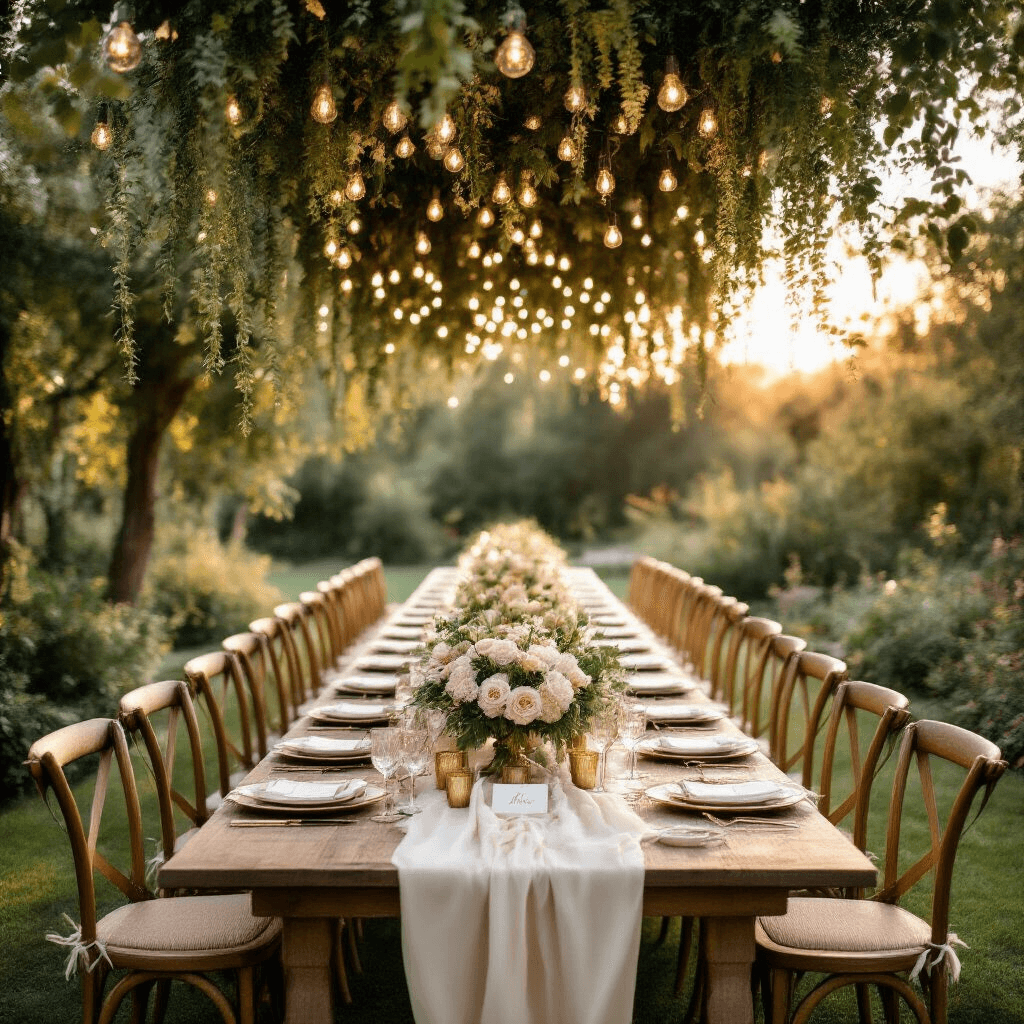
- Wedding: Soft pastels
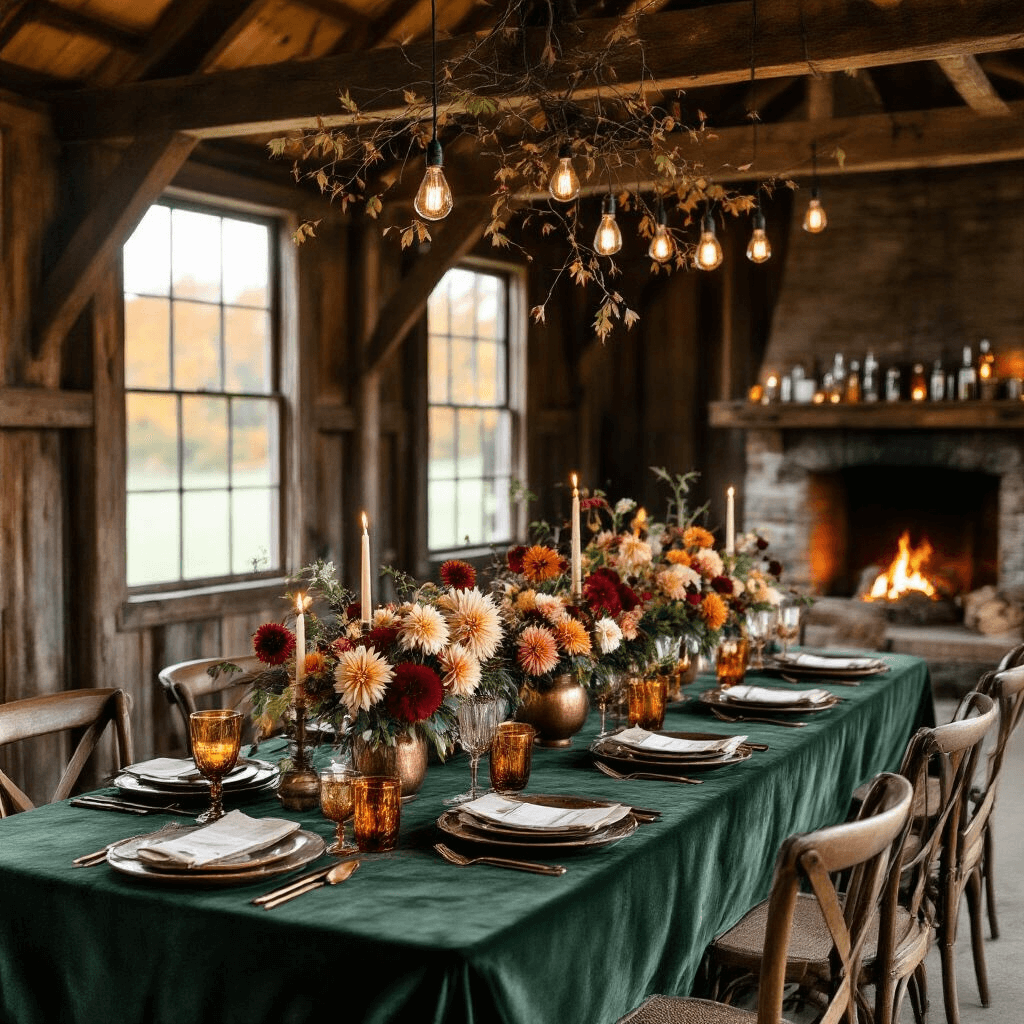
- Boho: Earthy neutrals
Styling Your Fabric Masterpiece
Hang it everywhere:
- Mantels
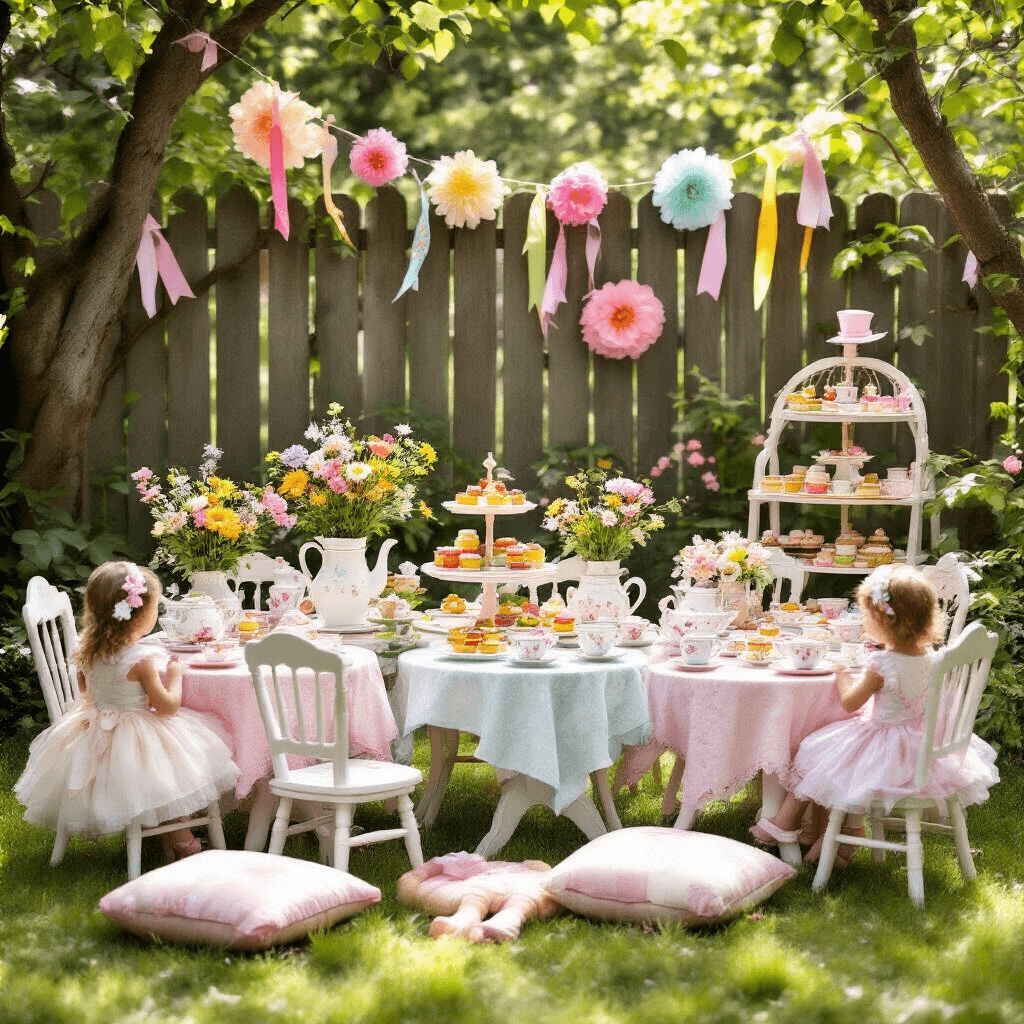
- Party backdrops
- Nursery walls
- Tiered trays
- Bedroom headboards
Final Fluffing Technique
The secret sauce? Volume.
Twist fabric ends randomly. Separate strips. Create dimension. Make it look effortlessly perfect.
Quick Troubleshooting
- Ran out of fabric? Space strips wider
- Want shorter garland? Adjust string length
- Fabric fraying? Use pinking shears
Your Fabric Garland Survival Guide
Warning: This craft is addictively simple. You might become a garland-making machine.
Cost Breakdown
- Fabric: $10-$20
- Twine: $3-$5
- Scissors: Already owned
- Total: Less than a fancy dinner out
Total Time Investment: 1-2 hours
Ready to become a decor legend? Grab those crafting scissors and let’s make magic happen!

