

DIY Tassel Garlands: Transform Any Space with These Easy Handmade Beauties
DIY Tassel Garlands: Transform Any Space with These Easy Handmade Beauties
Contents
- DIY Tassel Garlands: Transform Any Space with These Easy Handmade Beauties
- Why I’m Obsessed with Making My Own Tassel Garlands
- What You’ll Need (No Fancy Craft Store Required)
- The Foolproof Tissue Paper Method (My Personal Favorite)
- The Yarn Method (For When You Want Something Sturdier)
- Color Combinations That Never Fail
- Where I Hang These Beauties
- Troubleshooting Common Mistakes
DIY tassel garlands might just be the easiest way to add instant charm to any room or party. I’ve been making these colorful little beauties for years, and let me tell you – they’re absolute game-changers when you need quick décor that doesn’t break the bank.
You know that feeling when you walk into a party and think “Wow, this looks amazing!” but then find out the host spent a fortune on decorations? Well, tassel garlands are your secret weapon to getting that same jaw-dropping effect for practically pennies.
Why I’m Obsessed with Making My Own Tassel Garlands
Here’s the thing about store-bought garlands – they’re either ridiculously expensive or they look like everyone else’s party décor. When I make my own, I get exactly the colors I want, exactly the length I need, and exactly the vibe I’m going for.
The best part?
- Total cost: Usually under $10
- Time investment: One lazy afternoon
- Skill level required: If you can use scissors, you’re golden
- Satisfaction level: Through the roof
What You’ll Need (No Fancy Craft Store Required)
I’ve made tassel garlands with everything from tissue paper to old t-shirts.
For Tissue Paper Tassels:
- Tissue paper in 2-4 colors
- Twine or baker’s string
- Sharp scissors
- Tape
For Yarn Tassels:
Pro tip: I always keep extra tissue paper around because once you start making these, you’ll want them everywhere.
The Foolproof Tissue Paper Method (My Personal Favorite)
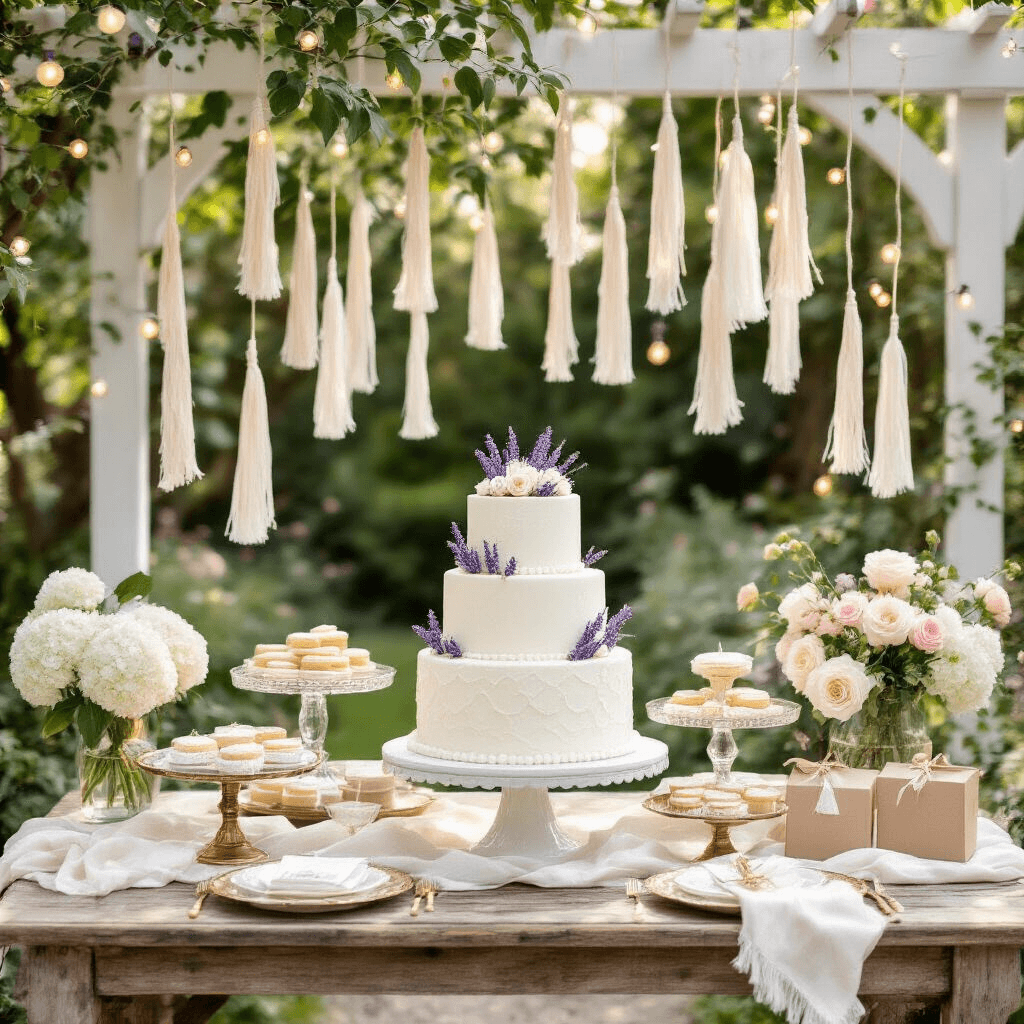
This is how I taught my sister to make her wedding garland, and now she makes them for everyone she knows.
Step 1: Prep Your Paper
Fold one sheet of tissue paper in half lengthwise. Fold it again crosswise. You want a neat little rectangle.
Step 2: Create the Fringe
Cut strips about ½ inch apart. Leave about 1 inch uncut at the top – this is crucial. Don’t stress about perfect measurements; slight variations look more natural anyway.
Step 3: The Magic Moment
Unfold your tissue paper completely. You should see fringe on both sides with a solid strip in the middle. Roll it up tightly from one end, twisting that uncut middle section like your life depends on it.
Step 4: Shape Your Tassel
Fold the whole thing in half. The twisted part becomes your hanging loop. Secure with a small piece of tape right under the loop.
Step 5: String Them Up
Thread your decorative twine through each loop. Space them however feels right – I usually go with every 4-5 inches.
The Yarn Method (For When You Want Something Sturdier)
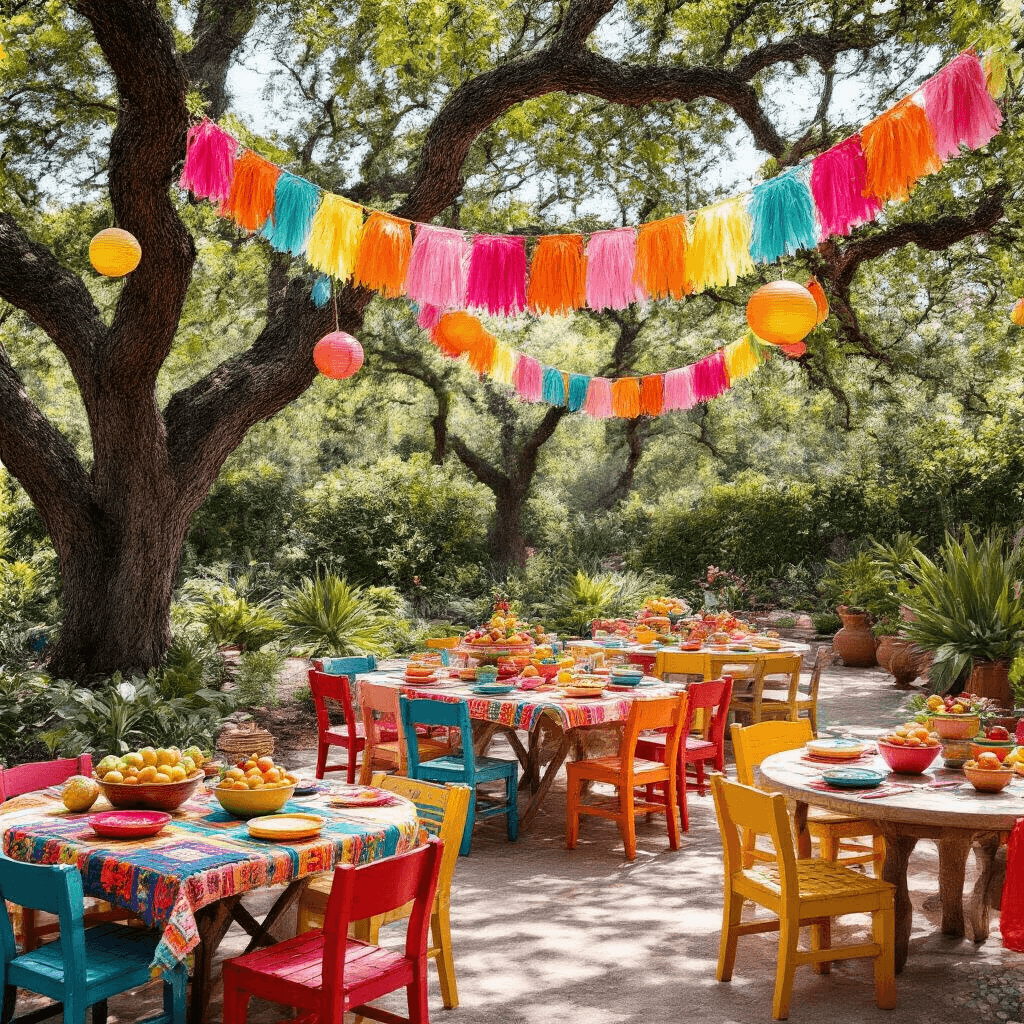
I love yarn tassels for outdoor parties or anywhere they might get handled a lot.
The Wrap Technique: Wrap your yarn around a piece of cardboard about 25-30 times. The width of your cardboard determines your tassel length.
The Tie and Trim: Slip another piece of yarn under all the loops and tie it tight. Slide everything off your cardboard. Tie another piece about 1½ inches down to create the tassel head. Cut through all the bottom loops and trim them even.
Trust me, once you get the rhythm down, you can pump these out while watching Netflix.
Color Combinations That Never Fail
I’ve learned some hard lessons about color choices.
My Go-To Palettes:
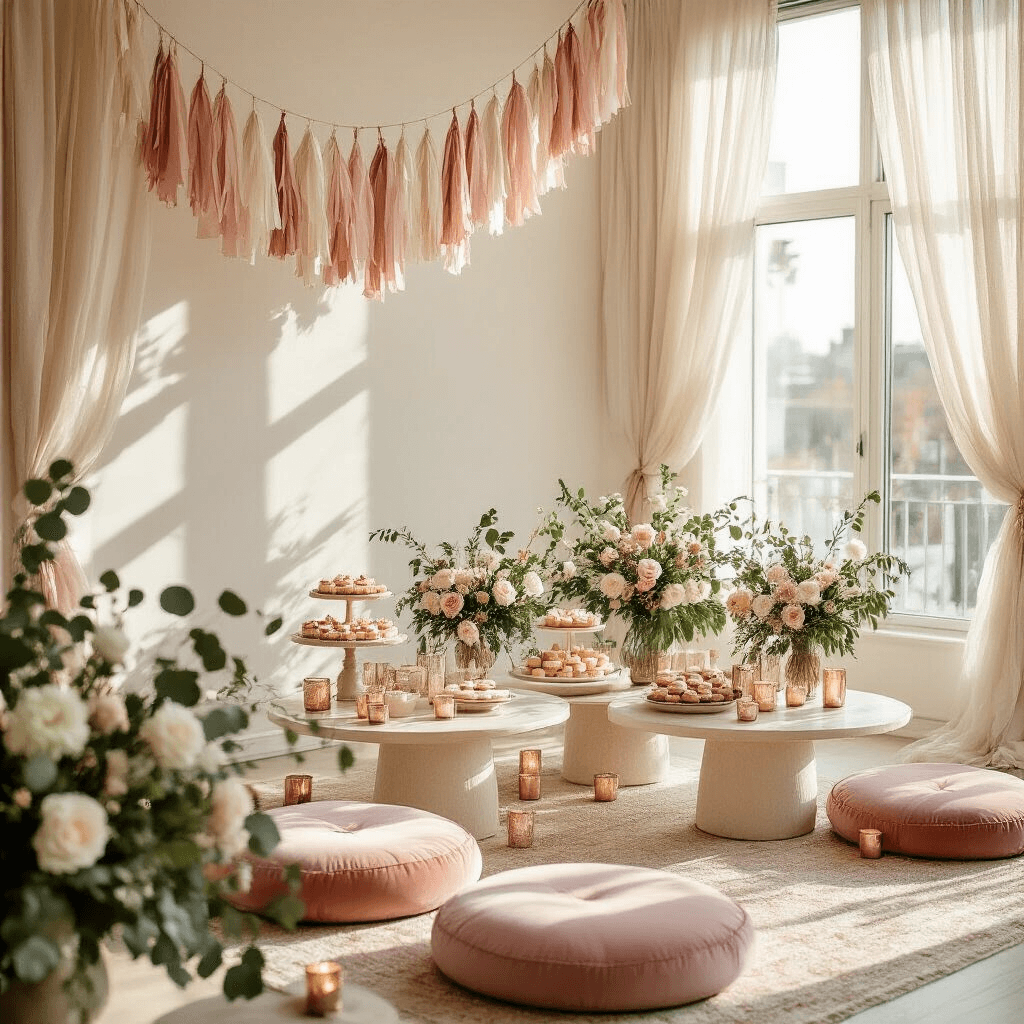
- Boho Chic: Dusty rose, cream, sage green
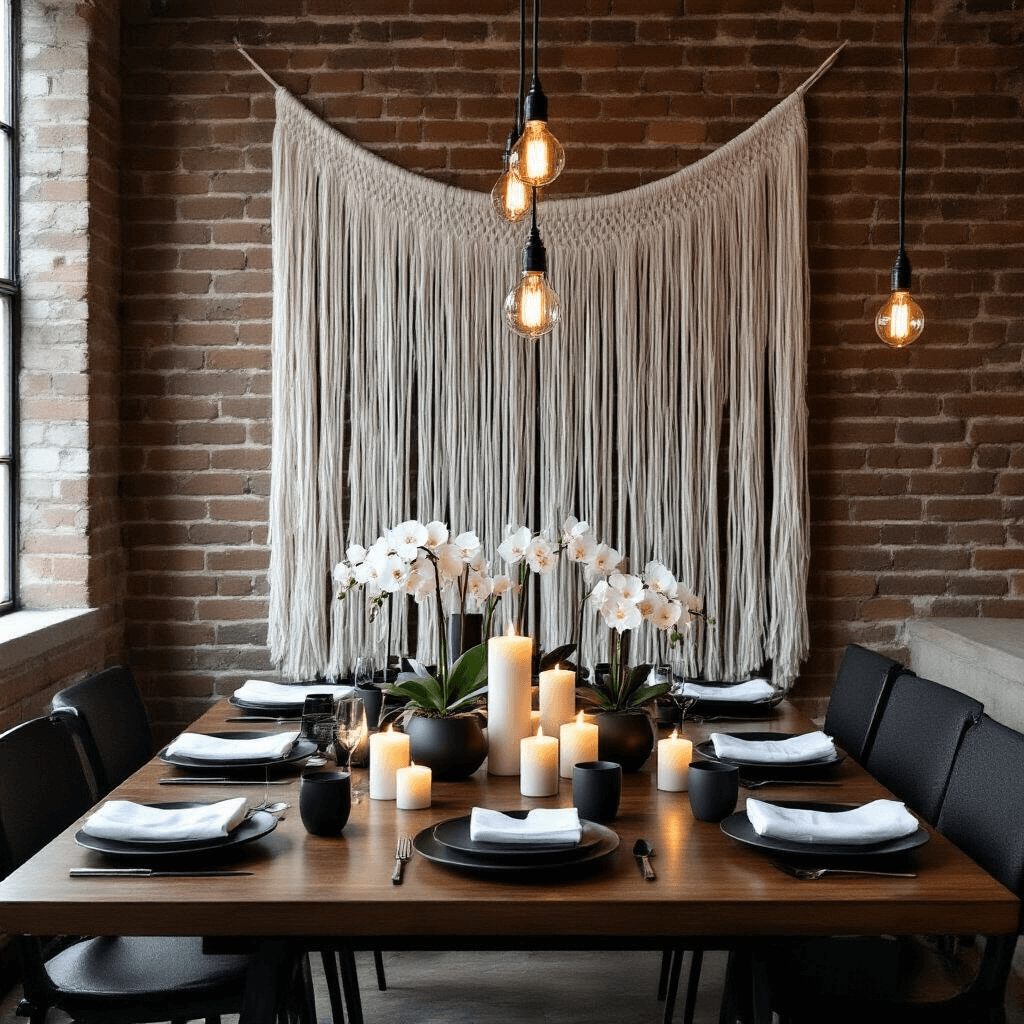
- Modern Minimalist: White, gray, black
- Fiesta Vibes: Hot pink, orange, yellow, turquoise
- Elegant Event: Gold, ivory, blush
The One Rule I Never Break: Odd numbers of colors always look better. Three to five colors max, or it starts looking like a rainbow exploded.
Where I Hang These Beauties
The versatility is what hooked me initially.
Indoor Spaces:
- Across mantels
- Behind dessert tables
- Along stair railings
- As backdrop for photo corners
Outdoor Events:
- Between trees
- Along fence lines
- Draped from umbrellas or pergolas
Quick Party Setup: I keep a few neutral-colored garlands stored in a clear storage container so I can grab them for last-minute gatherings.
Troubleshooting Common Mistakes
Because I’ve definitely made them all.
Problem: Tassels look scraggly
Solution: Make sure you’re twisting that middle section tight enough
Problem: They fall apart after hanging
Solution: Use more tape or try a tiny drop of craft glue
Problem: Colors look muddy together
Solution: Add white or cream between bold colors to separate them
Problem: Garland looks too sparse
Solution: Make more tassels – better to have extras than a


