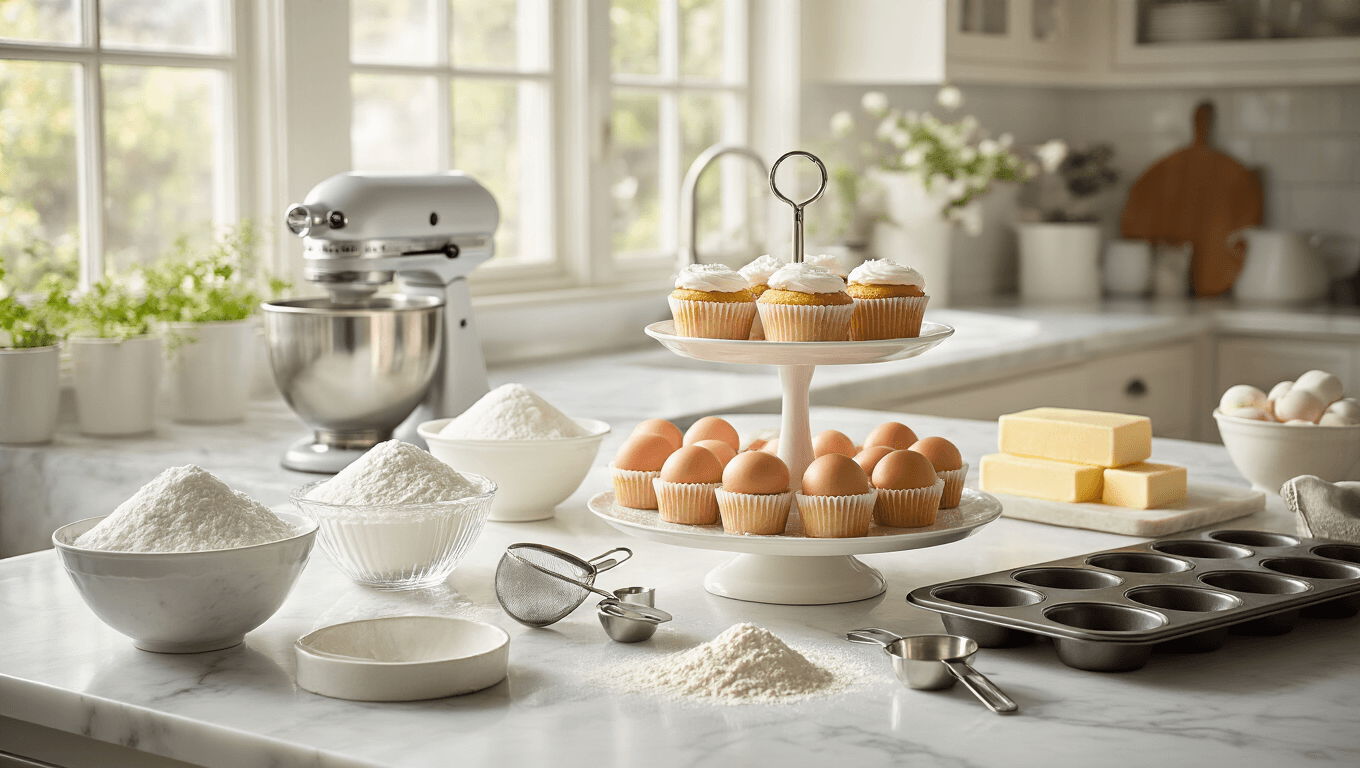
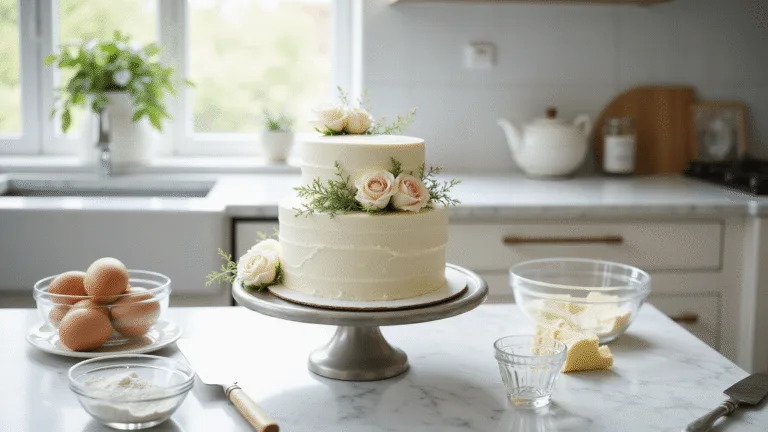
Cupcake Wedding Tower: The Ultimate Guide to Creating a Stunning Dessert Display
When it comes to weddings, every detail counts. From the décor to the music, each element tells a story about your love and style. One of the sweetest ways to wow your guests is by trading the traditional wedding cake for a cupcake wedding tower. Not only does it make a breathtaking centerpiece, but it also offers guests a fun and easy way to enjoy dessert.
This comprehensive guide walks you through everything you need to know—from preparation and baking, to styling and decorating—so your tower isn’t just dessert, but a true showstopper.
Quick Facts & Essential Information
Contents
Before we dive into the creative process, let’s start with the basics:
-
Prep Time: 2–4 hours
-
Cook Time: 15–25 minutes per batch
-
Total Time: 3–6 hours
-
Servings: 24–200 cupcakes (depending on your guest list)
-
Difficulty: Moderate
-
Cost: $1.50–$8 per serving
-
Dietary Options: Vegetarian-friendly, vegan adaptable, gluten-free modifications available
With this flexibility, cupcake towers can be tailored to just about any guest list or budget.
Essential Equipment You’ll Need
Like any masterpiece, your cupcake tower starts with the right tools.
Must-Have Tools
-
Cupcake pans or muffin tins
-
Mixing bowls
-
Electric mixer
-
Cooling racks
-
Piping bags and decorative tips
-
Cupcake tower or stand
💡 Pro Tip: Don’t want to splurge on specialty items? Soup cans can substitute for tier supports, and cardboard cake circles work beautifully as DIY bases.
👉 Shop smart: cupcake stands, piping bags and tips, and cupcake pans are affordable and versatile investments for baking.
Master Cupcake Base Recipe
No tower is complete without the perfect cupcake recipe. Here’s a classic base you can adapt for countless flavors.
Ingredients
-
2½ cups all-purpose flour
-
1½ cups granulated sugar
-
2 tsp baking powder
-
½ tsp salt
-
1 cup unsalted butter (room temperature)
-
4 large eggs
-
1 cup milk
-
2 tsp vanilla extract
Vegan & Gluten-Free Swaps
-
Replace wheat flour with almond or gluten-free flour blends
-
Use flax eggs instead of chicken eggs (1 tbsp flax meal + 2½ tbsp water per egg)
-
Swap dairy milk for almond, oat, or soy milk
Step-by-Step Baking Method
Follow these simple steps for cupcakes that are fluffy, moist, and picture-perfect.
-
Preheat your oven to 350°F (175°C).
-
Mix dry ingredients (flour, baking powder, salt) in one bowl.
-
Cream butter and sugar, then add eggs and vanilla until smooth.
-
Combine wet and dry mixtures gently, adding milk slowly. Avoid overmixing.
-
Fill liners about ⅔ full.
-
Bake for 15–25 minutes, depending on size, until a toothpick comes out clean.
Doneness Indicators
-
Golden, even surface
-
Cupcake springs back when lightly pressed
-
Toothpick or skewer comes out clean
Tower Assembly Secrets
Once your cupcakes are baked and cooled, it’s time to build your centerpiece.
Assembly Tips
-
Always ensure cupcakes are completely cooled before stacking or decorating.
-
Set up the tower on a stable, level surface.
-
Create visual balance by mixing frosting colors and toppings across tiers.
-
Consider weight distribution—place denser or decorated cupcakes on lower tiers.
✨ For professional-looking results, consider a sturdy tiered cupcake stand that can hold your desired number of servings.
Decoration & Styling
This is where your creativity truly shines. The design of your cupcake tower can match your wedding theme, from rustic boho chic to glamorous elegance.
Garnish Options
-
Edible pearls or sprinkles
-
Fresh, non-toxic flowers
-
Custom fondant decorations
-
Themed cupcake toppers
Style Hacks
-
Combine metallic and matte wrappers for visual contrast.
-
Layer garlands or LED string lights around the stand for added magic.
-
Play with varying heights by mixing mini and standard-sized cupcakes.
👉 Add flair with cupcake toppers and edible decorations that reflect your wedding theme.
Storage & Make-Ahead Strategies
You don’t want last-minute chaos, so plan ahead.
-
Unfrosted cupcakes: Store in an airtight container at room temperature for up to 2 days.
-
Frosted cupcakes: Refrigerate for 1–3 days.
-
Frozen cupcakes: Freeze unfrosted for up to 2 months.
Always frost and assemble as close to the event as possible for the freshest look and taste.
Troubleshooting Common Mistakes
Even experienced bakers run into hiccups. Here’s how to avoid the most common pitfalls:
-
Don’t overfill liners—cupcakes will overflow and lose their shape.
-
Assemble the tower close to event time to prevent leaning or collapsing.
-
Test baking times carefully, especially when making large batches.
-
Always double-check tier supports for stability.
Trending Variations
Wedding cupcake towers have evolved into modern, creative masterpieces. Here are some on-trend ideas:
-
Mix-and-match flavors across tiers for variety.
-
Seasonal themes (pumpkin spice in fall, lemon in summer).
-
Floral decorations with edible blooms.
-
LED-illuminated stands for evening receptions.
-
Multi-dessert towers, mixing cupcakes with macarons, cookies, or cake pops.
Budget Considerations
A cupcake tower can be as affordable or as luxurious as you want.
Cost-Saving Strategies
-
DIY your cupcake stand with cardboard and tiered trays.
-
Buy ingredients in bulk.
-
Focus on seasonal flavors and decorations.
-
Keep frosting simple with buttercream instead of fondant.
Estimated Pricing
-
Homemade: $1.50–$5 per serving
-
Professional bakery: $2.50–$8 per serving
👉 Save even more by using a DIY cupcake stand kit.
Expert Final Advice
Building a cupcake wedding tower is more than a baking project—it’s a statement piece that combines beauty, flavor, and creativity. With some planning and patience, you can design a tower that not only satisfies your guests’ sweet cravings but also becomes one of the most Instagram-worthy highlights of your wedding.
Take your time, practice your techniques, and most importantly—have fun. After all, weddings are about joy and love, and your dessert should reflect that spirit.
Whether you go for minimalist elegance or bold creativity, your cupcake tower will be remembered long after the last crumb has been enjoyed.


