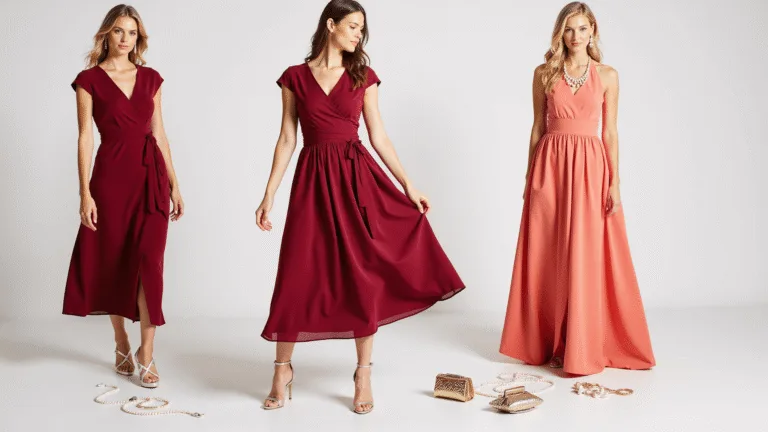
Garden Party Picnic Bridal Shower: How I Created Pinterest-Perfect Magic Without Breaking the Bank
Why Garden Party Picnic Themes Work Every Single Time
Let me tell you something that changed my entire approach to party planning. The secret isn’t about having the fanciest decorations or the biggest budget. It’s about working with nature instead of against it.
I discovered this during my first garden party disaster – yes, disaster. Picture this: me frantically trying to set up elaborate floral arrangements while fighting gusty winds and realizing my pristine white tablecloths looked ridiculous on grass. That’s when it hit me. The garden IS your decoration.
Here’s what actually matters for a stunning garden party picnic bridal shower:
- Low seating creates intimate conversation spaces
- Natural lighting makes everyone look amazing in photos
- Outdoor settings feel relaxed but still special
- Guests can actually move around and mingle freely
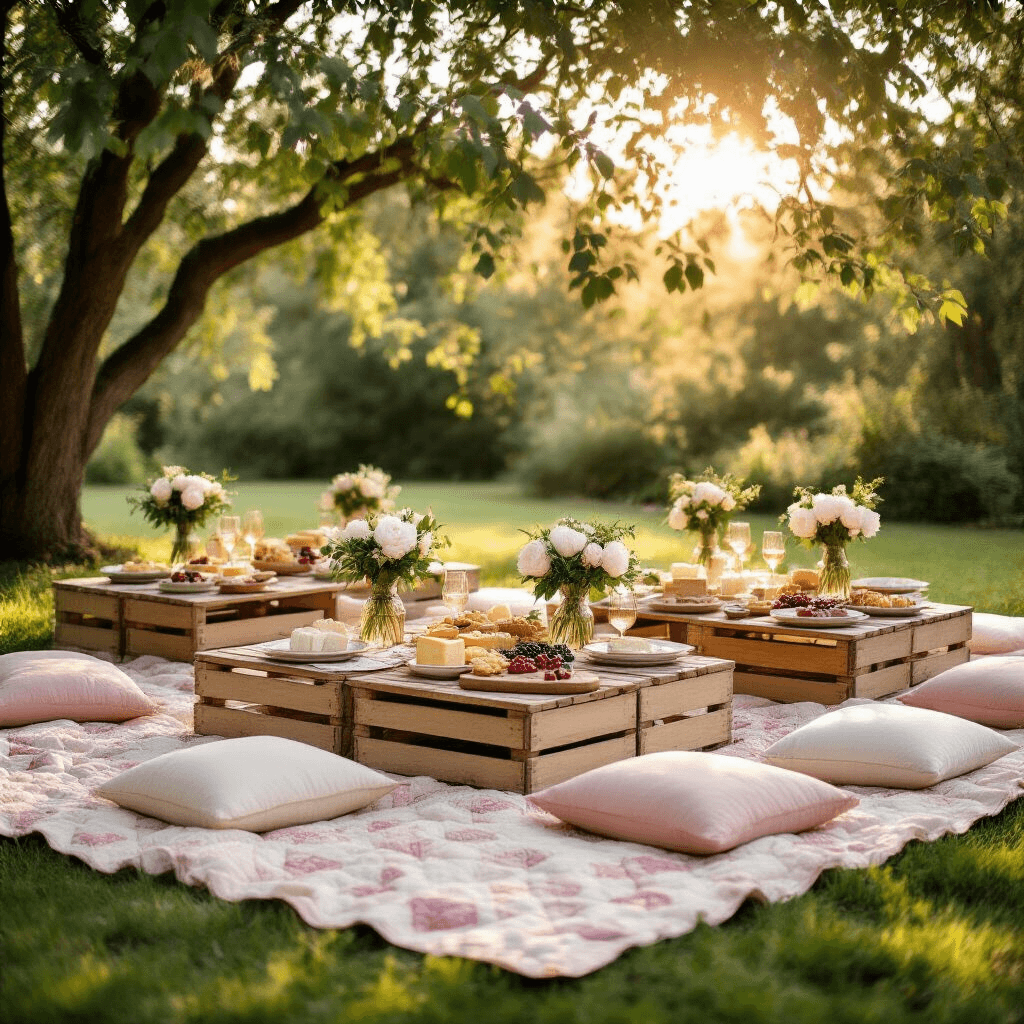
Setting Up Your Dreamy Low Picnic Tables
Creating those Pinterest-worthy low table setups isn’t as complicated as it looks. I learned this trick from a wedding planner who charges $5,000 per event, but I’m sharing it with you for free.
Start with your foundation pieces:
- Low picnic tables or wooden crates arranged as tables
- Floor cushions in coordinating colors
- Vintage quilts or blankets layered underneath
Pro tip I wish someone had told me earlier: Place cushions at different heights. Some guests prefer sitting cross-legged while others need back support. Mix floor cushions with small outdoor poufs to accommodate everyone.
The magic happens in the layering:
- Lay down blankets first – they define your seating areas
- Add your low tables – wooden crates work perfectly and cost almost nothing
- Arrange cushions around each “table zone” – aim for 4-6 people per grouping
- Test the setup – sit down and make sure people can actually eat comfortably
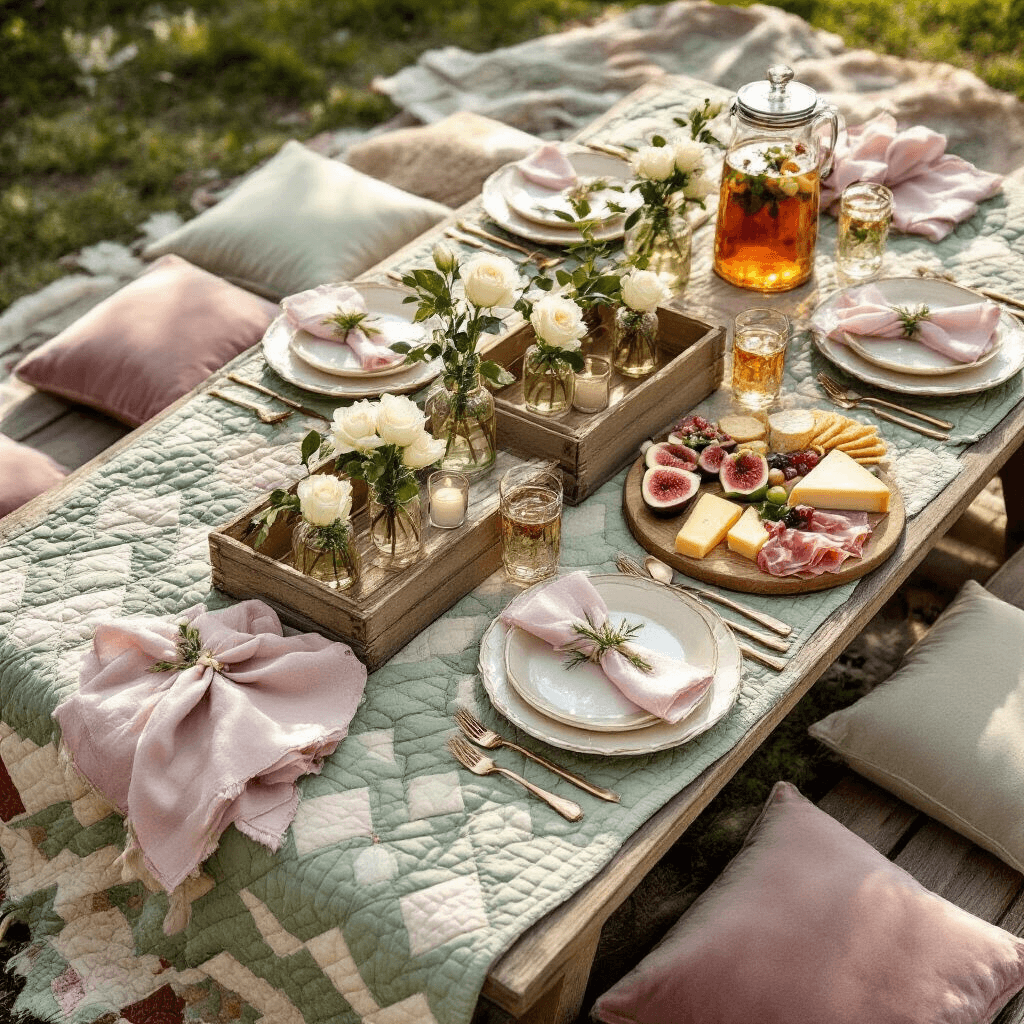
Mastering the Art of Bud Vases and Simple Florals
Here’s where most people overthink everything. You don’t need massive centerpieces that block conversation. I learned this lesson when I spent $200 on elaborate arrangements and guests kept moving them because they couldn’t see each other.
My foolproof bud vase strategy:
- Collect small glass bottles and jars – save wine bottles, baby food jars, even pretty pasta sauce containers
- Group them in odd numbers – clusters of 3 or 5 look more natural
- Use single-stem flowers – roses, peonies, or whatever’s blooming in your area
- Add greenery from your yard – eucalyptus, ivy, or herb sprigs smell amazing
The game-changer trick: Fill small bud vases with different heights of the same flower. It looks intentional and expensive but costs a fraction of traditional arrangements.
Creating Your Charcuterie Magic on a Budget
Let me share the charcuterie secret that will make you look like a total pro. It’s not about buying the most expensive cheeses. It’s about presentation and variety.
My tried-and-tested charcuterie formula:
Save this article
Enter your email and we'll send it straight to your inbox.
- Proteins (choose 2-3):
- Prosciutto or salami
- Hummus or herbed cream cheese
- Hard-boiled eggs with everything seasoning
- Cheeses (choose 2-3):
- One soft (brie or goat cheese)
- One hard (aged cheddar or manchego)
- One interesting (herb-crusted or wine-soaked)
- Crackers and bread:
- Mix textures – crispy crackers, soft bread, maybe some pita chips
- Fresh elements:
- Seasonal fruit (grapes, berries, figs)
- Raw vegetables (cherry tomatoes, cucumber rounds)
- Something pickled (olives, cornichons, pickled onions)
Budget-stretching hack: Use wooden cutting boards as serving platters. They photograph beautifully and you can use them in your kitchen afterward.
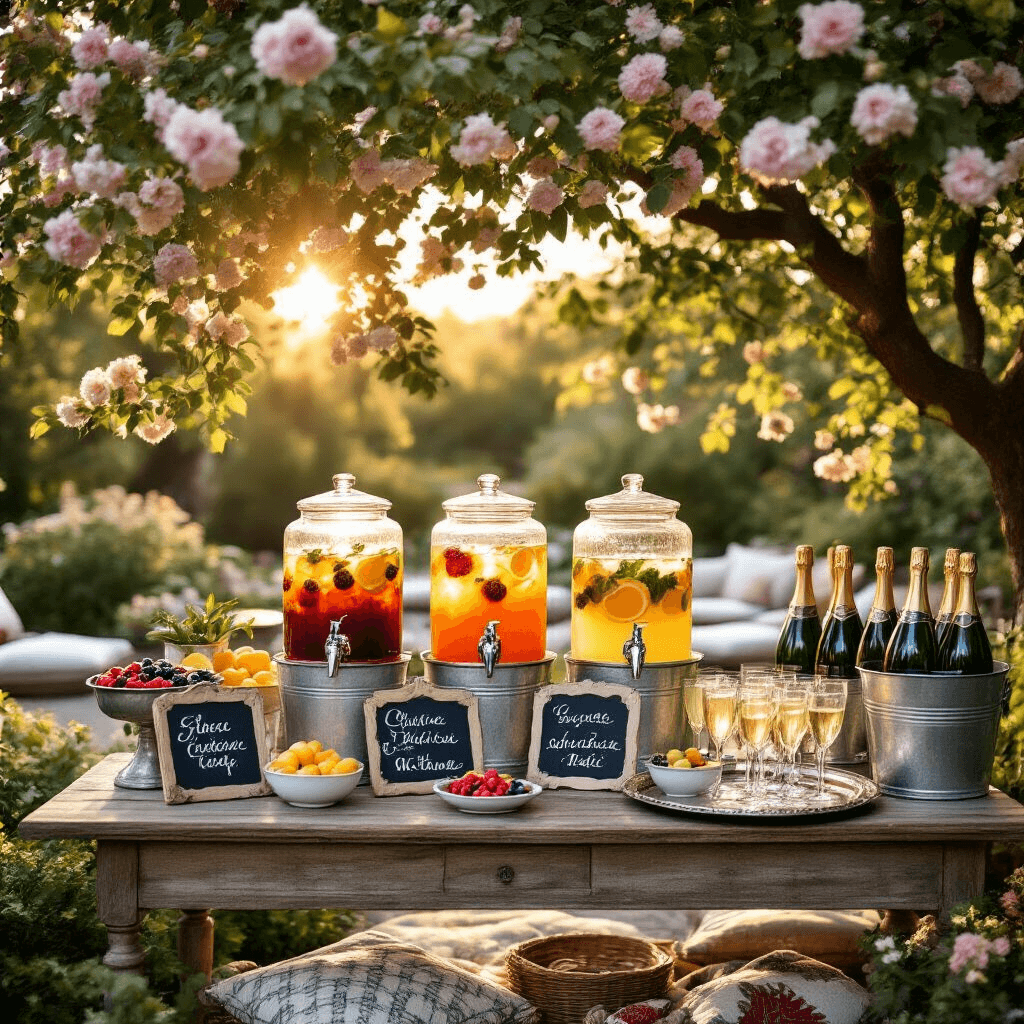
Drink Stations That Actually Work Outdoors
Iced tea and prosecco might sound simple, but I’ve seen too many drink disasters at outdoor parties. Warm drinks, flat prosecco, and sticky surfaces everywhere.
My bulletproof drink station setup:
For iced tea:
- Brew double-strength tea and chill overnight
- Offer 2-3 flavors (classic sweet tea, fruit-infused, herbal)
- Set up a garnish bar with lemon slices, mint, and berries
- Use glass beverage dispensers with ice chambers
For prosecco service:
- Keep bottles on ice in galvanized tubs or large buckets
- Pre-chill glasses (seriously, this makes such a difference)
- Offer fruit for mimosas – orange juice, peach nectar, berry puree
The detail that elevates everything: Create cute drink tags or small chalkboard signs. Guests love knowing what they’re drinking, and it looks incredibly thoughtful in photos.
Timing Your Garden Party Picnic Perfectly
This is where I made my biggest early mistakes. I thought I could set up everything the morning of the party. Wrong. So very wrong.
My current timeline that actually works:
Two days before:
- Shop for non-perishables
- Prep any make-ahead food items
- Gather all serving pieces and decorations
Day before:
- Set up tables and seating (weather permitting)
Want to keep this one?
We'll email you the link so you can find it again later.