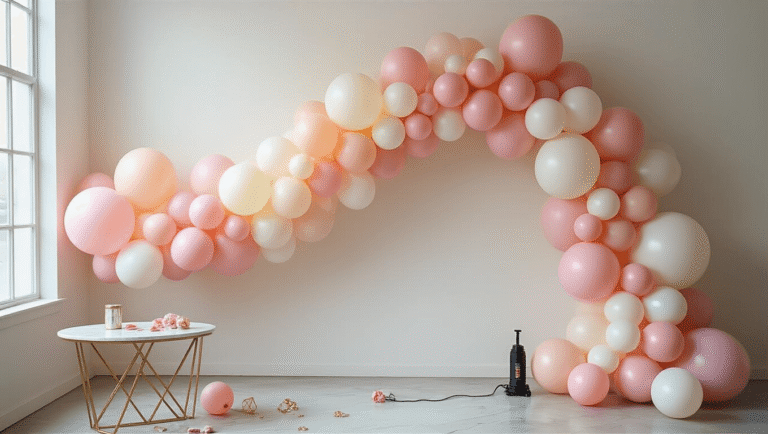
DIY Ribbon Garland: How to Make One That Actually Looks Expensive
What Even Is a DIY Ribbon Garland? (And Why Should You Care?)
A DIY ribbon garland is exactly what it sounds like. You cut ribbon into strips, attach them to a base string using knots, glue, or staples, and keep going until the whole strand looks full and beautiful. Then you drape it — over a tree, across a mantel, through a doorway, or behind a party table.
That’s genuinely it. Here’s the thing that surprised me the most when I first tried this: The result looks WAY more impressive than the effort involved.
Quick Facts Before You Start
- Difficulty: Easy — seriously, kids can do this
- Time needed: 30–90 minutes for a 6–10 ft garland
- Best finished length: 6–10 ft for mantels and doorways; 8–10 ft for trees
- Ribbon required: Roughly 3–16 ft of ribbon per 1 ft of finished garland (depends on fullness)
- Best occasions: Christmas, birthdays, weddings, photo booths, dessert tables
- Budget: Extremely affordable — ribbon, string, scissors, and maybe some glue
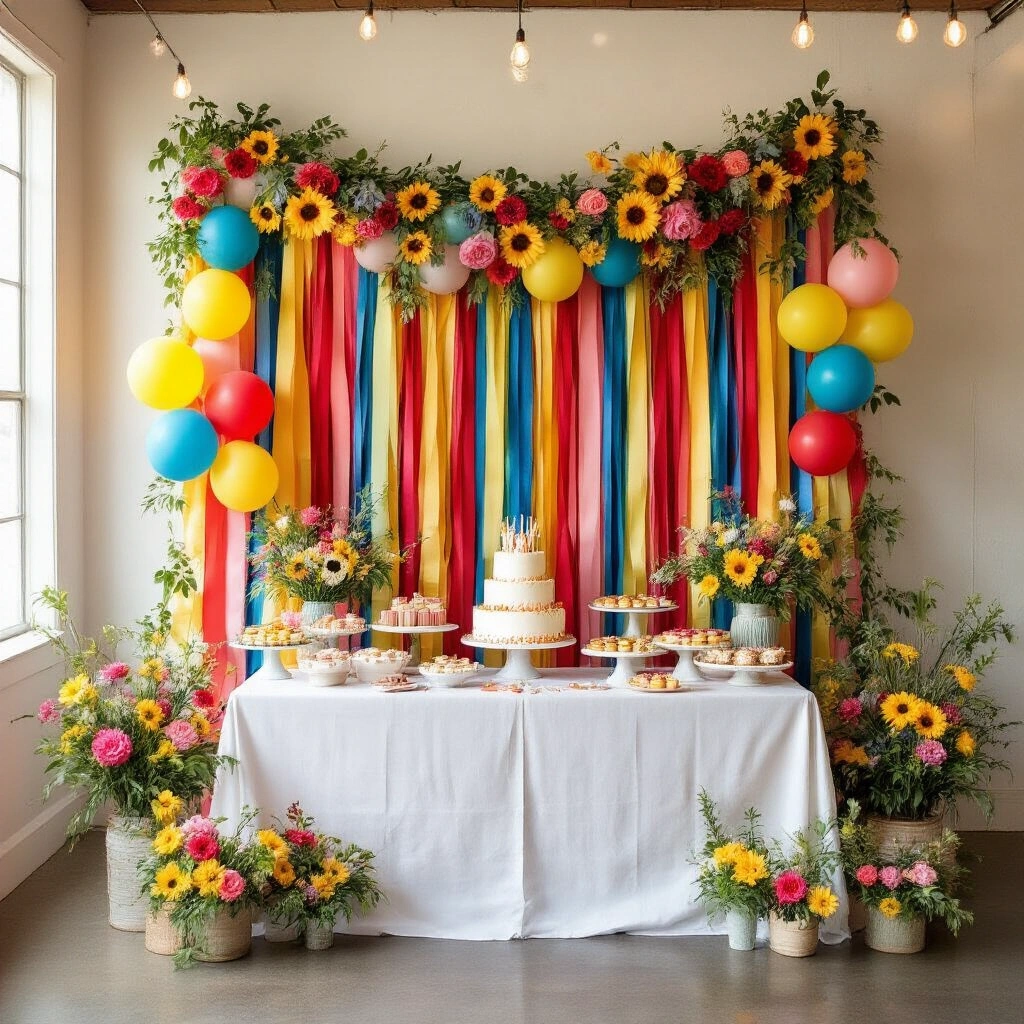
Everything You Need to Make a Ribbon Garland
You don’t need a craft room full of supplies. Here’s what actually matters:
The Essentials
- Assorted ribbons — mix widths, textures, and colors for the best look (satin, grosgrain, velvet, and lace all work beautifully together)
- Twine or string — this is your base, the backbone everything ties onto
- Sharp fabric scissors — dull scissors will fray your ribbon edges and drive you absolutely crazy
The Extras (Worth Having)
- Wired ribbon — this holds its shape better, especially on trees and in bows
- Hot glue gun — essential for bow garlands and chain-style garlands
- A basic stapler for super-fast bow garlands
- Fun embellishments like beads, faux flowers, glitter ribbon, or decorative trims if you want to go all out
Save this article
Enter your email and we'll send it straight to your inbox.
Method 1: The Tied Ribbon Garland (The One I Always Start With)
This is the simplest method, the most versatile, and honestly the one that gives you the most satisfying results. It works for birthday party backdrops, holiday mantels, kids’ rooms, wedding décor — pretty much everything.
Step 1: Measure and Cut Your Base
- Cut your string or twine to your desired finished length — somewhere between 6 and 10 feet works for most setups
- Leave a few extra inches at each end so you have something to tie or hook when hanging
Step 2: Cut Your Ribbon Strips
- Cut each strip to about 10–18 inches long
- For a neat, uniform look, cut them all the same length
- For more texture and movement, mix up the lengths
- Cut more than you think you need — you’ll always use them, and running short mid-garland is genuinely frustrating
Step 3: Tie the Ribbons On
- Fold one strip in half, loop it around the string, and pull the ends through the fold — this is called a lark’s head knot and it’s the fastest, cleanest option
- Alternatively, just fold and tie a simple knot — even a four-year-old can do this
- Pull both ends snug so the ribbon sits centered on the string
Step 4: Fill It Out
- Slide each ribbon close to the last one for a full, fluffy, lush garland
- Space them out if you prefer a lighter, airier look
- Alternate your ribbon colors, widths, and textures as you go — this is where the garland starts looking really layered and intentional
Step 5: Hang and Style It
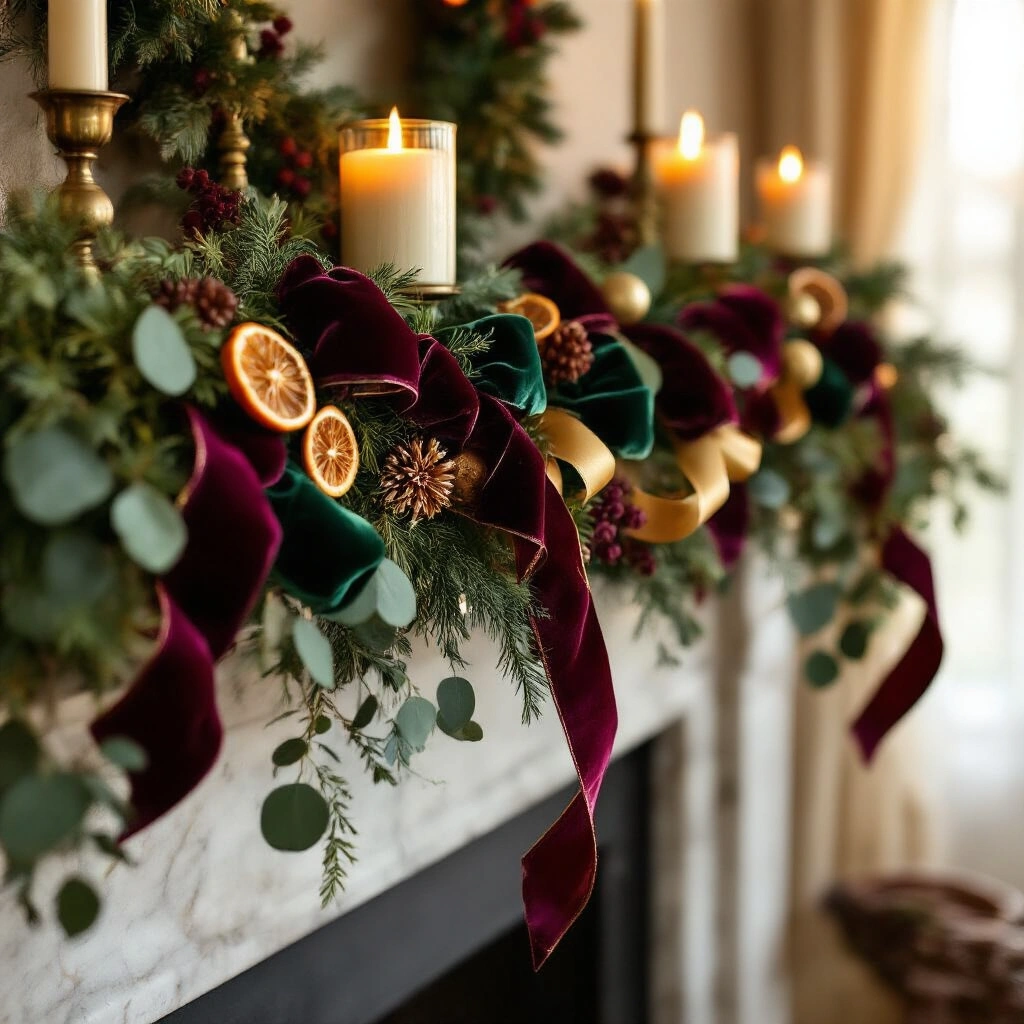
- Drape it across a mantel, doorway, table edge, tree, or photo booth backdrop
- Let the ends hang naturally or tie them into small bows for a finished touch
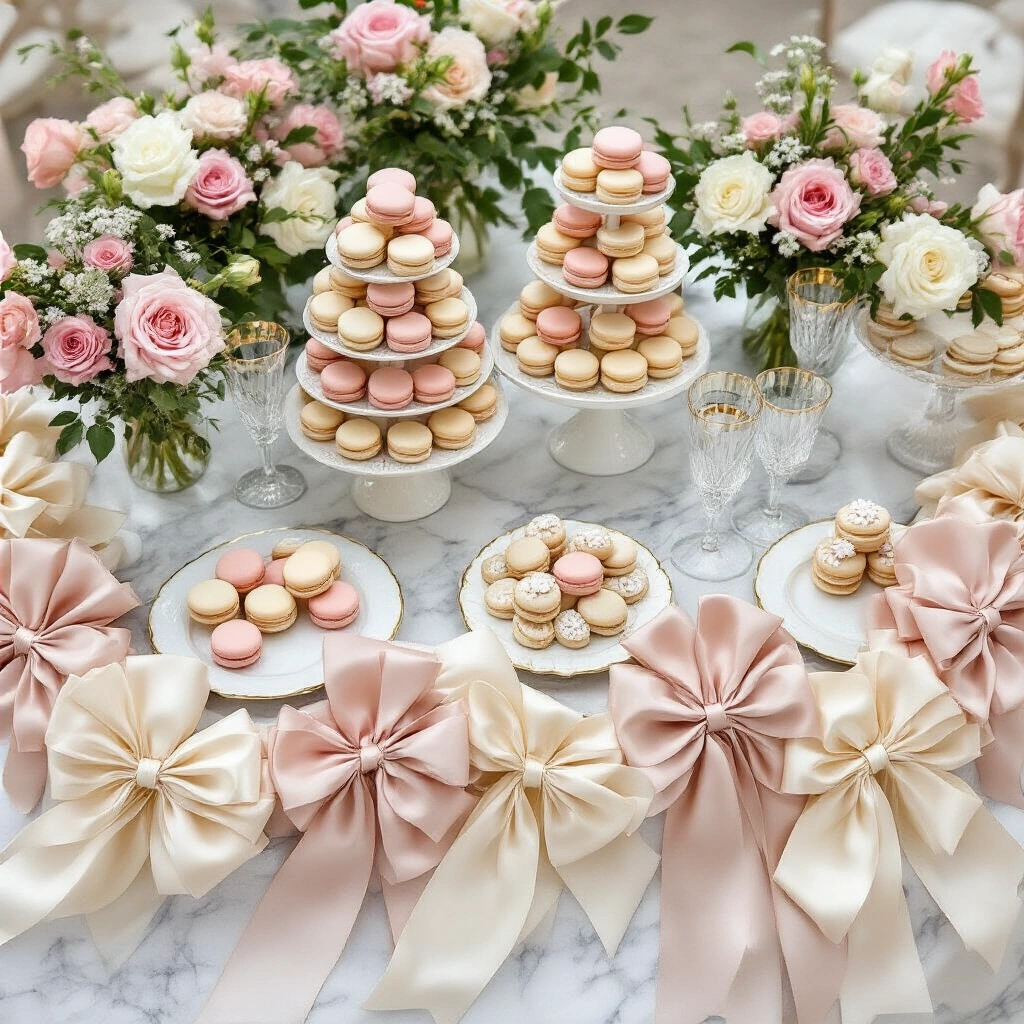
Method 2: The Bow Ribbon Garland (Gorgeous for Trees and Romantic Setups)
This one takes a little more patience, but the payoff is stunning. If you’ve ever seen those dreamy Christmas trees wrapped in cascading bows, this is exactly how they’re made.
Step 1: Make Your First Bow
- Use a thinner ribbon — around 3/8″ to 1/2″ wide is ideal
- Shape it into a bow by creating two loops and crossing them at the center
- Put a small dab of hot glue at the crossing point and press firmly to hold
Step 2: Finish the Center
- Cut a tiny piece of the same ribbon and wrap it tightly around the center of the bow
- Glue the back to finish it off — this hides the messy part and makes it look polished
Step 3: Link Them Together
- Thread a fresh length of ribbon through the loop of your first bow
- Shape it into a new bow and glue like you did the first
- Keep going — each new bow links through the last, forming a continuous chain
- Switch colors or patterns every few bows to add visual interest
Step 4: Use It
- Wrap it around a Christmas tree, banister, or mantel
- Use it as a decorative edge along a cake table or dessert table
Quick tip: If you want the same look but faster, make individual bows, staple them together into a line, and attach twine at each end for hanging.
Want to keep this one?
We'll email you the link so you can find it again later.