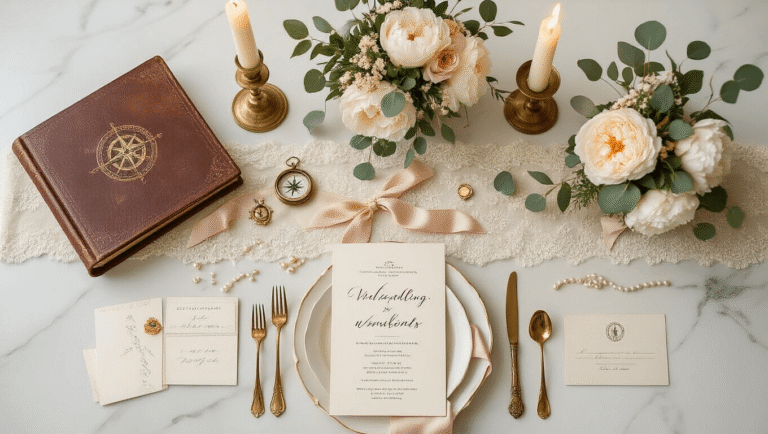
Homemade Garland Ideas That Actually Look Good (And Cost Almost Nothing)
What Even Is a Homemade Garland?
A garland is just a decorative strand — greenery, fruit, paper, beads, whatever you love — attached to a base like twine or wire and draped somewhere beautiful. That’s it. It can be as simple as a few pine branches tied to string, or as detailed as a layered piece with dried citrus, cranberries, ribbon, and fairy lights. The beauty of making your own is that you control every single detail. You choose the colors, the materials, the length, and the vibe.
What You’ll Need to Get Started
Before we dive into specific tutorials, here’s a quick rundown of what most homemade garlands are made from.
The base (pick one):
- Jute twine — my personal favorite, it looks rustic and earthy
- Yarn
- Fishing line (great when you want the decorations to look like they’re floating)
- Floral wire
Greenery:
- Pine, cedar, or eucalyptus branches (real or faux)
- Bay leaves
- Berry branches
Natural accents:
- Dried orange or lemon slices
- Cranberries
- Popcorn
- Cinnamon sticks
- Pinecones
Craft elements:
- Paper shapes, felt pieces, tassels, pompoms
- Wood beads
- Bells or ribbon
Tools you’ll need:
- Scissors
- Floral wire
- A needle (for stringing)
- Hot glue gun (optional but incredibly useful)
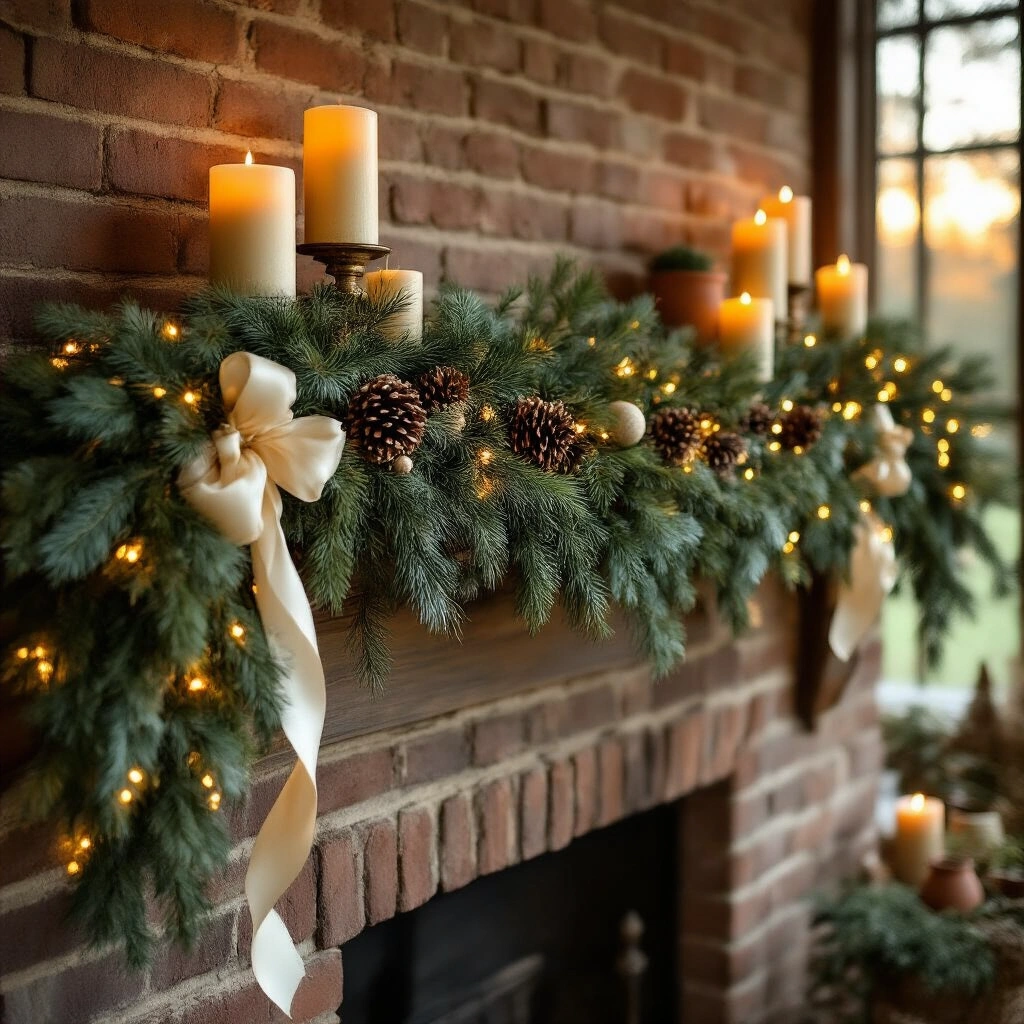
Garland #1: The Classic Natural Evergreen Garland
Perfect for: holiday decor, stair rails, mantels, door frames
This is the one I make every single year without fail. There’s something about fresh pine and cedar that makes a house smell like a cabin in the mountains, and I will never get tired of it.
What You Need
- Evergreen branches (pine, cedar, or eucalyptus — mix them if you can)
- Jute twine
- Floral wire
- Scissors
How to Make It
Step 1: Measure and cut your base
Figure out how long you want your garland to be, then cut your twine a few inches longer than that. Always give yourself a little extra — you can trim it down, but you can’t add more.
Step 2: Make small bundles of greenery
Take 3–4 sprigs of greenery and hold them together at the base. Wrap floral wire tightly around the bottom of each bundle to hold it together. Do this with all your greenery until you have a pile of little bundles ready to go.
Step 3: Attach the bundles to your twine
Lay a bundle against the twine and wrap wire around both the bundle and the twine to secure it. Add the next bundle slightly overlapping the first, going in the same direction. Keep going until the whole length of twine is covered.
Step 4: Fluff and shape it
Gently pull and tug on the sprigs to fill out any gaps. Rotate the garland as you go to make sure it looks full from all angles, not just the front.
Step 5: Add extras if you want them
This is where it gets fun. Wire on a few pinecones, tuck in some ribbon, or weave battery-powered fairy lights through the branches for a magical nighttime look.
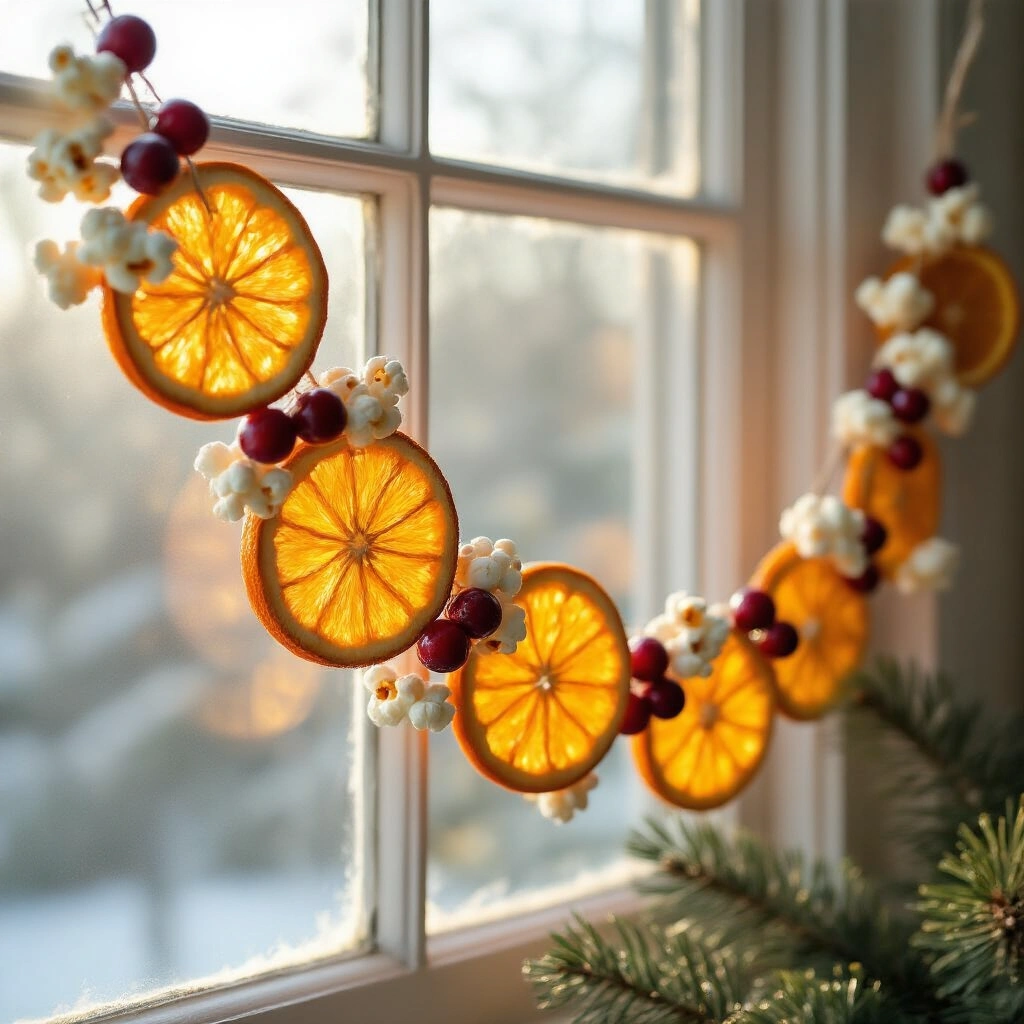
Garland #2: Dried Citrus, Cranberry, and Popcorn Garland
Perfect for: a natural, rustic, or festive look on trees, mantels, or windows
Save this article
Enter your email and we'll send it straight to your inbox.
This one looks like it took a professional hours to make. It did not. The first time I made a citrus garland, I burned exactly one batch of orange slices in the oven and ate half the popcorn before it made it onto the string. We learn from our mistakes.
What You Need
- Oranges or lemons
- Fresh cranberries
- Popcorn (plain, air-popped works best)
- Fishing line or strong thread
- A needle
How to Make It
Step 1: Dry your citrus slices
Slice oranges into rounds about ¼ inch thick — not too thin or they’ll fall apart, not too thick or they won’t dry properly. Lay them flat on a baking rack and dry them in a low oven (around 200°F) for 2–4 hours, flipping halfway through. You can also use a food dehydrator if you have one — it gives you more even results. They’re done when they feel dry and slightly leathery, not sticky.
Step 2: Thread your needle
Cut a long length of fishing line or strong thread and thread your needle. Tie a firm knot at the end — double it if you’re paranoid about cranberries rolling across your floor (I speak from experience).
Step 3: String everything together
Push the needle through your dried orange slices, cranberries, and popcorn in whatever repeating pattern you like. A simple sequence like cranberry, cranberry, popcorn, orange slice, popcorn, cranberry, cranberry looks clean and intentional. Or just mix it all up and call it eclectic — that works too.
Step 4: Tie off the end
When you’ve reached your desired length, tie another firm knot at the end.
Step 5: Layer it or hang it solo
This garland looks stunning on its own draped across a window. But if you want something really lush and full, layer it over a pine garland and watch it go from pretty to absolutely gorgeous.
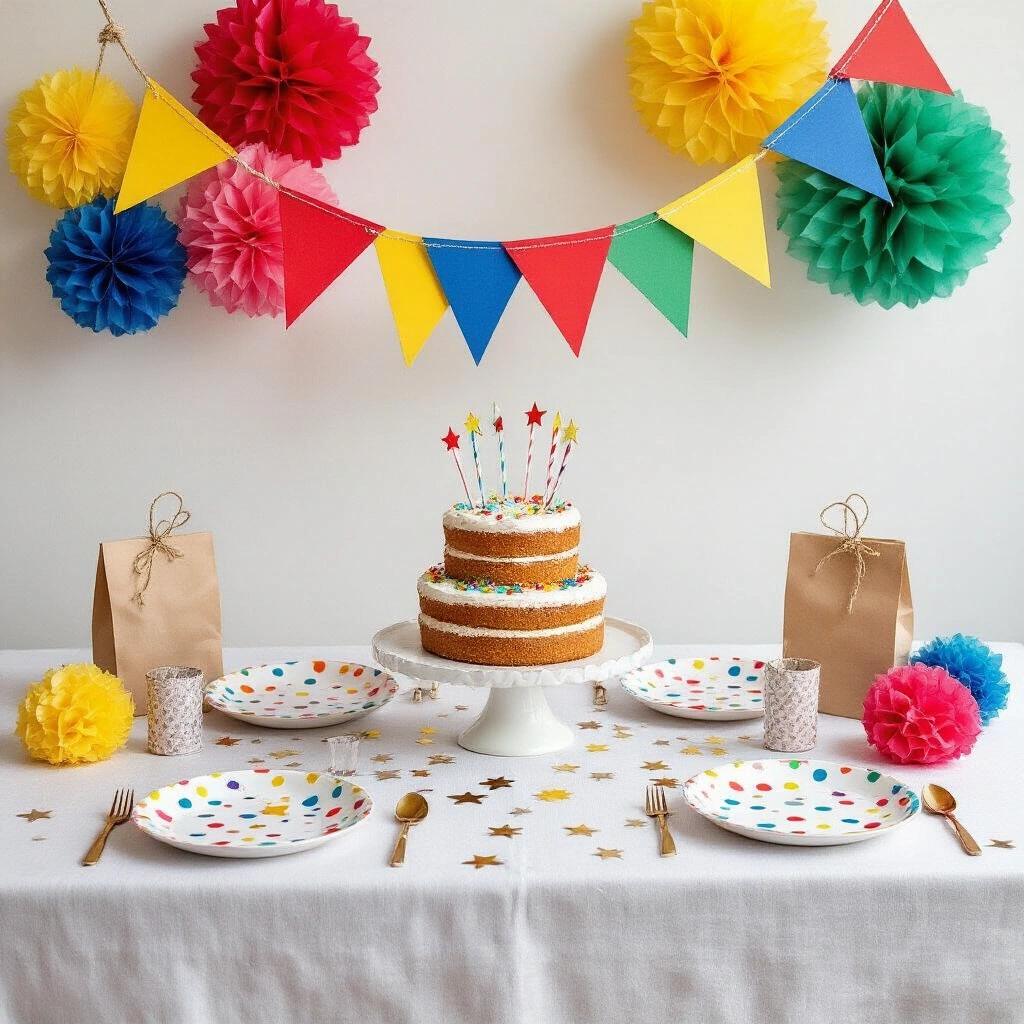
Garland #3: The Easy Paper Garland (or Bunting)
Perfect for: birthdays, baby showers, kids’ rooms, party backdrops, or anyone on a tight budget
Paper garlands are wildly underrated. They’re fast, cheap, customizable, and with the right paper, they can look genuinely elegant.
What You Need
- Colored cardstock or tissue paper
- Scissors or a craft punch
- Twine or string
- A hole punch or hot glue
How to Make It
Step 1: Cut your
Want to keep this one?
We'll email you the link so you can find it again later.