Bauble Garland Magic: The Ultimate Guide to DIY, Styling, and Stunning Holiday Decor
Bauble Garland Magic: The Ultimate Guide to DIY, Styling, and Stunning Holiday Decor
A bauble garland might just be the most versatile, most photogenic, and most satisfying holiday decoration you’ll ever make or style.
I’ve spent years decorating mantels, staircases, and dining tables for Christmas, and nothing — not even the most elaborate wreath or the tallest tree — gets as many compliments as a well-styled bauble garland.
People stop. They stare. They pull out their phones.
And then they ask: “Where did you get that?”
The answer, most of the time, is: “I made it.”
Whether you’re a complete beginner with a ball of twine and a bag of thrift store ornaments, or you’re a seasoned decorator looking to level up your holiday styling game, this guide covers everything you need to know.
What Exactly Is a Bauble Garland (And Why Should You Care)?
A bauble garland is exactly what it sounds like.
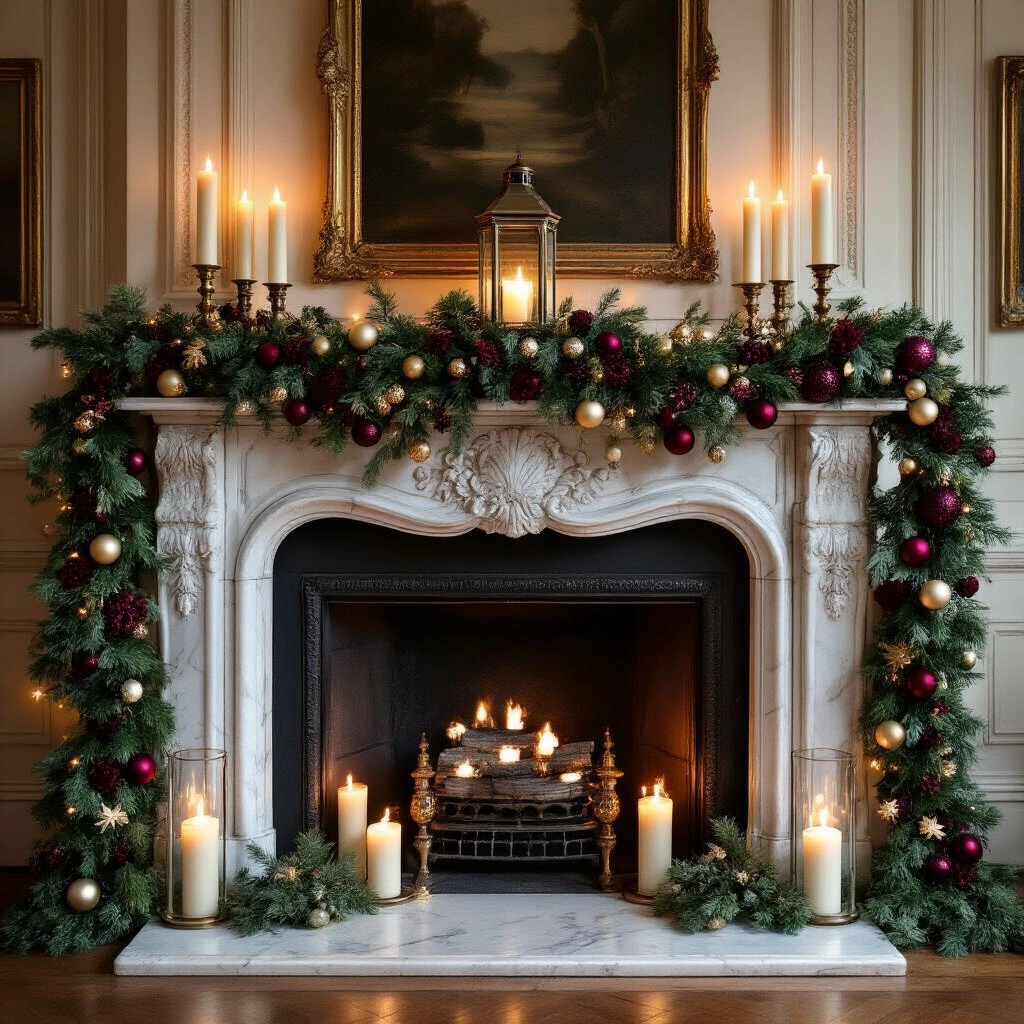
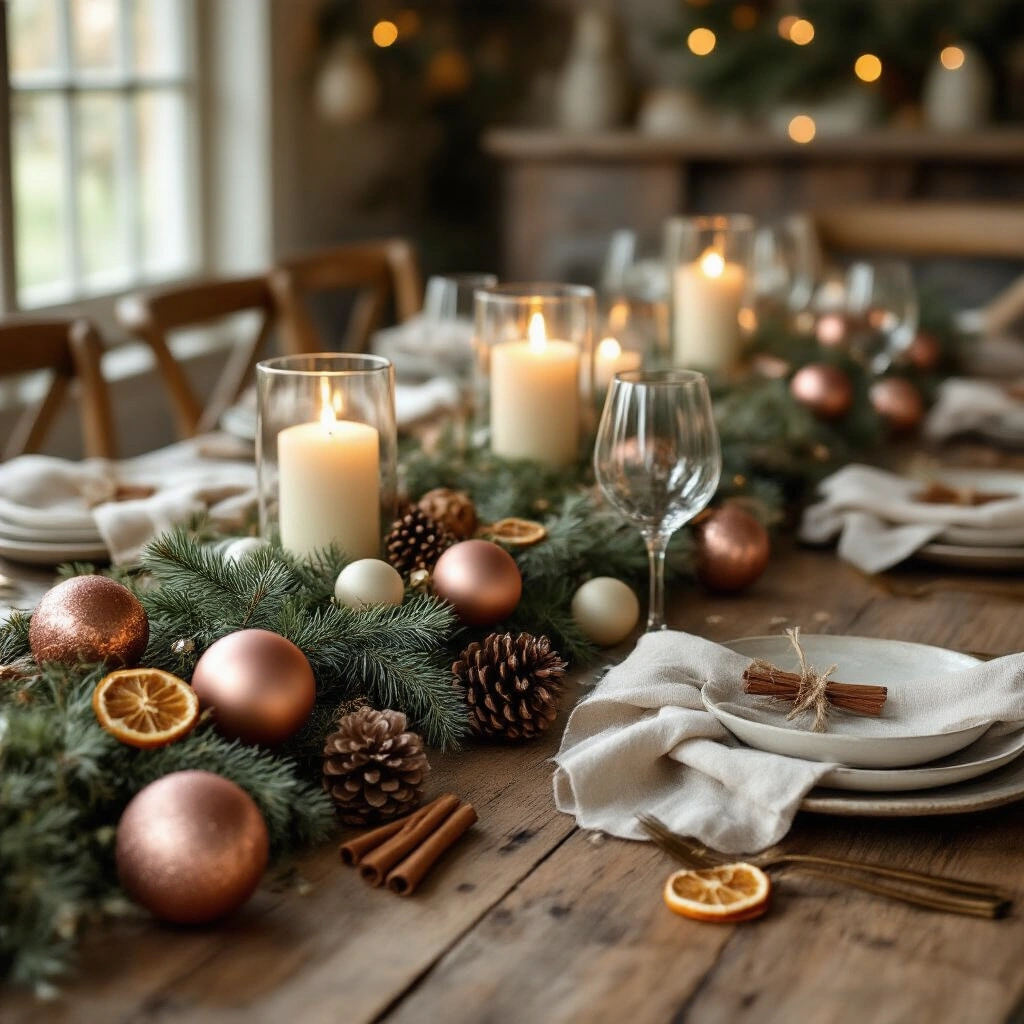
It’s a strand of Christmas ornaments — baubles — threaded onto twine, wire, or string, and draped across a mantel, staircase, table, or tree.
Simple concept. Stunning results.
Here’s why it works so well:
- It adds instant colour and texture to any space
- It photographs beautifully — baubles catch light in a way that no other decoration does
- It’s completely customisable — you control the colours, the sizes, the spacing, the style
- It works everywhere — fireplace mantels, staircase banisters, dining tables, bar carts, Christmas trees, doorways
And the best part? You don’t need to spend a fortune to make one look incredible.
How Long Does This Actually Take?
Let me be honest with you — because I hate when guides make things sound faster than they are.
For a simple, shop-bought garland:
Save this article
Enter your email and we'll send it straight to your inbox.
- Styling time: 15–30 minutes
- You’re basically draping, adjusting, and adding props around it
For a DIY twine bauble garland:
- Making time: 1–2 hours depending on length
- Photography time: 45–60 minutes for a full set of shots
- Total content creation (if you’re blogging or posting): 3–4 hours including editing and uploading
For a full DIY wired or crochet garland:
- Budget a full afternoon
- It’s worth every minute
What’s Your Budget? Here’s What You Can Expect
One of the things I love most about bauble garlands is that they genuinely work at every budget level.
Budget-friendly (under $20):
- Hit up thrift stores, charity shops, or dollar stores for baubles
- Use baker’s twine as your base — it’s cheap, strong, and looks charming
- “Ugly” or mismatched baubles can actually look amazing once they’re styled together
Mid-range ($20–$60):
- Invest in coordinated colour sets of shatterproof Christmas ornaments
- Pick up florist wire for a more structured, polished garland
- Add a few extra accents like ribbon, berries, or star picks
Luxury ($60+):
- Artisanal glass bauble garlands are genuinely breathtaking
- Designer collections with hand-painted or mercury glass finishes
- Worth it if this is a centrepiece display you’ll reuse for years
The Tools You Actually Need (No Fluff, No Faff)
For a Twine Bauble Garland (Beginner Level — Easy)
This is where I’d tell any first-timer to start. It’s low stress, high reward, and the results look way more intentional than the effort involved.
- Mini glass or plastic baubles — lightweight is key here
- Baker’s twine or strong string — jute, cotton, or coloured twine all work
- Sharp scissors
- A tape measure — trust me, you want consistent spacing
- Pins, hooks, or small nails for hanging
For a Wired Bauble Garland (Intermediate Level — Moderate)
This is the method I use for staircases and Christmas trees. It gives you a denser, more dramatic look.
- Baubles in various sizes and textures — mix small, medium, and large
- Garden wire or florist wire
- Wire cutters and pliers — don’t skip these, your hands will thank you
- Optional: chicken wire as a base for ultra-full, lush installations
- Filler sprays — berries, stars, glitter picks
For a Crochet Bauble Garland (Advanced Level — Moderate to Hard)
I’ll be upfront — I am not a crochet expert. But I’ve seen these made, and they’re absolutely gorgeous.
- Chunky yarn (Lion Brand WoolEase Thick & Quick is a popular choice)
- Crochet hook around 6.5mm
- Scissors and a darning needle to weave in ends
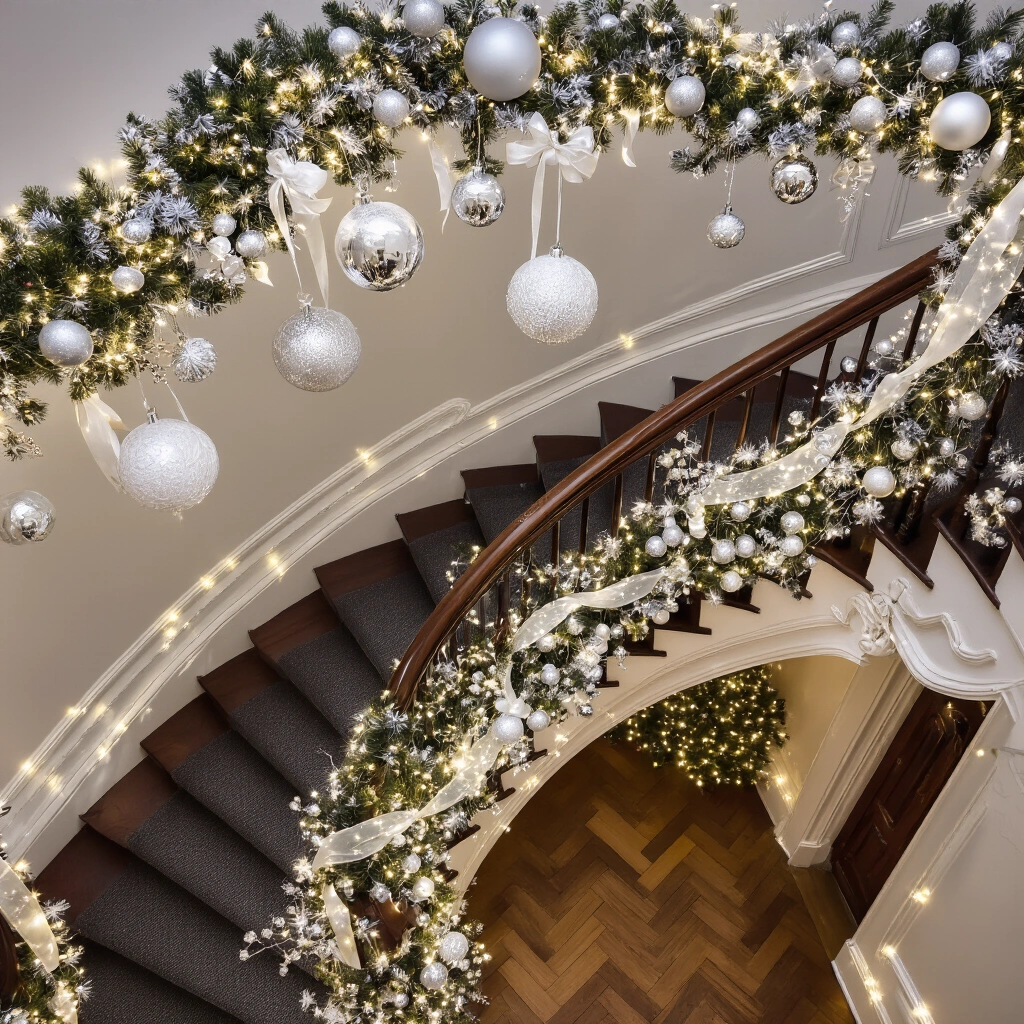
How to Make a Bauble Garland: Step-by-Step
Method 1: The Twine Garland (Start Here If You’re New to This)
This is genuinely easy. I made my first one in about an hour while watching a Christmas movie, and it looked like something from a magazine.
Here’s exactly how to do it:
- Cut your twine to the length you need, plus about 20cm (8″) extra on each end for hanging loops
- Find the centre of your
Want to keep this one?
We'll email you the link so you can find it again later.