

DIY Easter Garland: How To Make Cute Bunny, Egg, and Yarn Garlands At Home
DIY Easter Garland: How To Make Cute Bunny, Egg, and Yarn Garlands At Home
A DIY Easter garland is one of the fastest ways to transform a plain mantel, staircase, or party table into something that actually looks like you tried.
And the best part? You probably already have most of what you need sitting in a drawer somewhere.
I’ve made every single version in this guide, and I’ll be honest with you about which ones are worth your time and which ones require a little more patience than others.
Whether you’re decorating for a family Easter brunch, a kids’ party, or just want your home to feel a little more springy, there’s something here for every skill level and budget.
Let’s get into it.
Why Bother Making Your Own Easter Garland?
I get it. You can grab something from the store and be done with it in five minutes.
But here’s what I’ve noticed every single time I’ve done that:
- Store-bought garlands look generic
- They fall apart after one season
- They cost more than they should for what you get
When you make your own, you get to pick the colors, the size, the vibe. You can make it match your existing decor instead of clashing with it. And honestly, the process itself is kind of therapeutic.
Even if you’re not particularly crafty, every project in this guide is genuinely beginner-friendly.
What You’ll Need Before You Start
Before jumping into the specific projects, here’s a quick rundown of the basics you’ll want to have on hand.
Most of these are inexpensive and reusable across multiple projects:
- Cardstock or scrapbook paper in spring colors and patterns
- Small pom-poms for bunny tails and embellishments
- Baker’s twine or ribbon for stringing everything together
- Hot glue gun and glue sticks for quick and secure adhesion
- Plastic Easter eggs if you’re going the egg garland route
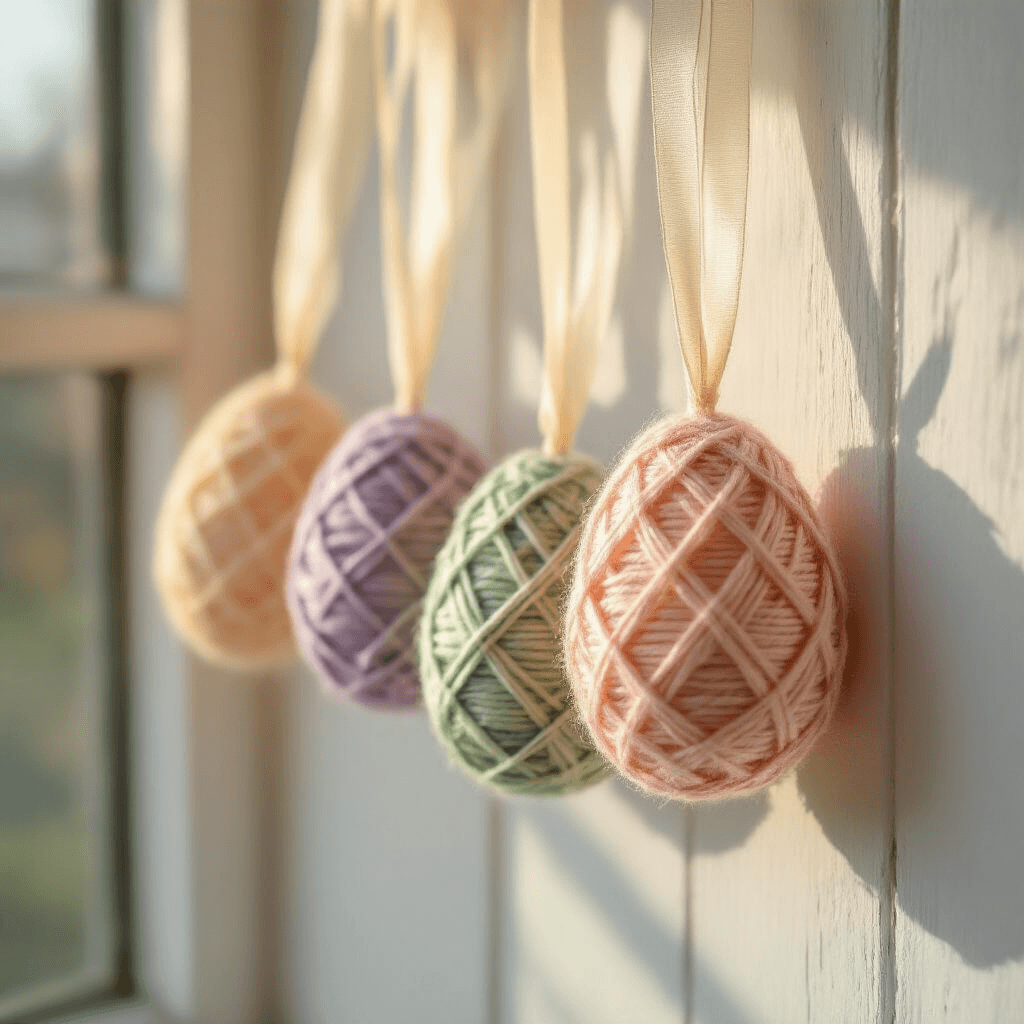
- Pastel yarn for the yarn egg version
Got your supplies? Good. Let’s make something.
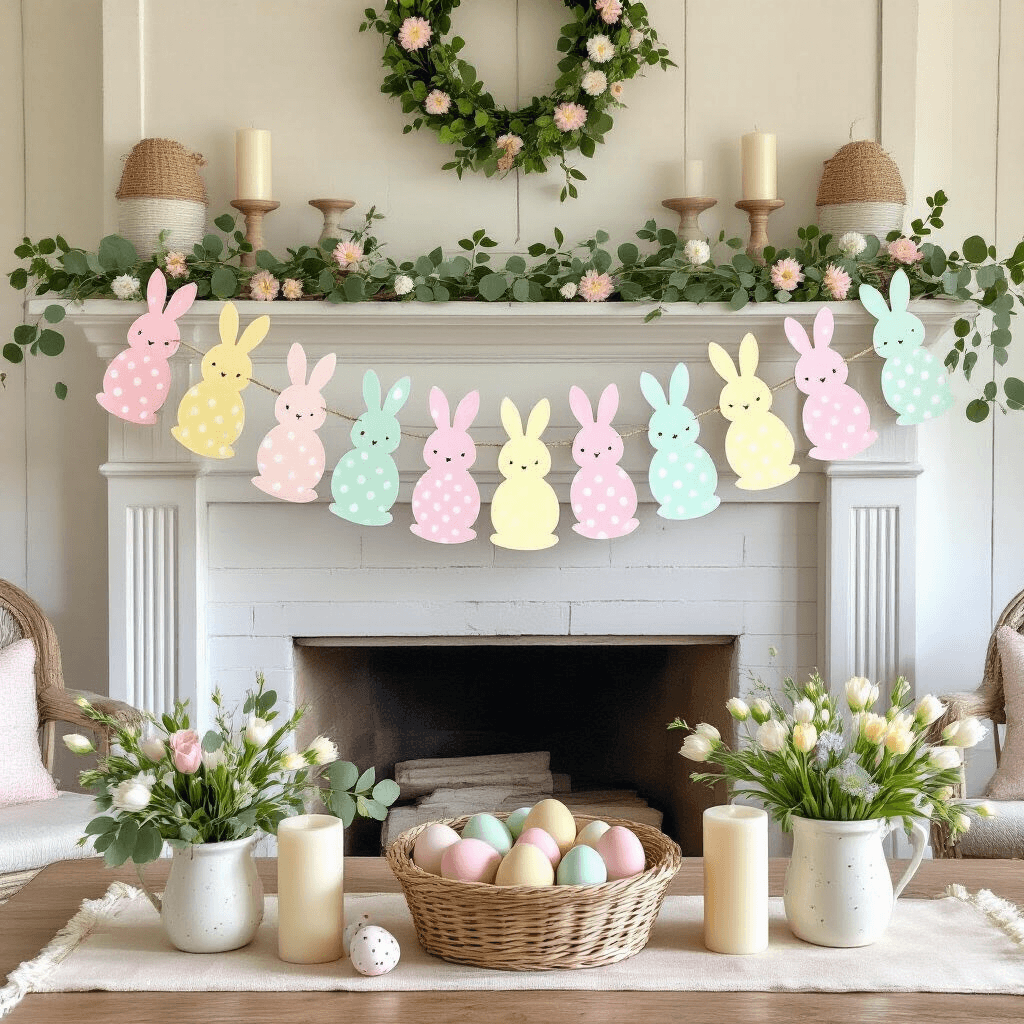
Project 1: Easy Paper Bunny Easter Garland
Difficulty:
Easy
Time:
45–60 minutes
Budget:
Very low
This is the one I recommend to everyone who’s never made a garland before.
It’s simple, it looks adorable, and you can customise it completely depending on what paper you choose. Pastel polka dots, watercolor florals, solid Easter colors — all of them work beautifully.
What You’ll Need
- White card or cardstock (for your bunny template)
- Patterned or colored scrapbook paper (for the actual bunnies)
- Pencil and scissors
- Small white pom-poms
- Ribbon, twine, or string
- Craft glue or hot glue gun
Step-by-Step Instructions
Step 1: Make Your Bunny Template
Draw a simple bunny shape on white card.
Don’t overthink it. Here’s the basic breakdown:
- One large circle for the body
- A smaller circle on top for the head
- Two tall, leaf-shaped ears coming off the head
Cut it out cleanly. This becomes your reusable template, so take a little care here.
Step 2: Trace and Cut Your Bunnies
Lay your template on the patterned or colored scrapbook paper and trace around it with a pencil.
Save this article
Enter your email and we'll send it straight to your inbox.
Repeat as many times as you need.
For a standard mantel-length garland, I usually aim for 8 to 12 bunnies. Cut them all out neatly.
A few things that make this easier:
- Use sharp scissors — dull ones drag and tear
- If you’re cutting multiples, stack 2–3 sheets and cut them all at once
- Vary the paper patterns so each bunny looks slightly different
Step 3: Add the Fluffy Tails
This step takes 30 seconds but makes a huge difference.
Dab a small amount of glue on the lower back area of each bunny body and press a white pom-pom firmly into place.
Hold it for a few seconds until it sets. Let everything dry fully before moving on.
Step 4: Attach the Bunnies to Your Ribbon or Twine
Lay your ribbon or twine flat on your work surface.
You have two options here:
- Option A: Put a small dot of glue at the top of each bunny’s ears and press them onto the ribbon, spacing them evenly
- Option B: Use a hole punch to make tiny holes in the ears, then thread the ribbon directly through them
I personally prefer Option B because it looks cleaner and the bunnies don’t slide around.
Space the bunnies roughly 3–4 inches apart for a balanced, airy look.
Step 5: Let It Dry, Then Hang
Once everything is dry, hang your garland wherever you want a little Easter magic.
Best spots I’ve used:
- Along a fireplace mantel
- Draped across a doorway
- Behind a dessert table as a backdrop
- Strung along a window ledge
Against a plain, uncluttered background is where this garland really shines, especially if you’re taking photos for family memories or social media.
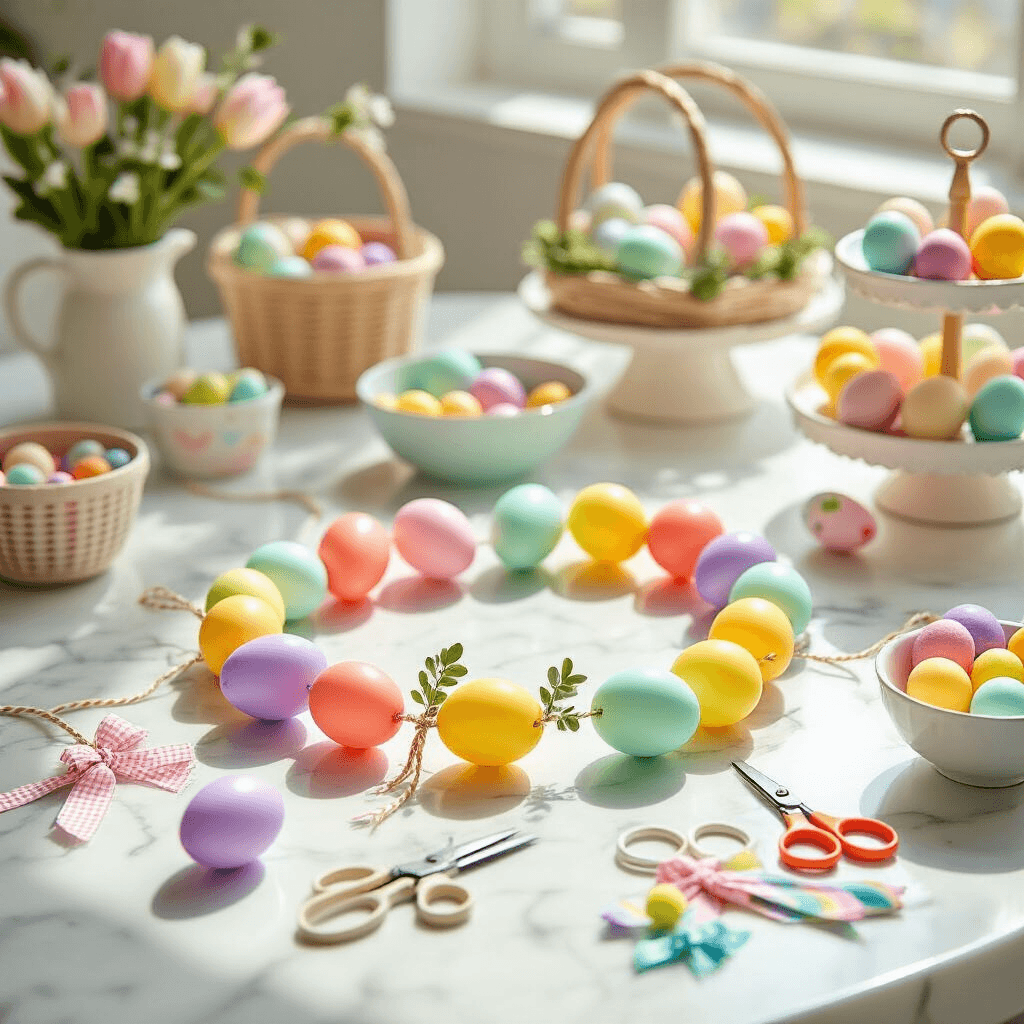
Project 2: Plastic Easter Egg Garland (Fast and Kid-Friendly)
Difficulty:
Very Easy
Time:
20–30 minutes
Budget:
Low
This one is perfect if you have kids who want to help.
There’s no glue gun required, no sharp scissors needed for little hands, and the results are bright and cheerful in the best way.
I’ve hung this version on stair rails and it always gets comments from guests.
What You’ll Need
- Plastic Easter eggs (ones with small holes in the top and
Want to keep this one?
We'll email you the link so you can find it again later.


