

DIY Star Garland: 5 Easy Ways to Make One That Actually Looks Good
What You’ll Actually Need (Before You Start Cutting Anything)
Before diving into any of the methods below, let’s talk materials.
The supplies you need depend on which version you’re making — but here’s a general overview of what comes up across all five options:
- Paper — cardstock, scrapbook paper, old book pages, sheet music, kraft paper
- Star punch — seriously, get one; it saves so much time
- Twine or string — jute twine, yarn, or embroidery floss all work beautifully
- White glue or a glue stick — for the paper versions
- Felt sheets — if you’re going the soft, plush route
- A sewing machine — optional, but useful for Option 2 and Option 3
- Hot glue gun — great for securing 3D stars to twine fast
Pick your method first, then gather your supplies. There’s nothing worse than getting halfway through a project and realizing you’re missing something.
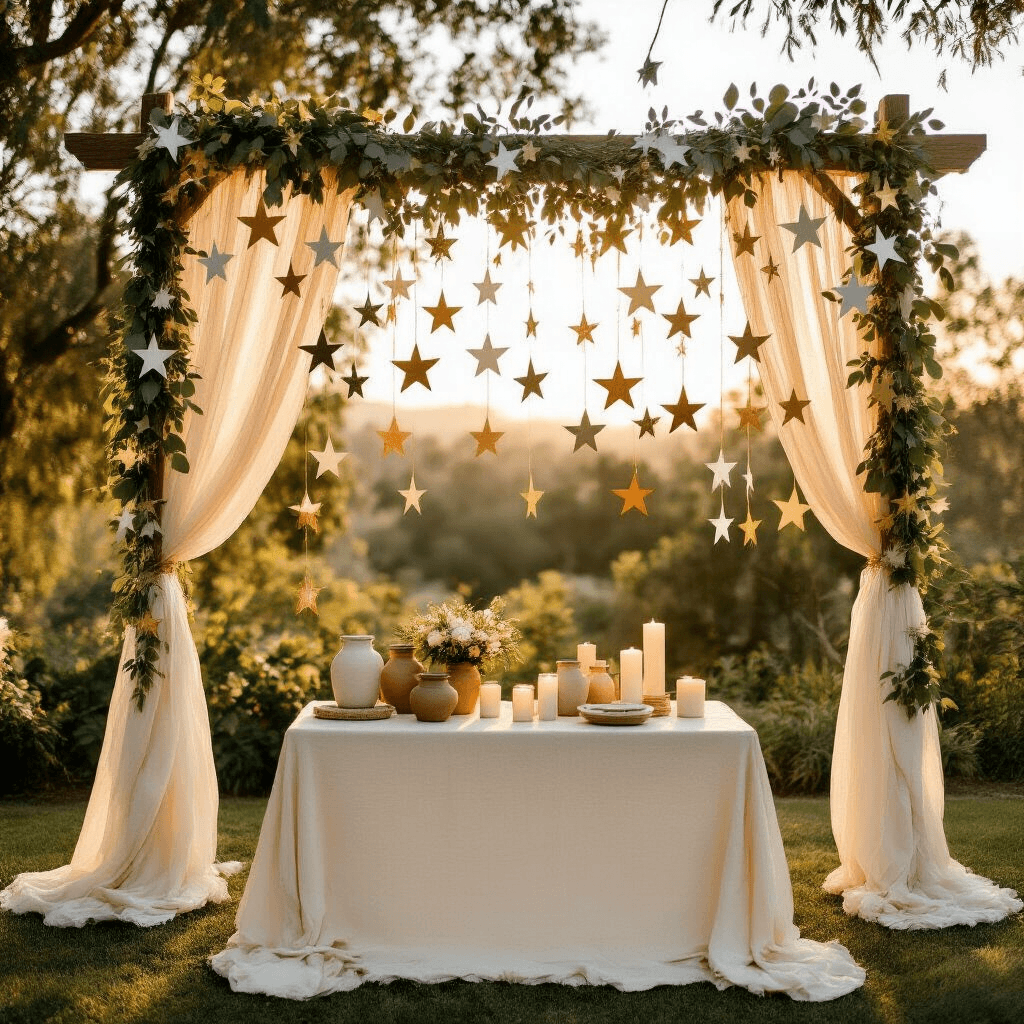
Option 1: The Easy No-Sew Paper Star Garland
This is the one I always recommend to beginners.
It’s fast, it’s cheap, and it looks genuinely lovely when it’s done.
What you need:
- Cardstock or decorative paper
- A star punch (or printed template + scissors)
- Twine
- White glue and a small paintbrush
How to make it:
- Cut your stars using a punch or trace a template and cut with scissors
- Lay your twine out flat on a table and plan your layout before gluing — mix sizes, colors, or textures if you want
- Brush a thin layer of glue onto the back of one star
- Press the twine onto the glued star where you want it to sit
- Add glue to a second star and sandwich the twine between the two stars, pressing the edges together
- Repeat all the way along until you’ve hit your desired length
- Let it dry completely before you even think about hanging it
The sandwich method is key here. It makes the garland look clean from both sides — no glue blobs, no wonky stars hanging at weird angles.
Pro tip: Use a mix of plain kraft paper and gold cardstock stars for a look that feels elevated without being fussy.
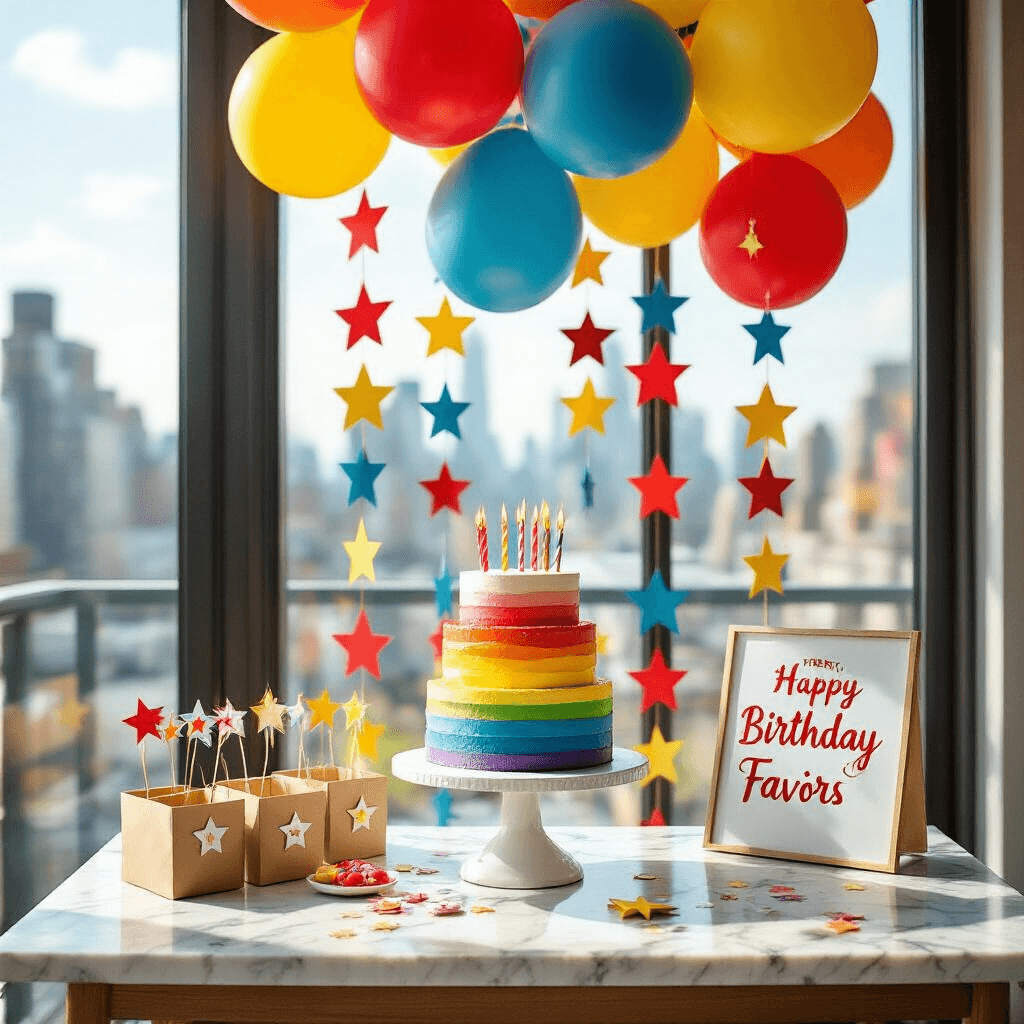
Option 2: The 10-Minute Sewing Machine Garland
Got a pile of scrap paper sitting in a drawer doing nothing? This is the method for you.
What you need:
- Scrap paper (watercolor paper, card stock, anything leftover)
- A star paper punch
- A basic sewing machine and thread
How to make it:
- Punch or cut your stars and lay them out in the order you want
- Feed them through your sewing machine one at a time, sewing straight through the center of each star
- Use a long stitch length so you’re not perforating the paper too heavily
- Leave a small gap of about half a centimeter to one centimeter between each star as you sew
That’s genuinely it.
Save this article
Enter your email and we'll send it straight to your inbox.
The thread holds everything together and gives the garland a charming handmade feel that’s hard to fake with glue.
No sewing machine? Just use the glue sandwich method from Option 1 — same result, slightly more time.
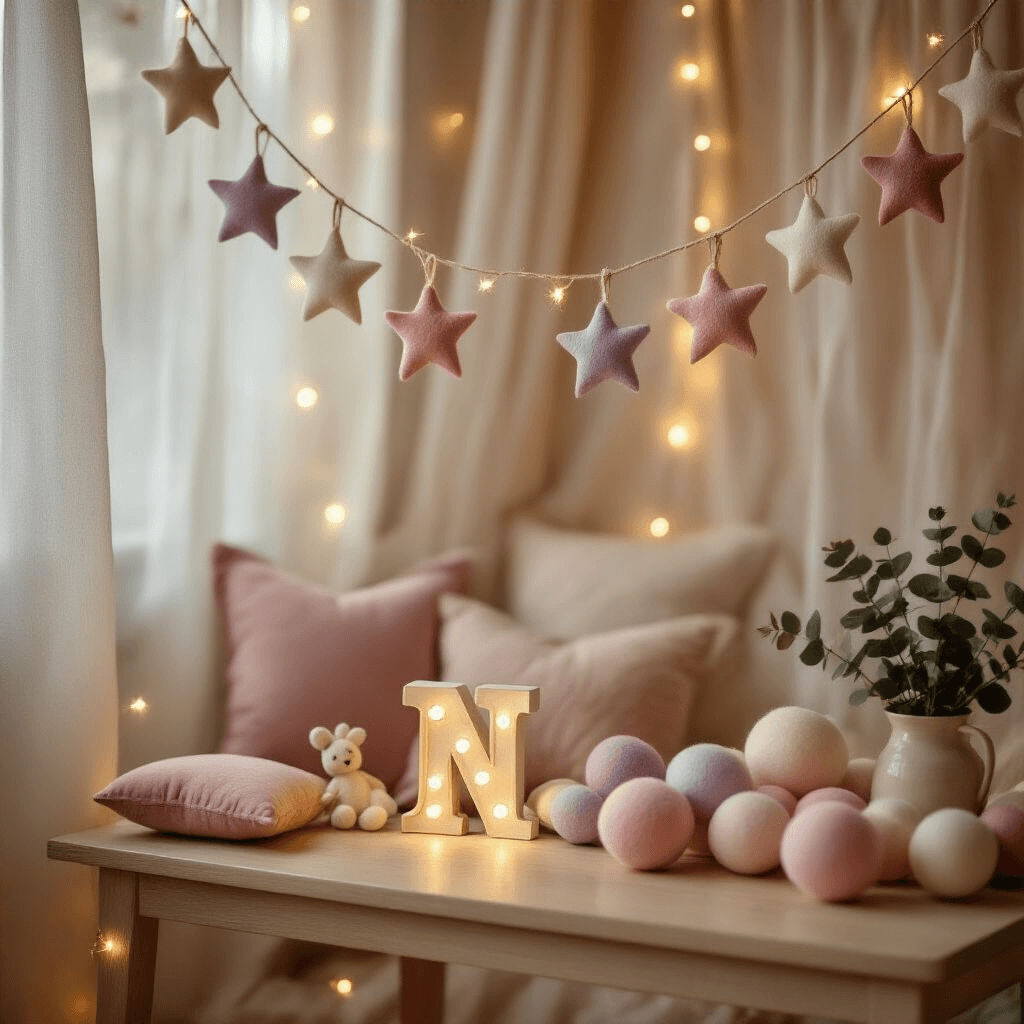
Option 3: The Stuffed Felt Star Garland (Cozy and Gorgeous)
This one takes a little more effort, but the result is absolutely worth it.
I made a version of this for a friend’s daughter’s bedroom and it’s still hanging there two years later.
It’s soft, tactile, and looks expensive.
What you need:
- Felt sheets in your chosen colors
- Sewing thread and a needle (or sewing machine)
- Polyfill stuffing or cotton wadding
- Twine (about 4 meters for a full garland)
How to make it:
- Cut two felt star shapes for every finished star — one for the front, one for the back
- Place them wrong sides together so any pen marks end up hidden inside
- Blanket stitch around the edges, leaving one point open
- Lightly stuff the center — don’t overstuff or the points will look lumpy
- Finish stitching and fasten off your thread
- To string the garland:
- Make a loop at one end of your twine
- Tie a knot where you want the first star to sit
- Thread the star on and slide it down to the knot
- Tie another knot directly after the star to lock it in place
- Repeat every 5 centimeters or so until all stars are added
- Finish with a loop at the other end for hanging
Color ideas that work beautifully:
- Cream and dusty pink for nurseries or baby showers
- Deep red and forest green for Christmas
- Mustard, terracotta, and ivory for a boho or fall vibe
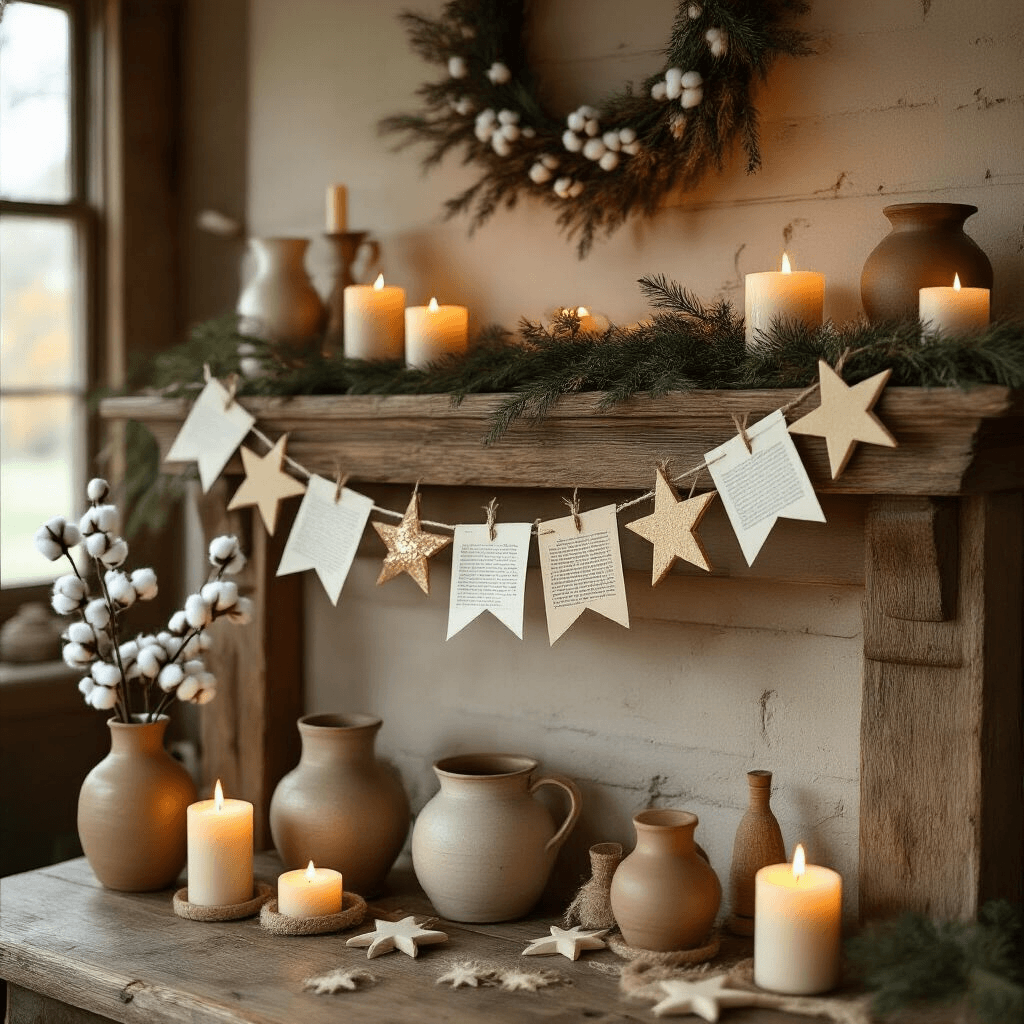
Option 4: The 3D Paper Star Garland (Sculptural and Show-Stopping)
This one looks impressive and is surprisingly doable once you get the hang of the folding.
How to make it:
<
Want to keep this one?
We'll email you the link so you can find it again later.


