

How to Preserve Your Wedding Flowers at Home (And Actually Keep Them Looking Beautiful)
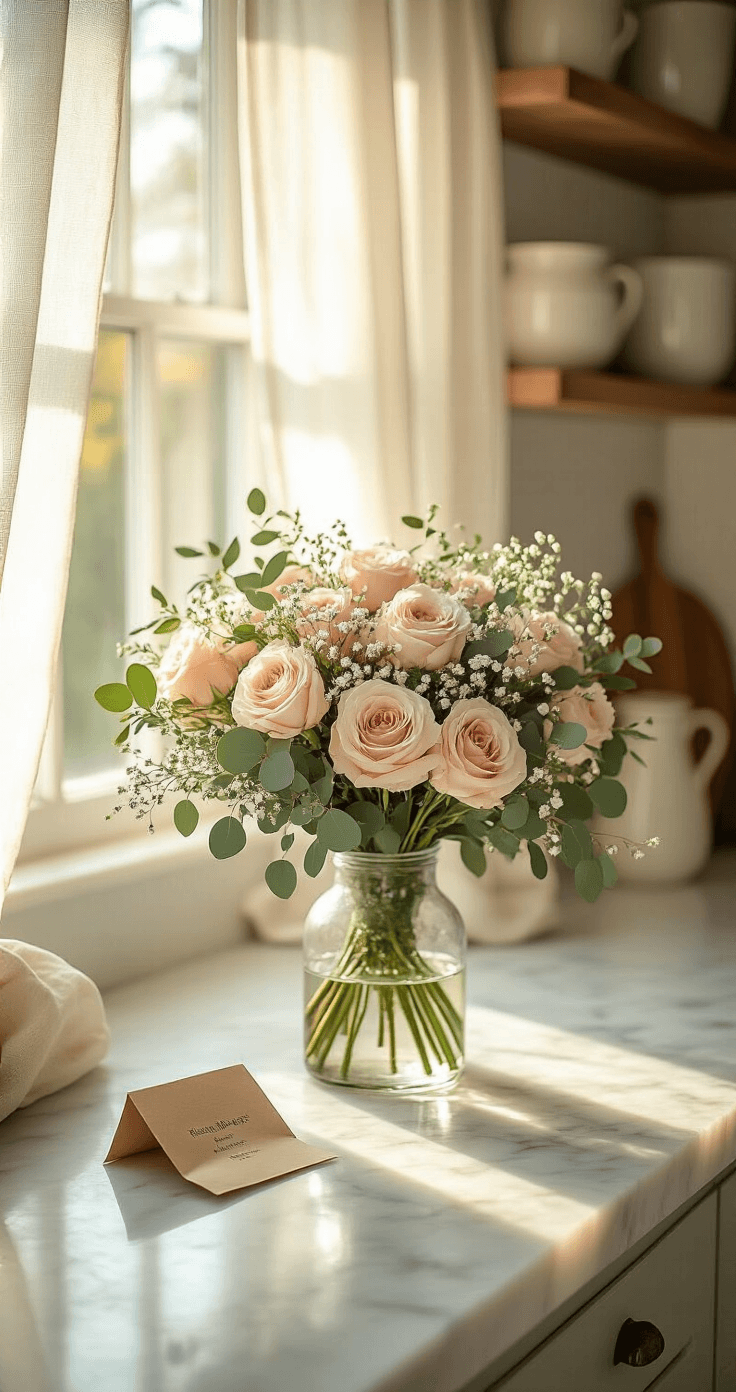
First Things First — What to Do Right After the Wedding
Contents
Before you even think about how you’re going to preserve your flowers, you need to buy yourself some time.
Here’s what to do the moment you get home:
- Trim the stems at a 45-degree angle
- Place them in fresh water with a little flower food if you have it
- Keep them somewhere cool — away from direct sunlight, heat vents, or drafty windows
- Remove any wilted, brown, or damaged petals and leaves right away — these will only speed up decay for the healthy ones
- Start your chosen preservation method within 1–3 days — this is non-negotiable if you want good color and shape
The biggest mistake most people make?
They assume they have a week.
You don’t.
Flowers start to deteriorate faster than you’d think, especially after a full day of being handled, photographed, and carried around in varying temperatures.
The 4 Best Ways to Preserve Wedding Flowers at Home
Let me break down each method honestly — including who it’s best for, what you’ll need, and what results you can realistically expect.
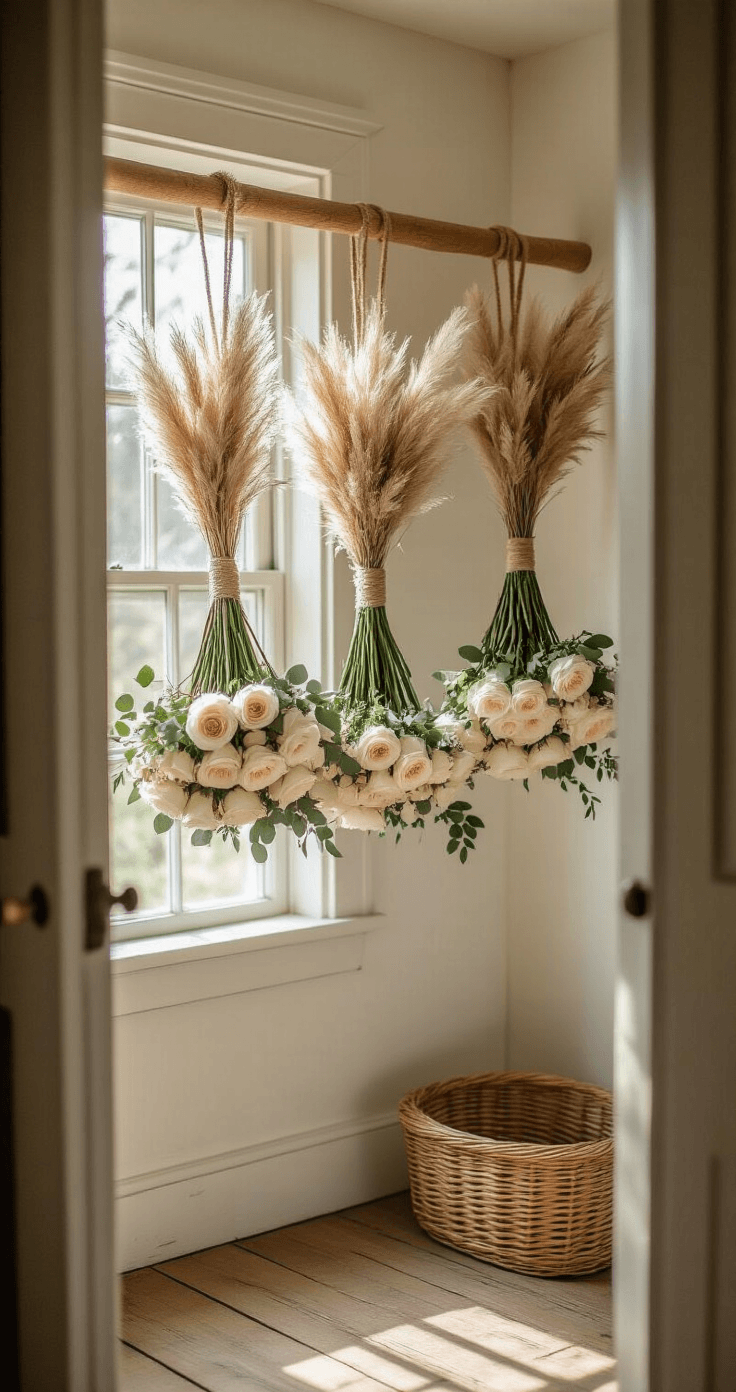
Air-Drying: The Easiest Method With a Romantic, Rustic Result
This is the method most people start with — and for good reason.
It requires almost nothing, works beautifully for a lot of flower types, and gives your bouquet that dreamy, vintage look that actually works really well as home decor.
Best for:
- Roses, eucalyptus, baby’s breath, lavender, dried grasses
- People who love a rustic, bohemian, or farmhouse aesthetic
- Anyone who wants to keep the bouquet mostly intact as a piece
What you’ll need:
- Twine or rubber bands
- A dark, dry, well-ventilated room (a closet or spare room works perfectly)
- Patience — about 2 to 4 weeks
Here’s how to do it:
- Bundle the stems together tightly with twine or a rubber band — not so tight you crush anything, but firm enough that nothing slips
- Hang the bouquet upside down — this keeps the stems straight and helps the flower heads maintain their shape as they dry
- Find the right spot — cool, dark, and with good airflow; avoid bathrooms, laundry rooms, or anywhere humid
- Leave it alone for 2–4 weeks — resist the urge to check on it every day
- Once fully dry, give it a light mist of clear acrylic spray to reduce petal shedding and add a little protection
Honest pros and cons:
| Pros | Cons |
|---|---|
| Free (or nearly free) | Colors will fade noticeably |
| Works for full bouquets | Petals become brittle over time |
| Great rustic/vintage look | Shape may droop or shift while drying |
| Very low effort | Not ideal for very delicate or tropical flowers |
If your wedding had that earthy, romantic, organic feel — air-drying is absolutely your method.
Hang the finished bouquet in your bedroom, tie it with a fresh ribbon, and it becomes a piece of decor in its own right.
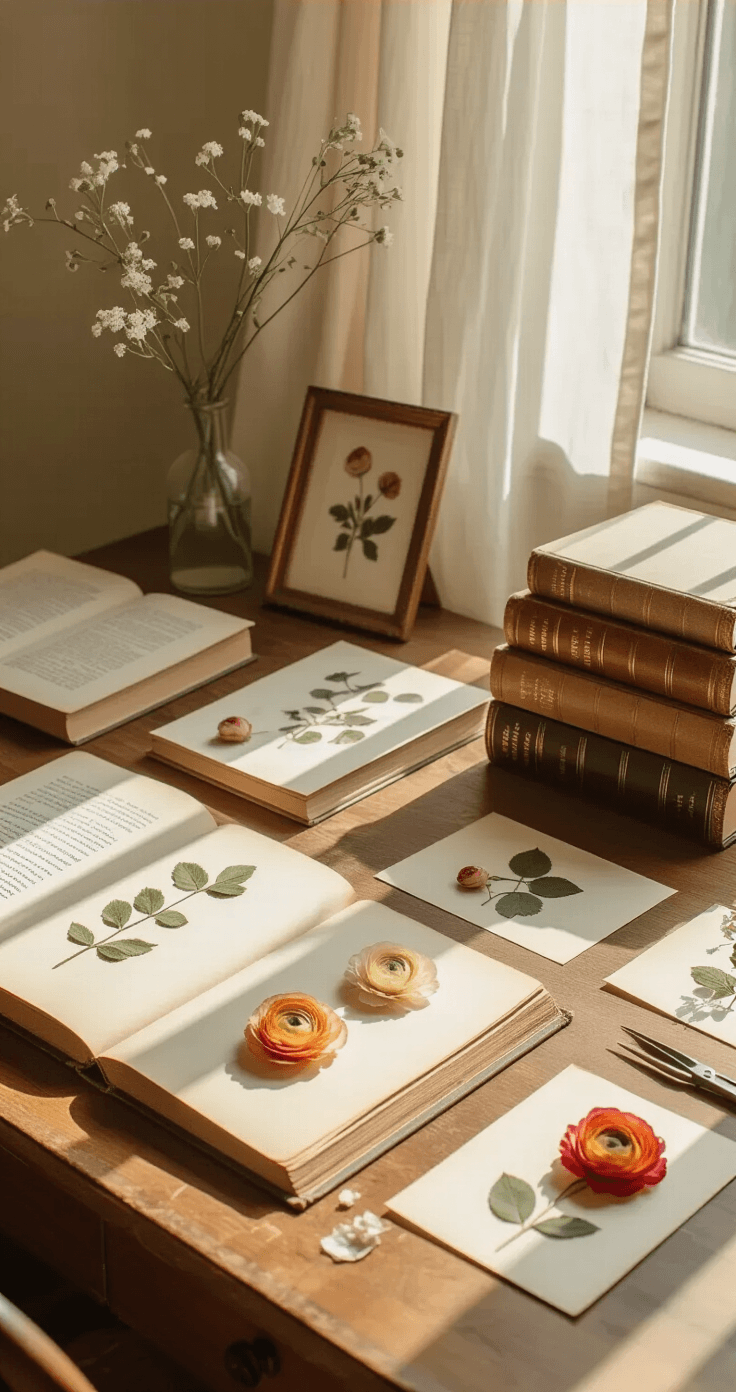
Pressing Flowers: Perfect for Framed Art and Keepsake Albums
I pressed flowers from my very first garden as a kid using my mum’s encyclopedia set.
The principle hasn’t changed — and it’s still one of the most satisfying ways to preserve blooms because the end result genuinely looks like art.
Best for:
- Creating framed wall pieces, scrapbook pages, greeting cards, or stationery
- Flowers that are naturally flat or can be separated: ranunculus, single rose petals, pansy, fern, small filler flowers
- People who love a minimalist, gallery-wall, or cottagecore aesthetic
What you’ll need:
- Parchment paper or blotting paper
- Heavy books (the heavier the better — think dictionaries, textbooks)
- Archival glue or mounting tape
- A glass frame or scrapbook for displaying
Here’s how to do it:
- Choose your flowers carefully — thick, bulky blooms like peonies won’t press well as a whole; pull them apart into individual petals instead
- Lay each flower or petal flat on a sheet of parchment or blotting paper — make sure nothing overlaps
- Cover with another sheet of parchment and close the book
- Stack more books on top for extra pressure
- Leave for 2–3 weeks — check around week two to see if they need more time
- Once dry and flat, mount them carefully with archival glue onto card, into a frame, or directly onto scrapbook pages
A little tip I learned the hard way:
Don’t use regular printer paper.
It absorbs moisture too slowly and you can end up with flowers that brown or even mold before they’re fully pressed.
Blotting paper or parchment is the move.
Honest pros and cons:
| Pros | Cons |
|---|---|
| Beautiful, Pinterest-worthy results | Only works for flatter blooms |
| Very affordable | Flowers look “flat” — not 3D |
| Minimal supplies needed | Requires patience |
| Great for gifts and framed art | Needs archival materials for longevity |
Silica Gel Drying: The Best DIY Method for Shape and Color
Similar Posts
Alphabet Date Ideas: A Fun and Creative Way to Spice Up Your Relationship
What Are Alphabet Dates?ContentsWhat Are Alphabet Dates?Why Alphabet Dating?The Ultimate A-Z Date GuideA is for AdventureB is for BondingPro Tips for Alphabet DatingPractical AdviceChallenging Letters…
How to Create a Stunning Mantel Garland: A Complete Guide to Seasonal Home Decor
How to Create a Stunning Mantel Garland: A Complete Guide to Seasonal Home DecorContentsHow to Create a Stunning Mantel Garland: A Complete Guide to Seasonal…
Your Dream Wedding in Monochrome Magic
Your Dream Wedding in Monochrome MagicContentsYour Dream Wedding in Monochrome MagicWhy Black and White Never Goes Out of StyleDesign Secrets: Breaking Down the Classic PaletteKey…
Create the Perfect Barbie Balloon Garland That’ll Make Every Little Princess Squeal with Joy
Create the Perfect Barbie Balloon Garland That’ll Make Every Little Princess Squeal with JoyContentsCreate the Perfect Barbie Balloon Garland That’ll Make Every Little Princess Squeal…
Bow Garlands: The Ultimate Guide to Stunning Event and Home Decor
Bow Garlands: The Ultimate Guide to Stunning Event and Home DecorContentsBow Garlands: The Ultimate Guide to Stunning Event and Home DecorWhat Exactly is a Bow…
Crochet Garland Magic: Your Ultimate Guide to Stunning Event Styling and Content Creation
Crochet Garland Magic: Your Ultimate Guide to Stunning Event Styling and Content CreationContentsCrochet Garland Magic: Your Ultimate Guide to Stunning Event Styling and Content CreationWhy…


