Top 10 must-have Nail art Tools for your wedding Nails
Do you daydream about transforming your nails into little works of art, but feel unsure where to begin? You’re not alone! Nail art is a fantastic way to personalize your look and unwind, and you don’t need to be a professional to get stunning results. With the right basic tools, a burst of creativity, and a smile, you’ll be painting, dotting, and glittering in no time.
Let’s open up the ultimate beginner’s toolkit for nail art success!
1. Nail File and Buffer: The Prep Essentials
Contents
- 1. Nail File and Buffer: The Prep Essentials
- 2. Nail Art Brushes: The Magic Wands of Manicure
- 3. Dotting Tools: Your Secret to Perfect Dots
- 4. Striping Tape: Lines and Geometric Fun
- 5. Sponge: Gradient and Ombre Effects
- 6. Nail Stickers and Decals: Instant Wow with No Fuss
- 7. Rhinestones and Glitter: Bring on the Sparkle
- 8. Stamping Kit: Intricate Art in Seconds
- 9. Tweezers and Cuticle Pushers: For Perfect Placement
- 10. Topcoat and Basecoat: The Unsung Heroes
- Nail Art Table: Your Quick Reference
- Dive In and Get Creative!
Start with strong foundations. Shaping your nails smooths rough edges and helps your designs last longer. A gentle nail file lets you craft the perfect shape, while a buffer evens out ridges, giving your polish and art a flawless canvas.
Tip: Avoid metal files to keep natural nails healthy!
2. Nail Art Brushes: The Magic Wands of Manicure
Imagine painting intricate flowers, bold stripes, or even delicate swirls—nail art brushes make it possible! These come in various shapes and sizes:
- Thin liner brushes for detailed designs
- Flat brushes for smooth color gradations
- Fan brushes for unique effects
With a few well-chosen brushes, you’ll be ready for anything!
3. Dotting Tools: Your Secret to Perfect Dots
Polka dots, flower centers, or animal prints—dotting tools do it all! These handy tools have rounded ends and come in several sizes. Simply dip the tip in polish and press onto your nail for a perfect dot, every time.
Design idea: Try using multiple sizes of dotting tools in one pattern for extra flair!
4. Striping Tape: Lines and Geometric Fun
Never struggle with wobbly lines again! Striping tape is thin, sticky, and helps even total beginners create sharp, straight lines and eye-catching geometric shapes. Lay the tape in your chosen pattern, paint over, and peel for instant perfection.
Pro tip: Let your base color dry completely before applying tape for smudge-free results.
5. Sponge: Gradient and Ombre Effects
Dreaming of soft color blends or mesmerizing ombre? Grab a makeup sponge! Dabbing on layers of polish with a sponge makes smooth gradients easy, and opens up endless creative possibilities. Just remember to use a barrier around your nail for quick clean-up.
6. Nail Stickers and Decals: Instant Wow with No Fuss
Want fantastic designs but don’t feel like painting freehand? Nail stickers and decals come to the rescue. They’re available in every style imaginable—florals, geometric shapes, holiday themes, and more. Simply peel, place, and seal with a topcoat.
7. Rhinestones and Glitter: Bring on the Sparkle
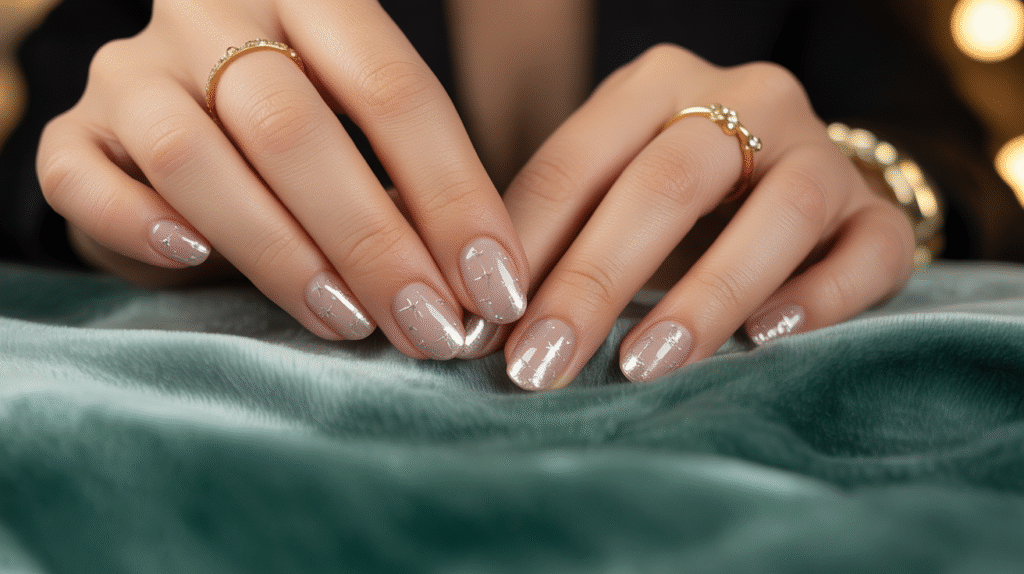
Nothing elevates a design like a touch of sparkle! Rhinestones and glitter let you add instant glamour. Use a rhinestone applicator tool or a wax pencil to place gems precisely. Glitter, meanwhile, can be sprinkled or patted on for dazzling effects that catch the light.
Try: Cluster rhinestones on an accent nail, or add a trail of glitter over a gradient for extra impact.
8. Stamping Kit: Intricate Art in Seconds
A stamping kit unlocks a whole universe of patterns—lace, animal prints, mandalas, and more. Just apply polish to the etched plate, scrape off the excess, pick up the design with the stamper, and press onto your nail. Even beginners can achieve professional-looking results!
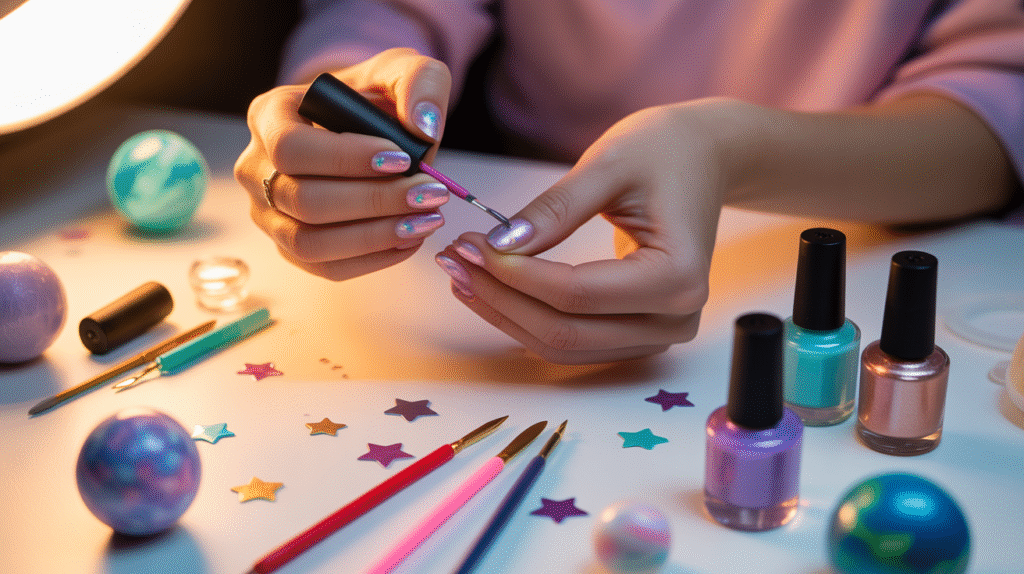
9. Tweezers and Cuticle Pushers: For Perfect Placement
Great nail art starts with neat nails! A cuticle pusher tidies up your nail bed for smooth, even painting. Tweezers help you carefully place tiny details like gems, stickers, or foils exactly where you want them.
10. Topcoat and Basecoat: The Unsung Heroes
Basecoat protects your natural nail and preps the surface for polish. Topcoat seals your designs with shine and durability, extending the life of your manicure. Never skip these two—your designs will thank you!
Nail Art Table: Your Quick Reference
| Tool | Main Use | Handy Tips |
|---|---|---|
| Nail file & buffer | Shaping, prepping | Use gentle grit |
| Brushes | Painting, detailing | Clean thoroughly after use |
| Dotting tools | Dots, patterns | Mix sizes for interest |
| Striping tape | Sharp lines | Dry base first |
| Sponge | Gradients, ombre | Use barrier for clean-up |
| Stickers & decals | Instant design | Smooth, seal with topcoat |
| Rhinestones/glitter | Sparkle | Place with applicator |
| Stamping kit | Intricate patterns | Use bold polish colors |
| Tweezers | Precise placement | Handle tiny pieces easily |
| Topcoat & basecoat | Protection | Boosts design longevity |
Dive In and Get Creative!
Building your nail art kit is like opening up a treasure chest of possibilities. Enjoy the relaxing rituals of buffing, painting, and decorating. Experiment boldly—there’s no wrong way to express yourself! Whether you love simple designs or wild patterns, each tool will help you bring your vision to life.
Ready to show off your unique style? Don’t forget to gather friends or family for a nail art night! You’ll not only bond, but also inspire each other’s creativity.

